
Embarking on the journey of cooking dried beans from scratch might initially seem like a daunting task, often perceived as a project reserved for culinary experts or those with abundant free time. However, this common misconception couldn’t be further from the truth. In reality, mastering the art of cooking dried beans is remarkably straightforward, requiring just a few fundamental techniques and a touch of patience. Once you experience the profound difference in flavor, texture, and overall quality, the convenience of bland, sodium-laden canned beans will become a distant memory. This comprehensive guide will demystify the entire process, transforming what appears to be a complex kitchen project into an accessible, rewarding, and deeply satisfying culinary habit. Prepare to unlock a world where your homemade beans are not just richer and fresher, but also more versatile and incredibly flavorful with every single bite.
Unlocking Superior Flavor and Health: The Undeniable Benefits of Cooking Dried Beans
While canned beans offer undeniable convenience for last-minute meals, opting for dried beans presents a myriad of advantages that significantly elevate your cooking and overall health. The primary benefit lies in the unparalleled control you gain over the entire cooking process. Unlike their pre-seasoned canned counterparts, dried beans allow you to dictate every aspect of their flavor profile. You can infuse them with your preferred herbs, spices, and aromatics from the very beginning, ensuring a depth of taste that canned beans simply cannot match. Moreover, you determine the precise texture – whether you desire them al dente for a hearty salad or wonderfully creamy for a rich stew, the choice is entirely yours.
From a health perspective, cooking dried beans from scratch empowers you to bypass the excessive sodium levels frequently found in commercially canned products. This is particularly crucial for those managing blood pressure, adhering to specific dietary restrictions, or simply seeking a cleaner, healthier diet. By controlling the salt content, you ensure your meals are both delicious and perfectly aligned with your nutritional goals, avoiding unnecessary additives.
Economically, dried beans are a clear winner in the long run. They are significantly more cost-effective per serving than canned varieties, especially when purchased in bulk. This makes them an incredibly budget-friendly staple for individuals and families alike, allowing you to prepare large batches for meal prep without breaking the bank. Furthermore, buying in bulk often translates to less packaging waste, contributing to a more sustainable and environmentally conscious kitchen practice. Beyond the financial savings, dried beans offer a longer shelf life in their dried state, making them an excellent pantry staple for emergency preparedness or simply ensuring you always have a protein source on hand.
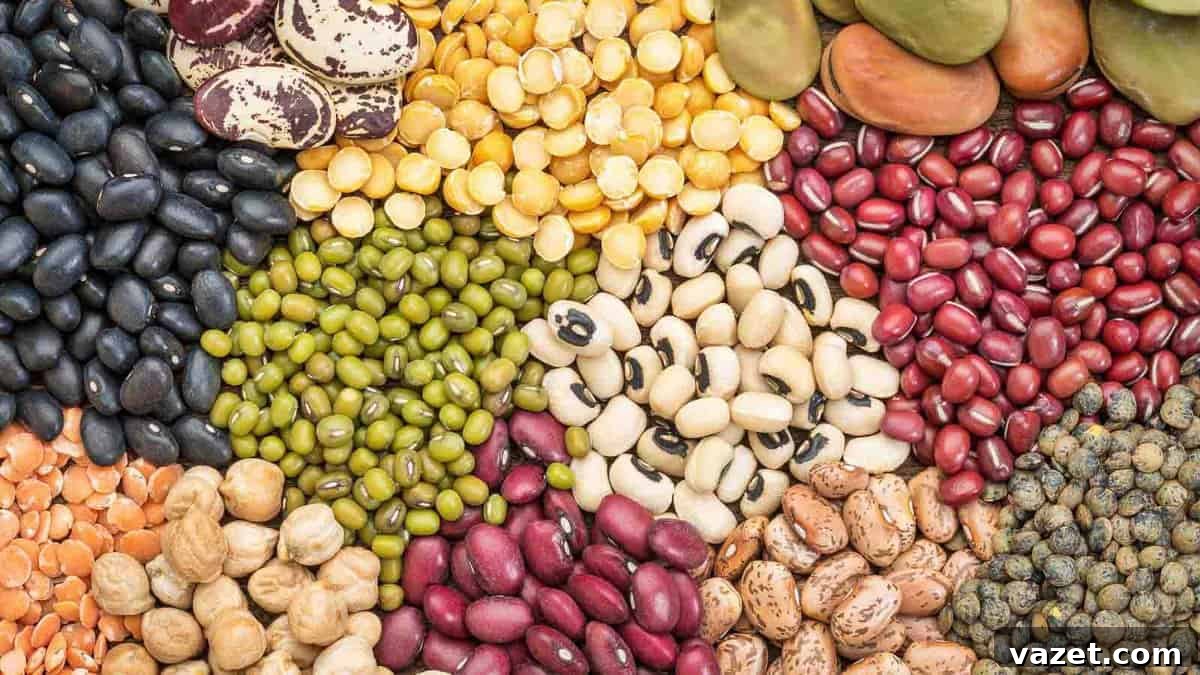
Beyond taste and cost, dried beans unlock a diverse culinary world. Supermarket shelves typically stock only a handful of common bean types in cans. However, the world of dried beans is vast and vibrant, offering an incredible array of colors, sizes, and textures. From rare heirloom varieties with unique flavor nuances to locally sourced farm finds, you’ll discover beans that you’d likely never encounter in a can. This expansive diversity broadens your culinary horizons, adding exciting dimensions to your dishes and ensuring that there’s a perfect bean for every recipe and every palate, promising a more enriching and adventurous cooking experience.
Choosing, Storing, and Understanding Your Dried Beans for Optimal Results
The success of your homemade bean dish begins long before it hits the pot – it starts with selecting the right beans. Not all beans are created equal, and their age significantly impacts cooking time and final texture. Older beans, those that have sat on a shelf for an extended period, can be notoriously difficult to soften, sometimes remaining firm even after hours of simmering. For fresher beans, prioritize stores with high turnover rates in their bulk sections or explore local farmers’ markets where beans are often sold directly after harvest. Look for beans that appear vibrant, uniform in color, and free from excessive dust or broken pieces.
Once you bring your dried beans home, proper storage is key to maintaining their freshness and ensuring consistent cooking results. Transfer them from their original packaging into an airtight container – a glass jar or a sturdy plastic container works perfectly. Store this container in a cool, dark, and dry spot in your pantry, away from direct sunlight and fluctuating temperatures. Stored correctly, most dried beans can last for up to a year or even longer, though fresher beans will always cook more consistently and require less time. Avoid storing them in humid environments, as this can lead to spoilage or encourage pests.
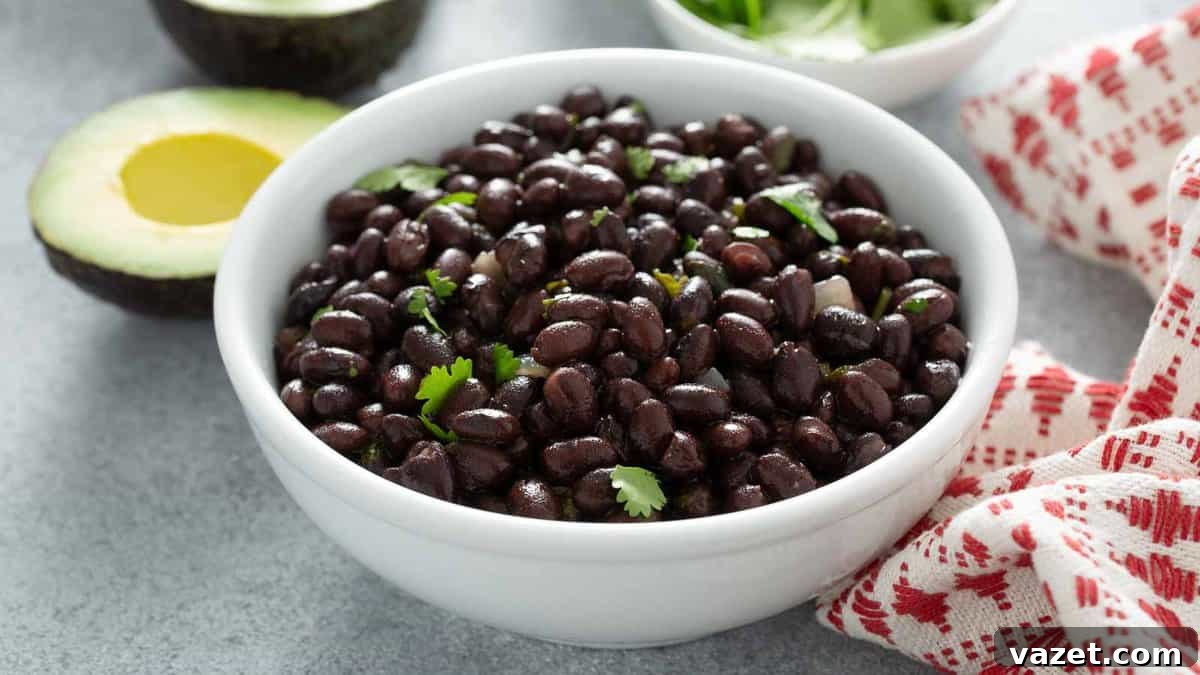
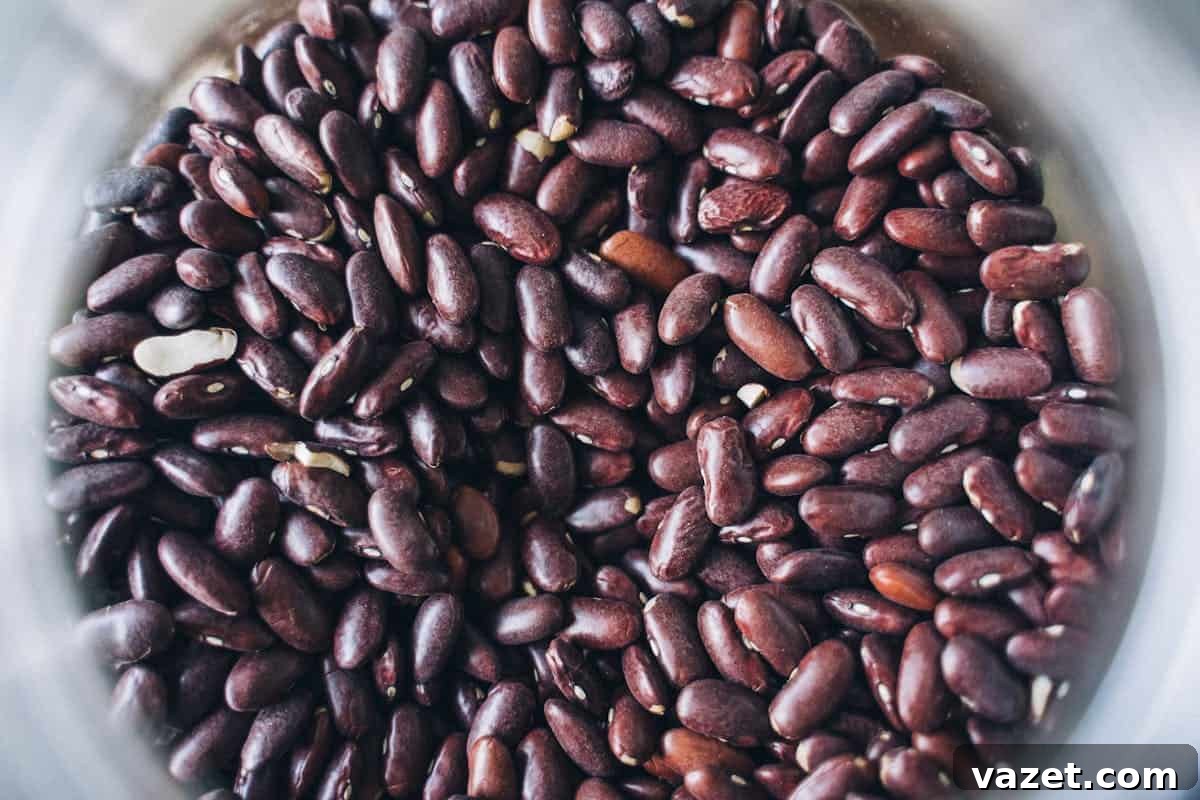
Understanding different bean varieties also enhances your cooking repertoire. Not every bean cooks the same way or lends itself to every recipe. For instance, cannellini beans, also known as white kidney beans, possess a creamy texture and hold their shape remarkably well, making them ideal for hearty soups, stews, or vibrant salads. Black beans, with their earthy flavor and sturdy structure, are perfect for Mexican-inspired dishes like tacos, burritos, grain bowls, and skillet meals. Chickpeas, also known as garbanzo beans, are perhaps one of the most versatile legumes; they can be transformed into creamy hummus, added to curries, roasted into crispy snacks, or even used as a base for plant-based burgers.
Beyond these popular choices, explore others like pinto beans (excellent for refried beans), kidney beans (a chili staple), and navy beans (perfect for baked beans). Each variety brings its unique characteristics to the table, allowing for endless culinary creativity once you master the basic cooking techniques.
The Great Bean Soak Debate: To Soak or Not To Soak?
The practice of soaking dried beans has been a cornerstone of bean preparation for generations, and for good reason. It can make a noticeable difference in the final dish, affecting both cooking time and digestibility. An overnight soak, typically 8-12 hours, is the most common method. This process significantly cuts down on the subsequent cooking time, saving you energy and reducing the time spent over the stove. More importantly, soaking helps to break down complex sugars (oligosaccharides) present in beans, which are often responsible for causing bloating and gas for some individuals. By allowing these sugars to leach into the soaking water, which is then discarded, you can enjoy your beans with greater comfort.
If you’re pressed for time or simply forgot to plan ahead, the quick-soak method offers a viable alternative. To quick-soak, place your rinsed beans in a large pot, cover them with plenty of water (at least 2-3 inches above the beans), bring them to a rolling boil for 2-3 minutes, then remove from heat, cover the pot, and let them sit for at least one hour. After this quick soak, drain the water and proceed with cooking as usual. This method achieves many of the benefits of an overnight soak in a fraction of the time, softening the beans and aiding in the reduction of gas-producing compounds.
While soaking is widely recommended, some people choose to skip it altogether and still achieve satisfactory results. The “no-soak” method typically involves adding extra cooking time, often requiring an additional hour or more on the stovetop, or extending the cook time significantly in a pressure cooker like an Instant Pot. While convenient for those who prefer spontaneity, be aware that beans cooked without soaking might sometimes have a tougher skin, take longer to reach desired tenderness, and may potentially lead to more digestive discomfort for some. However you choose to approach it, understanding the science behind soaking and its benefits can help you make an informed decision that best suits your schedule and digestive needs, ultimately paying off in terms of both taste and comfort once it’s time to cook.
Mastering the Art of Cooking Dried Beans: Essential Steps for Perfect Texture and Flavor
Once you’ve chosen and prepared your beans (whether soaked or not), the cooking process itself is quite straightforward. Begin by thoroughly rinsing your beans under cold, running water in a colander. This step removes any dirt, debris, or small stones that might have been overlooked during sorting. As you rinse, visually inspect the beans and pick out any shriveled, discolored, or broken pieces.
Next, transfer the rinsed beans to a large, heavy-bottomed pot or Dutch oven. Cover them with plenty of fresh, cold water. A good rule of thumb is to use about 3-4 cups of water for every cup of dried beans, as beans will absorb a significant amount of liquid as they cook and expand. For an extra layer of flavor built right into the beans, consider adding aromatics at this stage. Whole garlic cloves, a quartered onion, a bay leaf or two, or a sprig of fresh rosemary or thyme can infuse the cooking liquid with subtle, delicious notes that permeate the beans.
Bring the water to a rolling boil over high heat. Once boiling, immediately reduce the heat to a gentle simmer. This is a crucial step: boiling too vigorously can cause the bean skins to split prematurely and the insides to become mushy, leading to an undesirable texture. Maintain a consistent, gentle simmer throughout the cooking process, where the surface of the water shows only small, occasional bubbles. If the water level drops too low, add more hot water to ensure the beans remain submerged, preventing uneven cooking.
The cooking time for dried beans varies significantly depending on the type of bean, its age, and whether it was soaked. Generally, expect stovetop cooking to take anywhere from 45 minutes for smaller, fresher, or soaked beans (like lentils or black beans) to two hours or even more for larger, older, or unsoaked varieties (like kidney or cannellini beans). To check for doneness, carefully scoop out a bean, allow it to cool slightly, and taste it. A perfectly cooked bean should be tender and creamy throughout, easily mashed with a fork, but still hold its shape and offer a slight resistance. It should not be hard or gritty in the center, nor should it be falling apart and mushy. Continue cooking and checking every 15-20 minutes until your desired tenderness is achieved.
My Pro Tip
Don’t Throw Away That Flavorful Bean Broth!
The liquid left behind after cooking your beans is far from mere waste – it’s a culinary treasure worth saving. This rich, starchy broth is packed with concentrated flavor and valuable nutrients extracted from the beans. It acts almost like a light vegetable stock, adding incredible depth to various dishes. Use it to loosen up thicker soups and stews, cook grains like rice or quinoa for an enhanced taste, or add body and richness to homemade sauces and gravies. For example, chickpea broth, famously known as aquafaba, is an exceptionally versatile ingredient. It can even replace eggs in certain vegan baking recipes, such as meringues, mousses, or delicious vegan pignoli cookies, and works wonders in creating creamy, emulsified dressings and mayonnaise substitutes. Stored in an airtight container in the refrigerator, it will keep for up to a week, or you can freeze it in ice cube trays for convenient, single-serving portions.
The Art of Seasoning: Enhancing the Flavor of Your Cooked Beans
Seasoning beans correctly is crucial for maximizing their flavor, and timing plays a significant role, particularly when it comes to salt. A common culinary debate revolves around when to add salt to beans. Conventional wisdom often suggests waiting to add salt until the beans are nearly done cooking, or even fully cooked. The rationale behind this is that adding salt too early can toughen the skins of the beans, preventing them from softening evenly. Waiting until the beans are tender allows the seasoning to penetrate the beans without negatively impacting their texture, resulting in a more evenly flavored and perfectly cooked product.
However, some chefs advocate for salting earlier, arguing that it helps season the beans from the inside out. If you choose this approach, do so judiciously and understand that it might slightly extend the cooking time. For most home cooks, the safer and more widely recommended method is to add salt towards the end of the cooking process, allowing the beans to become fully tender first.
Beyond salt, a world of aromatics and spices can elevate your beans. For a deeper, more complex flavor profile, incorporate bay leaves, whole garlic cloves, or fresh herbs like thyme, oregano, or sage into the cooking water from the beginning. These ingredients slowly release their essences into the beans as they simmer. Some culinary traditions also recommend adding a strip of kombu (a type of dried kelp) to the pot. Kombu is believed not only to boost umami flavor but also, anecdotally and in some studies, may aid in digestion and reduce gas. It also adds minerals to the cooking liquid.
Crucially, hold off on adding any acidic ingredients until the beans are completely finished cooking. Acids, such as tomatoes, vinegar, citrus juice, or wine, can interact with the pectin in the bean skins, preventing them from softening properly. If a recipe calls for acidic components, stir them in only after your beans have reached their desired tenderness. By following these seasoning guidelines, you’ll ensure your homemade beans are consistently delicious and perfectly textured.
Troubleshooting Common Bean Cooking Issues and Simple Solutions
Even with the best intentions, sometimes beans don’t turn out exactly as planned. Fortunately, most common problems have simple fixes. Understanding these issues will help you troubleshoot and achieve perfect results every time.
Beans Won’t Soften: This is perhaps the most frustrating issue. If your beans seem to simmer endlessly without becoming tender, several factors could be at play. The most common culprit is old beans; dried beans lose moisture over time, making them harder to rehydrate and cook. If you suspect your beans are old, they might simply need significantly more cooking time. Another factor could be hard water, which is high in minerals that can interfere with the softening process. A simple trick to combat this is to add a pinch (about 1/4 teaspoon per cup of dried beans) of baking soda to the cooking water. Baking soda helps to alkalize the water, breaking down the pectin in the bean skins and promoting tenderness. Remember, if you’ve added acidic ingredients too early (like tomatoes or vinegar), they will also prevent softening, so ensure these are added only after the beans are tender.
Mushy Beans: If your beans have gone from tender to a texture akin to baby food, it usually means they were cooked too long or at too high a heat. A vigorous boil, rather than a gentle simmer, can also contribute to mushiness and split skins. To avoid this, always maintain a gentle simmer and check for doneness frequently, especially during the last 30-45 minutes of cooking. Different bean varieties and ages cook at different rates, so constant vigilance is key.
Unevenly Cooked Beans: This problem can occur when beans are not consistently submerged in water or if they aren’t stirred occasionally. Ensure you’re using enough water to cover the beans by at least 2-3 inches throughout the cooking process, adding more hot water if needed. Giving the pot an occasional gentle stir can help ensure all beans are exposed to the same amount of heat and moisture, cooking them evenly.
Storing Cooked Beans: Once your beans are perfectly cooked, proper storage is essential for extending their life and ensuring convenience. The best way to store cooked beans is in their cooking liquid. This liquid helps to keep them moist and flavorful. Transfer the beans and their broth to an airtight container and refrigerate for up to 5-7 days. For longer storage, cooked beans freeze exceptionally well. Portion them out with some of their cooking liquid into freezer-safe bags or containers. Lay freezer bags flat to save space. Frozen beans can be kept for up to 3-6 months, providing you with a quick and healthy option for countless meals whenever inspiration strikes.
Unleash Your Creativity: Innovative Ways to Enjoy Your Cooked Beans
Having a pot of freshly cooked beans on hand opens up a vast world of culinary possibilities, extending far beyond the traditional realms of soup or chili. The versatility of homemade beans makes them an invaluable ingredient for quick, healthy, and satisfying meals throughout the week.
For a speedy and nutritious lunch or dinner, toss cooked beans into vibrant salads or grain bowls. They instantly boost the protein and fiber content, making your meal more substantial and satisfying. Mash them with a fork or food processor to create flavorful spreads for sandwiches, wraps, or toast, offering a healthier and often more delicious alternative to processed deli meats. Think black bean spread with avocado or white bean pesto. They are also excellent for bulking up a variety of dishes: incorporate them into hearty casseroles, add them to tacos and burritos for extra texture and protein, or mix them into scrambled eggs for a hearty breakfast.
Cooked beans are also a fantastic base for plant-based cooking. Transform them into delicious and satisfying veggie burgers, blending them with grains, vegetables, and spices. Their natural creaminess and ability to bind ingredients make them perfect for this application. Furthermore, blend them into velvety smooth dips that far surpass anything you’ll find pre-packaged at the store. Roasted garlic white bean dip, spicy black bean dip, or classic hummus are just a few examples that showcase the incredible potential of cooked beans. Even sweet applications are possible with aquafaba (chickpea liquid), opening doors to vegan meringues or chocolate mousses.
The beauty of having cooked beans readily available is the speed and ease they bring to weeknight meals. They provide a wholesome, nutrient-rich base that can go in dozens of different directions without much effort or additional cooking. This not only makes meal planning easier but also encourages more diverse and healthy eating habits, proving that a little upfront effort in cooking dried beans yields immense culinary rewards.
My Pro Tip
A Simple Trick for Unbelievably Creamier Beans
If you’re aiming for beans that boast a richer, more luxurious texture without the need for dairy cream or cheese, there’s a wonderfully simple trick that yields remarkable results. Towards the end of the cooking process, when your beans are nearly tender, carefully scoop out a small portion of the cooked beans (about 1/4 to 1/2 cup, depending on the batch size). Using the back of a spoon or a potato masher, mash these beans against the side of the pot or in a separate small bowl until they form a thick paste. Then, stir this mashed bean paste back into the broth with the remaining whole beans. The starch released from the mashed beans will naturally thicken the cooking liquid, creating a wonderfully silky, creamy consistency that coats each bean beautifully, enhancing the overall mouthfeel and richness of your dish.
Smart Strategies: The Easiest Way to Cook Beans During a Busy Week
For many, the idea of standing over the stove for an hour or more to cook beans during a hectic week seems unrealistic. This is where the power of batch cooking and smart storage truly shines. The easiest and most efficient way to incorporate homemade beans into your busy schedule is to cook a large batch once, perhaps on a weekend, and then stash the rest for later. Beans are incredibly freezer-friendly, making them an ideal component for meal prepping.
Once your beans are perfectly cooked and cooled, portion them out into freezer-safe containers or heavy-duty freezer bags. It’s crucial to include some of their flavorful cooking liquid with the beans; this helps preserve their texture and prevents them from drying out when thawed. If using freezer bags, lay them flat on a baking sheet in the freezer until solid, then stack them vertically to save space. This method allows for easy thawing and ensures you have ready-to-use portions on demand.
When you need them, simply transfer a frozen portion to the refrigerator to thaw overnight, or for quicker use, gently reheat them from frozen in a saucepan over low heat, adding a splash of water or broth if needed. These pre-cooked, frozen beans will thaw quickly and behave just like freshly cooked or canned beans, but with an immeasurably superior flavor and texture that only homemade beans can offer. This simple habit transforms cooking dried beans from an occasional project into a consistent, convenient source of healthy, delicious protein for all your weeknight meals, proving that superior flavor doesn’t have to sacrifice convenience.