
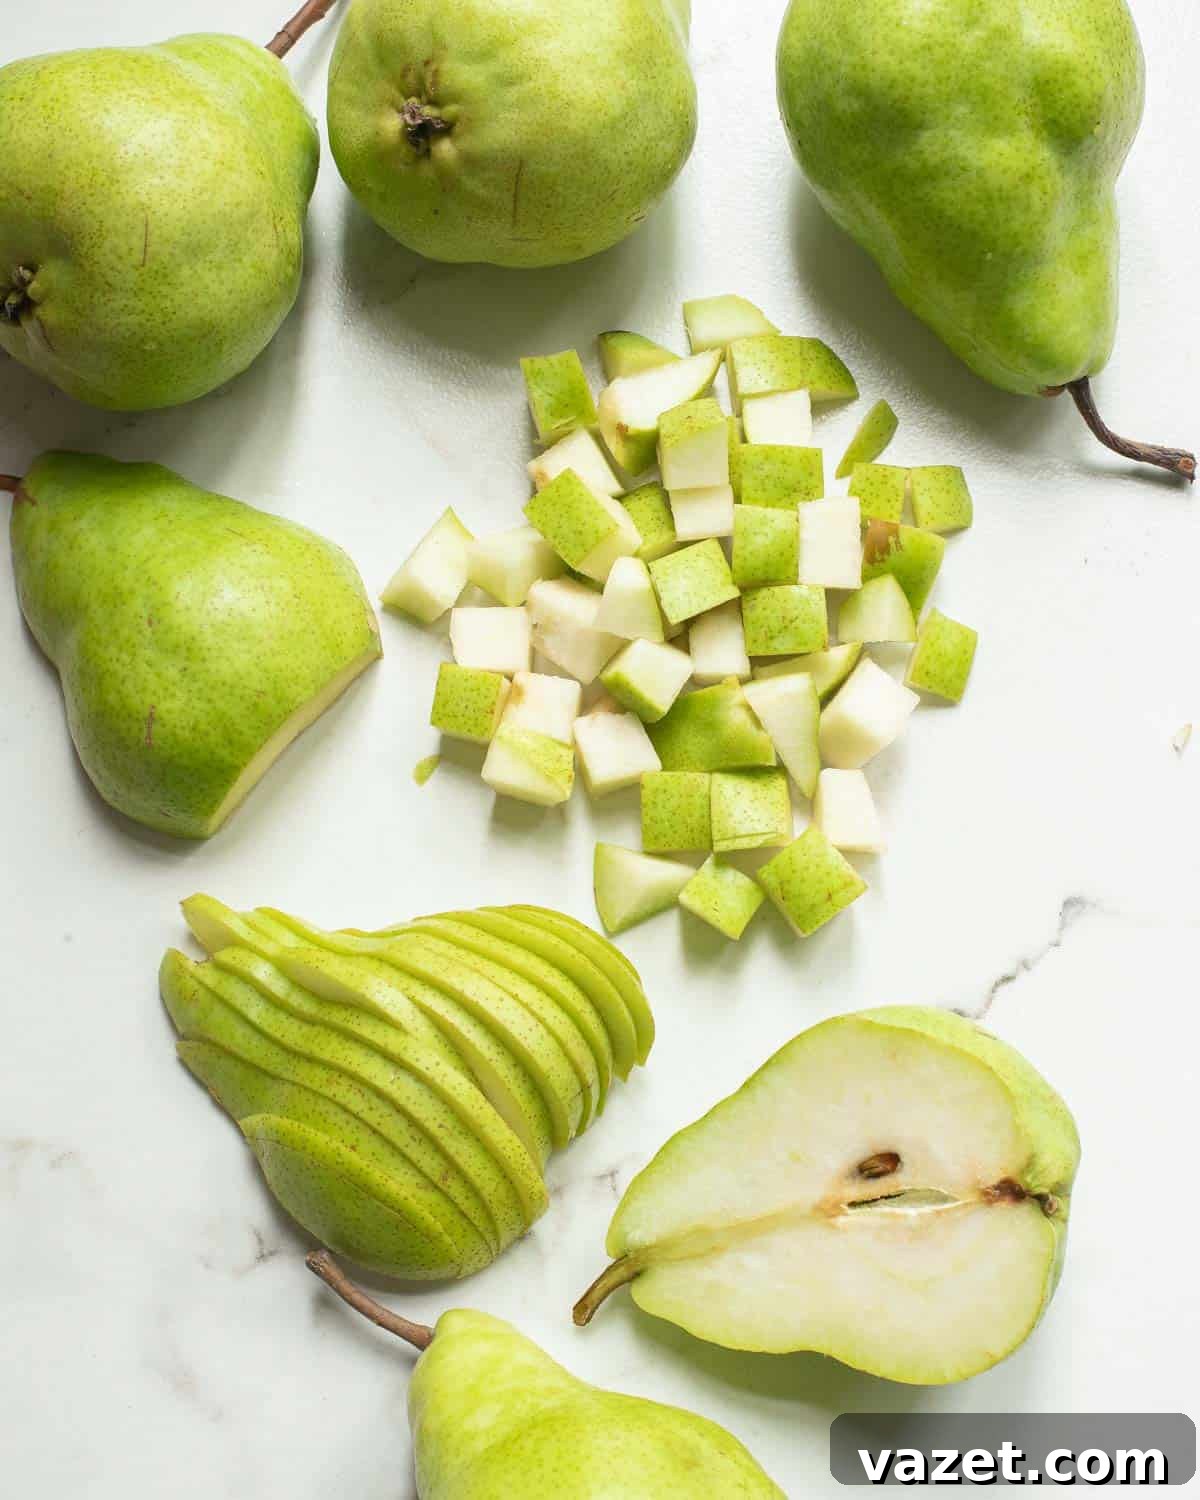
As a quintessential fall fruit, pears bring a delightful sweetness and juicy texture to the season’s culinary offerings. Learning the proper techniques for cutting, slicing, dicing, and even hollowing out a pear can elevate your cooking and presentation. This comprehensive guide will walk you through every step, ensuring you master the art of pear preparation for any recipe, from simple snacks to elegant desserts.
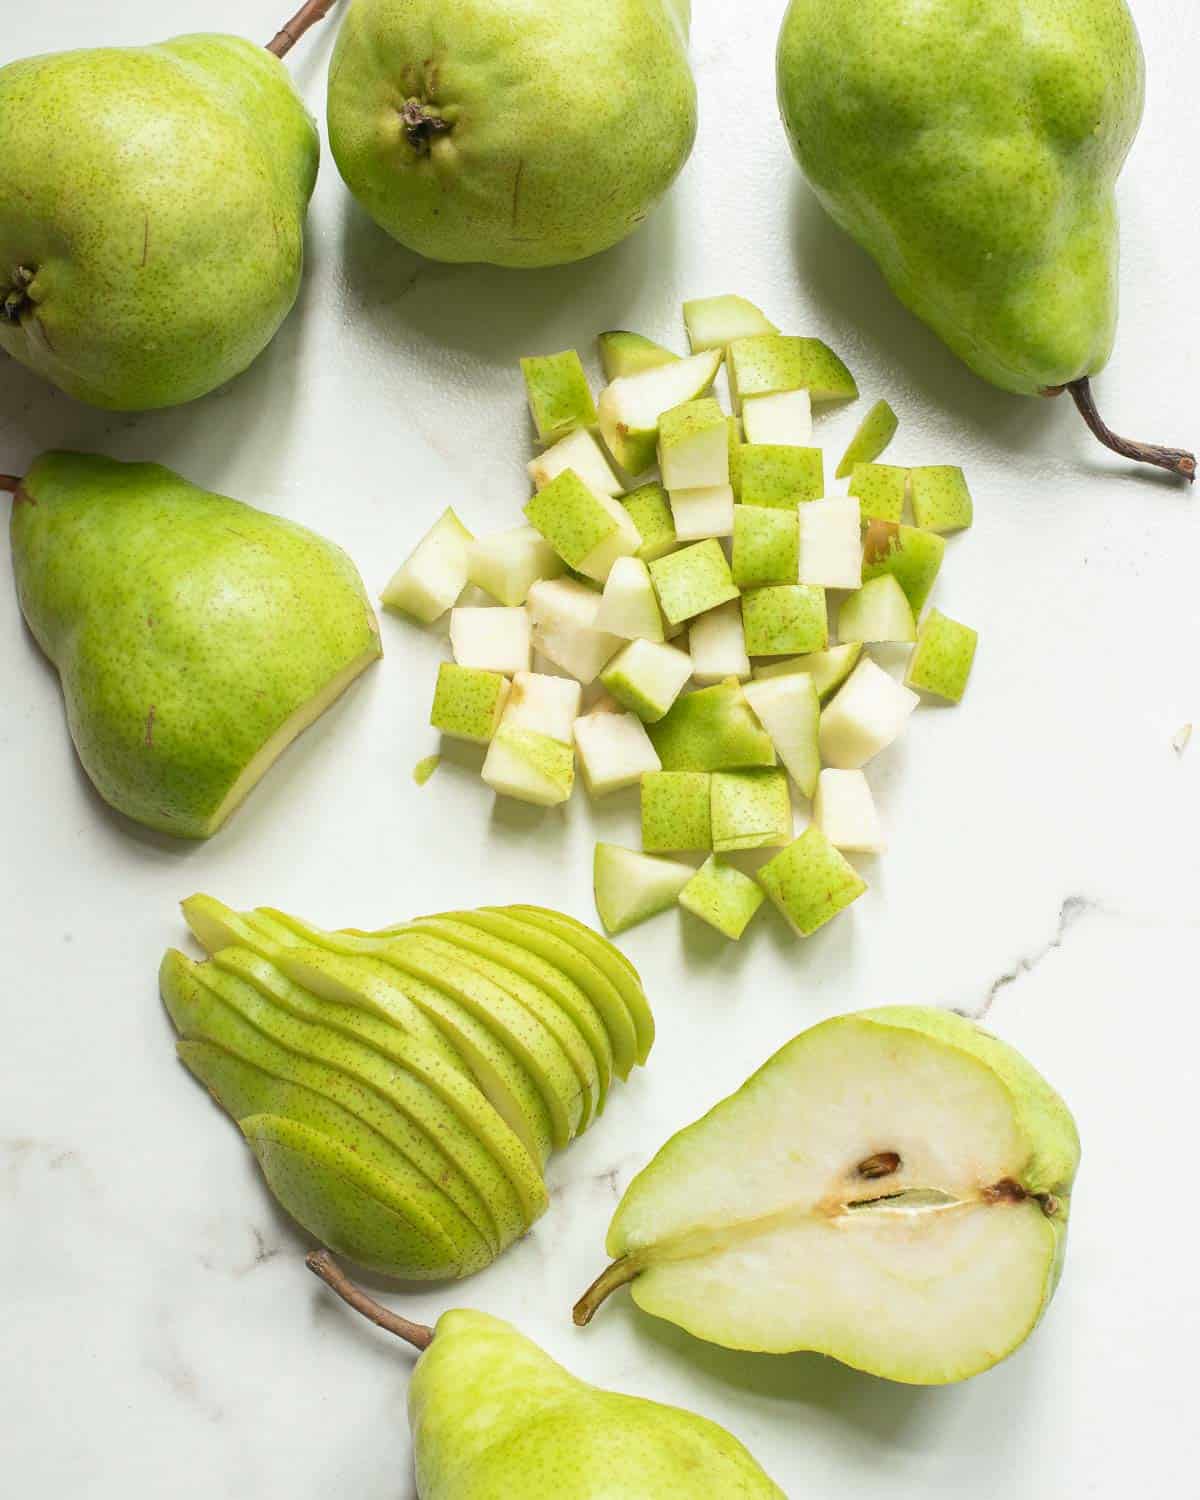
Pears boast a rich diversity in varieties, each offering unique flavors and textures. Common types you’ll encounter in markets and grocery stores across the U.S. include the vibrant green Anjou, the classic Bartlett, the reddish-hued Red Bartlett, and the firm Bosc. While subtle differences exist between these varieties, the fundamental methods for preparing and cutting them remain largely consistent. Understanding these techniques will empower you to confidently incorporate any pear into your dishes.
Mastering the Art of Cutting Pears
Regardless of the pear variety or your desired final cut—whether you plan to chop for a rustic pie, dice for a fresh salad, slice for a refined garnish, or hollow out for a delectable stuffed pear—the core principles of preparation are the same. This guide provides an easy-to-follow, step-by-step approach to ensure perfect pear cuts every time, enhancing both the aesthetic and taste of your culinary creations.
Step 1: Thoroughly Cleanse and Halve Your Pear
Begin your pear preparation by giving the fruit a thorough rinse under cool running water. For an extra layer of sanitization, particularly with non-organic pears, consider submerging the fruit in a solution of three parts water to one part vinegar for a few minutes. Gently rub the pear with your hands to dislodge any dirt, debris, or residual wax, then rinse it meticulously to wash away bacteria and the vinegar solution. This ensures a clean and safe base for your culinary endeavors.
It’s important to note that pears, much like bell peppers and other fruits, often feature on the Environmental Working Group’s “Dirty Dozen” list due to heavy pesticide use during their growth cycle. Opting for organic pears whenever possible is a healthier choice, minimizing your exposure to these chemicals and allowing you to enjoy the fruit, skin and all, with greater peace of mind.
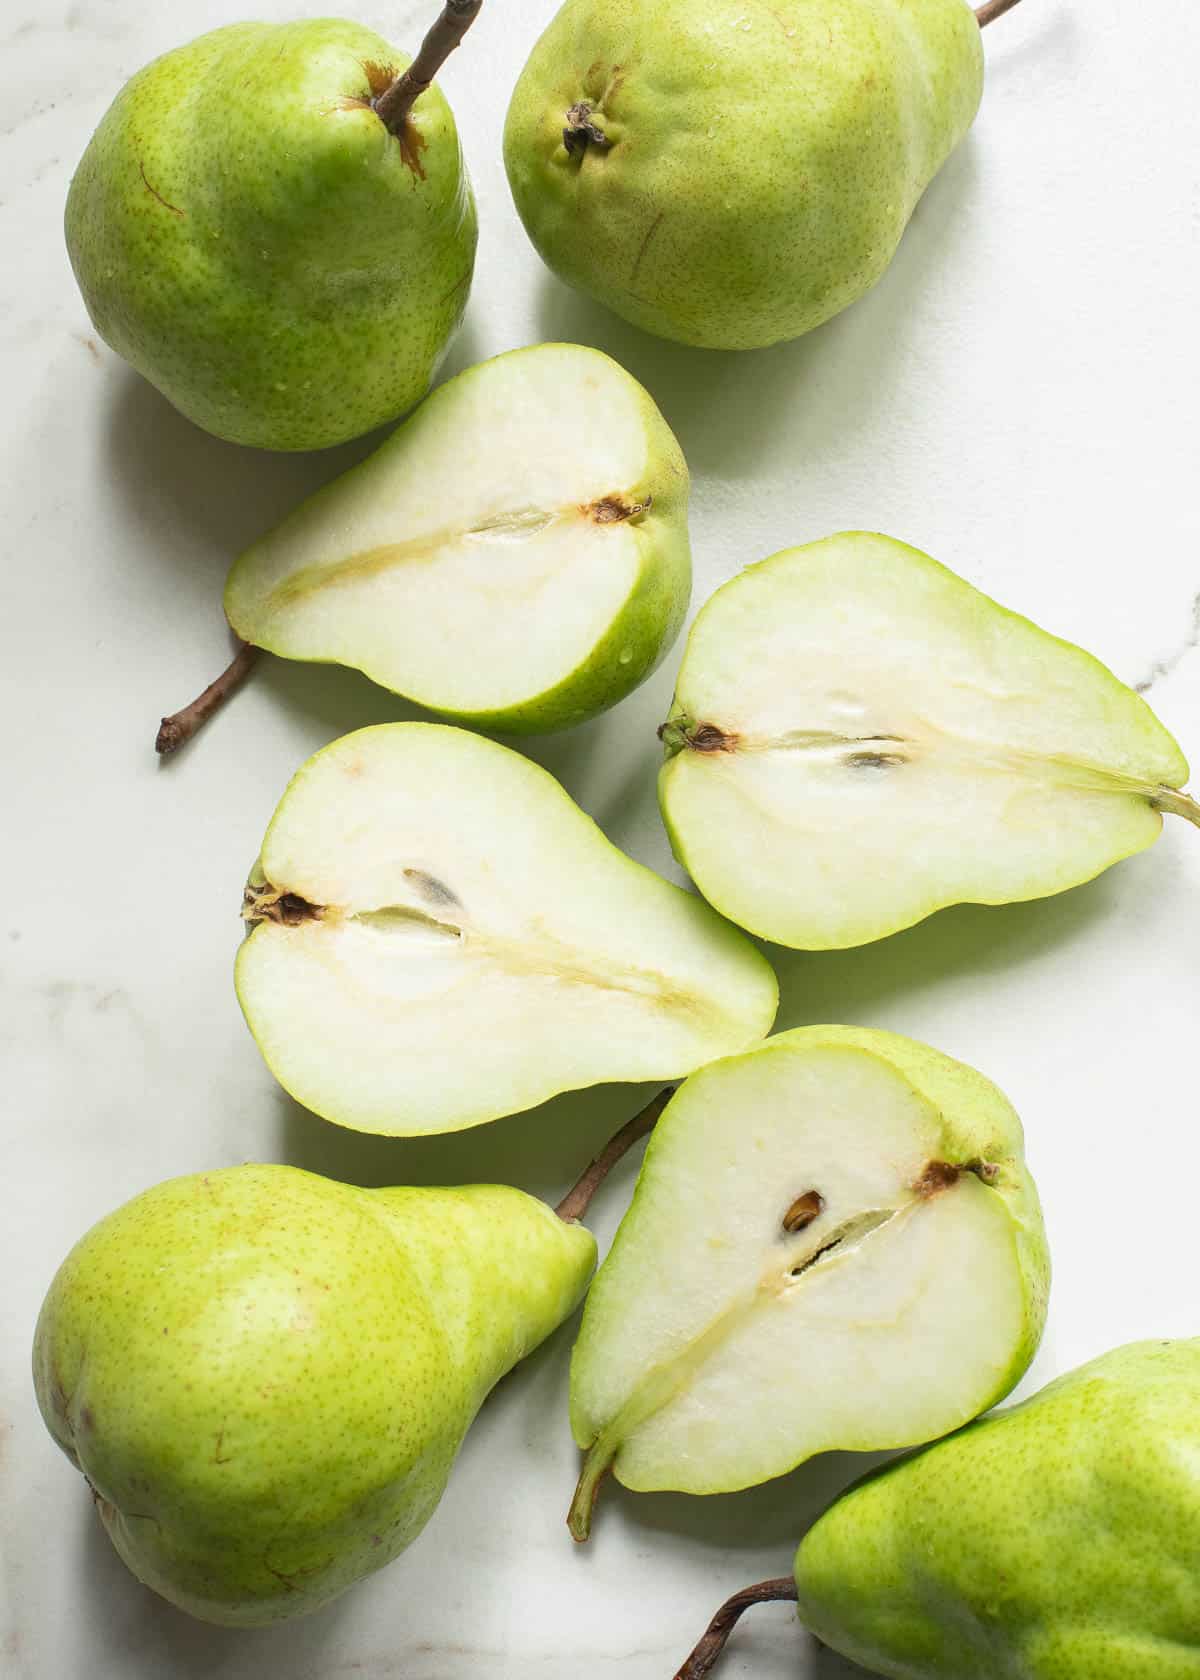
Once your pear is impeccably clean, the initial cut involves slicing it lengthwise. Position the pear upright on a cutting board, stem pointing upwards. Carefully slice straight down from the stem to the bottom, dividing the pear into two symmetrical halves. This crucial first cut not only prepares the pear for further processing but also conveniently exposes its central core, making subsequent steps much simpler.
Step 2: Expertly Remove the Core and Calyx
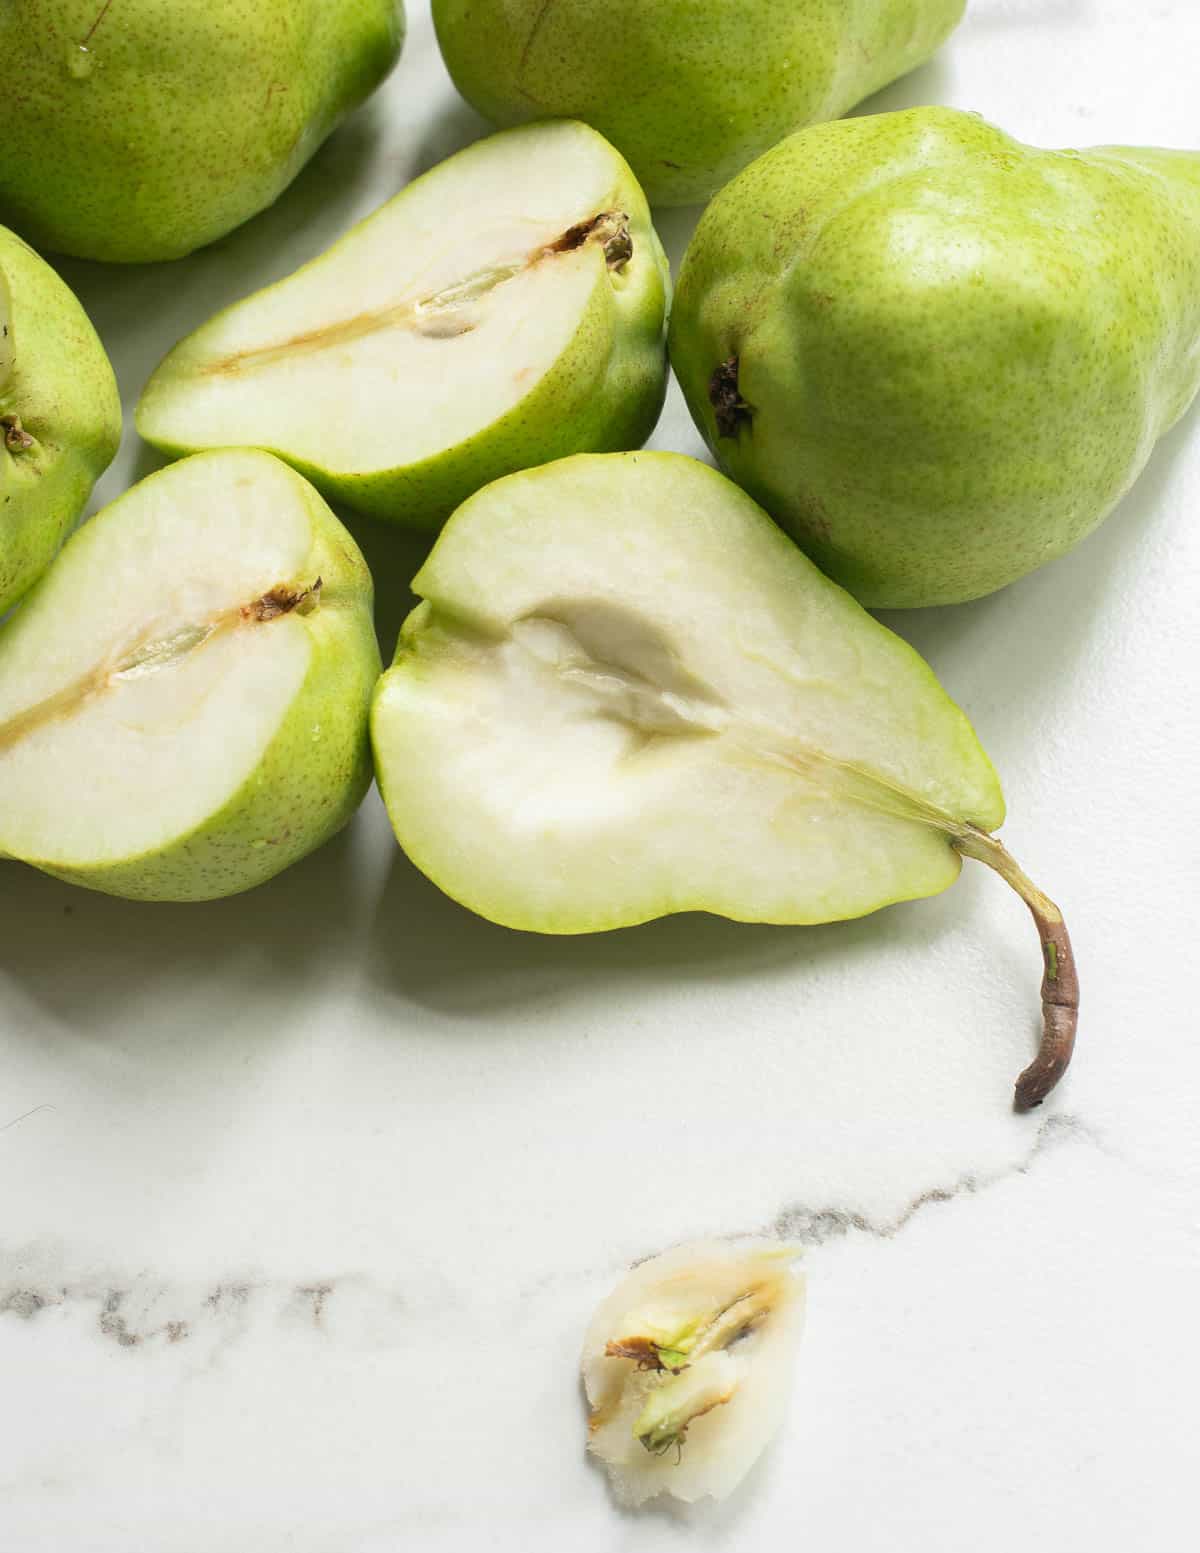
With the pear halved and its core exposed, the next step is to remove the fibrous center. A small spoon works perfectly for this task, but specialized tools like a grapefruit spoon with its serrated edge or a melon baller can make the process even more efficient, allowing you to scoop out the core with minimal effort and waste. Gently scrape around the core in each pear half until it is completely removed.
You may observe a thin, stringy piece extending from the stem down into the core—this is known as the calyx. It’s a remnant of the pear’s flower that remains attached after the fruit matures. This fibrous part is easily removed; a sharp knife can be used to gently lift it out of the fruit. In a perfectly ripe pear, the calyx will detach with remarkable ease. Both the core and calyx are inedible and should be discarded, ideally added to your compost for an eco-friendly approach.
Should your recipe call for stuffed pears—whether you’re preparing a delightful sweet treat like baked pears or a savory dish such as mushroom-stuffed pears—you’ll need to create a larger cavity. Continue to hollow out the pear halves using your spoon or melon baller, carefully removing additional flesh until the desired space for your stuffing is achieved. Don’t discard the scooped-out pear flesh; it can be repurposed in various ways, for instance, adding natural sweetness and fiber to a refreshing pear banana cinnamon smoothie.
Step 3: Mastering the Art of Slicing Pears
Pear slices are incredibly versatile and can be enjoyed in numerous ways. They are perfect as a simple, healthy snack, or can be roasted and elegantly arranged to adorn whipped ricotta bowls for a sophisticated dessert. Sliced pears also provide a fantastic sweet counterpoint in savory dishes, such as a gourmet pear, bacon, and brie grilled cheese sandwich, creating a harmonious balance of flavors and textures.
To achieve perfect pear slices, take one cored half and place it cut-side down on a stable cutting surface. Using a sharp chef’s knife, make thin, even slices along the length of the pear for longer, more elegant pieces. Alternatively, for shorter, bite-sized slices, cut across the pear horizontally. The thickness of your slices can be adjusted based on your recipe requirements or personal preference, from delicate, paper-thin slivers to more substantial wedges.
For an attractive presentation, particularly when garnishing fresh salads, fanning out thinly sliced pear pieces creates a visually stunning effect. This technique adds a touch of culinary artistry to your dishes, making them as appealing to the eye as they are to the palate. The natural sweetness and slight crunch of sliced pears will enhance any meal.

Step 4: Precision Chopping and Dicing Pears
When your recipe calls for chopped or diced pears, the initial approach differs slightly from slicing, but is equally straightforward. After rinsing and cleaning your pear, instead of halving it lengthwise through the core, you will cut around the core. Begin by making four cuts, one on each side of the core, effectively separating the flesh into four main pieces and leaving the small, rectangular core with the stem intact in the middle. This method maximizes the usable fruit and simplifies the chopping process.
The remaining core can be discarded or, if you’re like many who appreciate minimizing food waste, you can carefully eat around the core, enjoying every bit of the delicious fruit. Place one of the flat-sided pear pieces down on your cutting board. Using a sharp knife, slice it into uniform strips, typically 1/4 to 1/2 inch thick, depending on your desired chop size. Once you have these strips, rotate them 90 degrees and slice in the opposite direction. This will yield a coarse chop, ideal for recipes where a noticeable pear texture is desired.
To achieve a finer dice, simply adjust your technique by making thinner initial slices and then cutting those slices into smaller, closer pieces. Diced pears are perfect for baked goods and delicate preparations. Chopped pears integrate wonderfully into dishes like warm spiced pear oatmeal, adding a comforting sweetness and texture. They are also excellent for creating homemade apple pear cranberry sauce, offering a delightful twist on a classic condiment. Smaller diced pears, with their fine consistency, are particularly well-suited for recipes like pear bread, ensuring even distribution and a tender crumb.

Can You Eat the Skin of a Pear?
Absolutely, the skin of a pear is not only edible but also highly nutritious. Many people choose to eat pears unpeeled to maximize their health benefits. According to nutritional sources like Healthline, the pear peel contains approximately half of the fruit’s total fiber content. Furthermore, it boasts up to six times more polyphenols than the flesh itself. Polyphenols are powerful antioxidants that play a crucial role in protecting cells from oxidative damage, contributing to overall health and well-being. Eating the skin also adds to the pear’s flavor complexity and texture.
However, some recipes may specifically call for peeled pears, either for textural reasons or aesthetic appeal. In such cases, a standard vegetable peeler is the ideal tool. Simply remove the skin before proceeding with coring and cutting the pear according to your recipe’s instructions. This ensures you meet the recipe’s requirements while still enjoying the delicious interior of the fruit.
How to Tell When a Pear is Perfectly Ripe
Pears are among the delightful winter fruits that truly taste their best when consumed in season, offering peak flavor and juiciness. However, judging the ripeness of a pear can be a bit more nuanced compared to other fruits. Unlike bananas, pears don’t undergo a dramatic color change during the ripening process, and their texture shift is often more subtle than that of stone fruits. Pears fall somewhere in the middle, requiring a specific technique to assess their readiness.
The most reliable method to check a pear’s ripeness is the “thumb test.” Gently press on the outside of the pear, specifically near the stem end. If you feel a slight, yielding softness or “give” under your thumb, the pear is perfectly ripe and ready to be enjoyed. If the pear feels hard as a rock, it indicates that it needs a few more days to ripen on your countertop. Conversely, if it feels overly soft or mushy, it may be past its prime.
Once your pear has reached your desired level of ripeness, you can extend its shelf life by transferring it to the refrigerator. Chilling the fruit will effectively halt the ripening process, allowing you to store it for a longer period until you are ready to savor its sweet and juicy goodness. Properly storing ripe pears ensures you can enjoy them at their peak.
Optimal Storage for Cut Pears
Once pears are sliced or chopped, they, much like apples, are prone to quickly turning brown when exposed to air. This natural phenomenon is known as enzymatic browning, and it occurs when enzymes in the fruit react with oxygen. While the discoloration might look unappetizing, it’s important to understand that enzymatic browning does not mean the fruit has gone bad; it’s purely an aesthetic change and the pear remains perfectly safe to eat.
To significantly inhibit or prevent this browning on your cut pears, you can apply an acidic agent. A light squeeze of fresh lemon juice or a gentle brush of vinegar over the exposed surfaces of the pear pieces will work wonders. The acidity helps to denature the enzymes responsible for browning, keeping your pears looking fresh and appealing for longer.
For effective storage, place your treated cut pears in an airtight container. Alternatively, wrap them tightly with plastic wrap to minimize air exposure. Store these prepared pears in the refrigerator, where they will remain fresh and vibrant for approximately three to four days, ready for your next culinary creation or snack.

Frequently Asked Questions About Pears
What are the health benefits of eating pears?
Pears are a nutritional powerhouse! They are an excellent source of dietary fiber, which is crucial for digestive health and can aid in weight management. They also contain essential vitamins like Vitamin C and K, as well as minerals such as potassium. Pears are rich in antioxidants, particularly in their skin, which help combat oxidative stress and may reduce the risk of chronic diseases.
Can you freeze cut pears?
Yes, you can freeze cut pears! For best results, it’s recommended to lightly coat the pear slices or chunks with lemon juice (to prevent browning) before arranging them in a single layer on a baking sheet and freezing until solid. Once frozen, transfer them to an airtight freezer-safe bag or container. This prevents clumping and allows you to use only what you need. Frozen pears are perfect for smoothies, sauces, or baking.
How long do fresh pears last?
Unripe pears can last several days to a week or more at room temperature, slowly ripening. Once ripe, pears will last for about 3-5 days on the counter. To extend their freshness, transfer ripe pears to the refrigerator, where they can last for up to a week or even two. Keep them in a crisper drawer for optimal conditions.
Are pear seeds toxic?
Like apple seeds, pear seeds contain amygdalin, which can release cyanide when metabolized. However, the amount is very small, and you would need to consume a large quantity of crushed seeds for it to be harmful. Generally, accidentally swallowing a few intact seeds is harmless. It’s best to avoid eating the seeds, and they are typically removed along with the core during preparation.
More Helpful Kitchen Guides
- Discover the surprisingly simple method for cutting watermelon into sticks with this easy-to-follow guide!
- Learn how to cut potatoes into perfect wedges, ideal for making crispy steak fries or delicious grilled potato wedges.
- Eliminate guesswork and say goodbye to overcooked turkey with this straightforward guide on how long to cook ground turkey to perfection.
How to Cut a Pear: Quick Reference Guide
Author: Gina Matsoukas
Servings: 1 serving
Prep Time: 5 minutes
Total Time: 5 minutes
Ingredients
- 1 ripe pear
- Sharp knife
- Cutting board
Instructions
- Rinse and clean the pear well under cold water.
- Using a sharp knife, slice down the length of the pear to create two halves.
- Use a small spoon or melon baller to scoop out the core.
- For stuffed pears: scoop out a bit more to create a cavity large enough for the stuffing.
- For sliced pears: Lay one half of the pear on a flat surface, cut side facing down. Slice lengthwise from top to bottom of the pear in as thick or thin a manner as desired. For shorter slices, slice horizontally across the pear.
- For chopped or diced pears: Cut around the core so that there are four pieces of pear. Lay a flat side of one of the pieces down on the cutting board and slice into 1/4 -1/2″ thick pieces. Turn the slices at a 90-degree angle and slice in the opposite direction for chopped pears. To create a smaller dice, simply make thinner slices and cuts.
Nutrition Information (Approximate per serving)
- Calories: 101 kcal
- Carbohydrates: 27 g
- Protein: 1 g
- Sodium: 2 mg
- Fiber: 6 g
- Sugar: 17 g
Nutrition information is automatically calculated, so should only be used as an approximation.
Additional Information
Course: Guides
Cuisine: American