
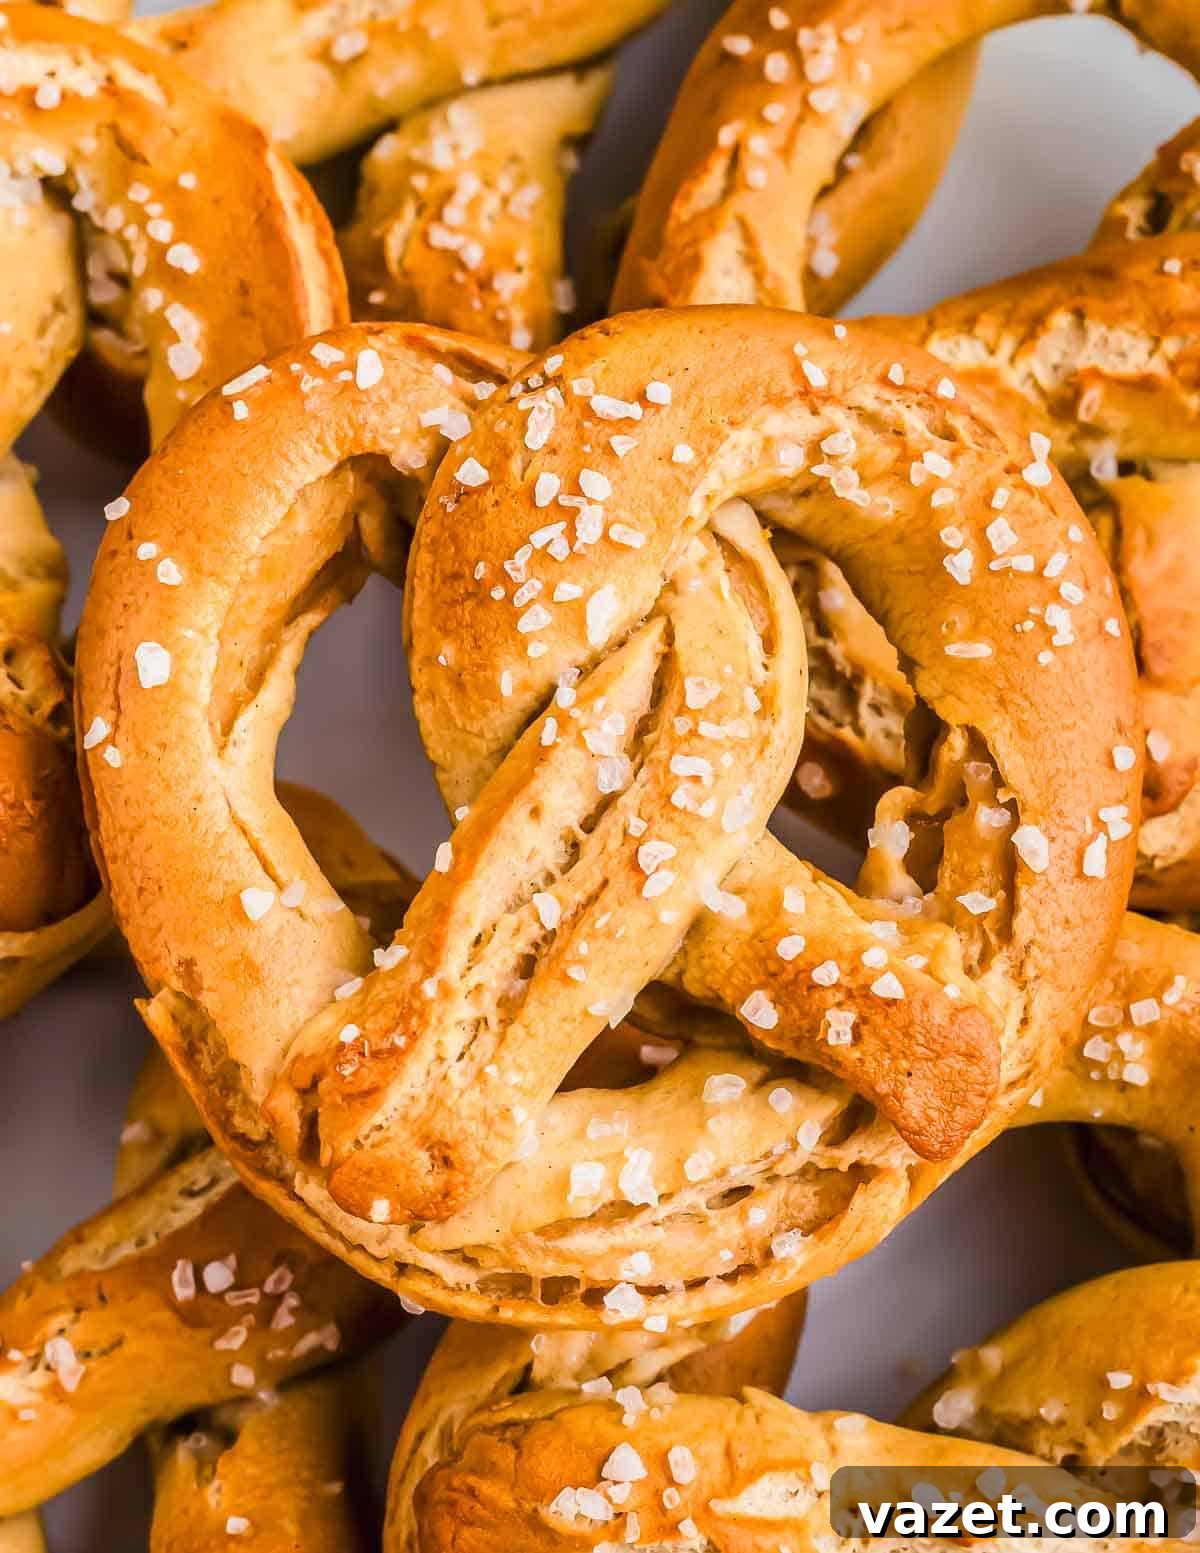
Craving that iconic soft pretzel experience but need it gluten-free? Look no further! This perfected recipe for **gluten-free soft pretzels** delivers everything you adore about a classic pretzel, whether it’s from a bustling mall food court or a charming city street vendor. Forget the disappointment of crumbly or bland gluten-free imitations; this recipe masterfully recreates that irresistible soft, chewy, and slightly addictive pretzel texture and taste, all with gluten-free flour. You won’t miss a beat with this easy, step-by-step guide, having warm, dreamy soft pretzels ready in just over an hour.
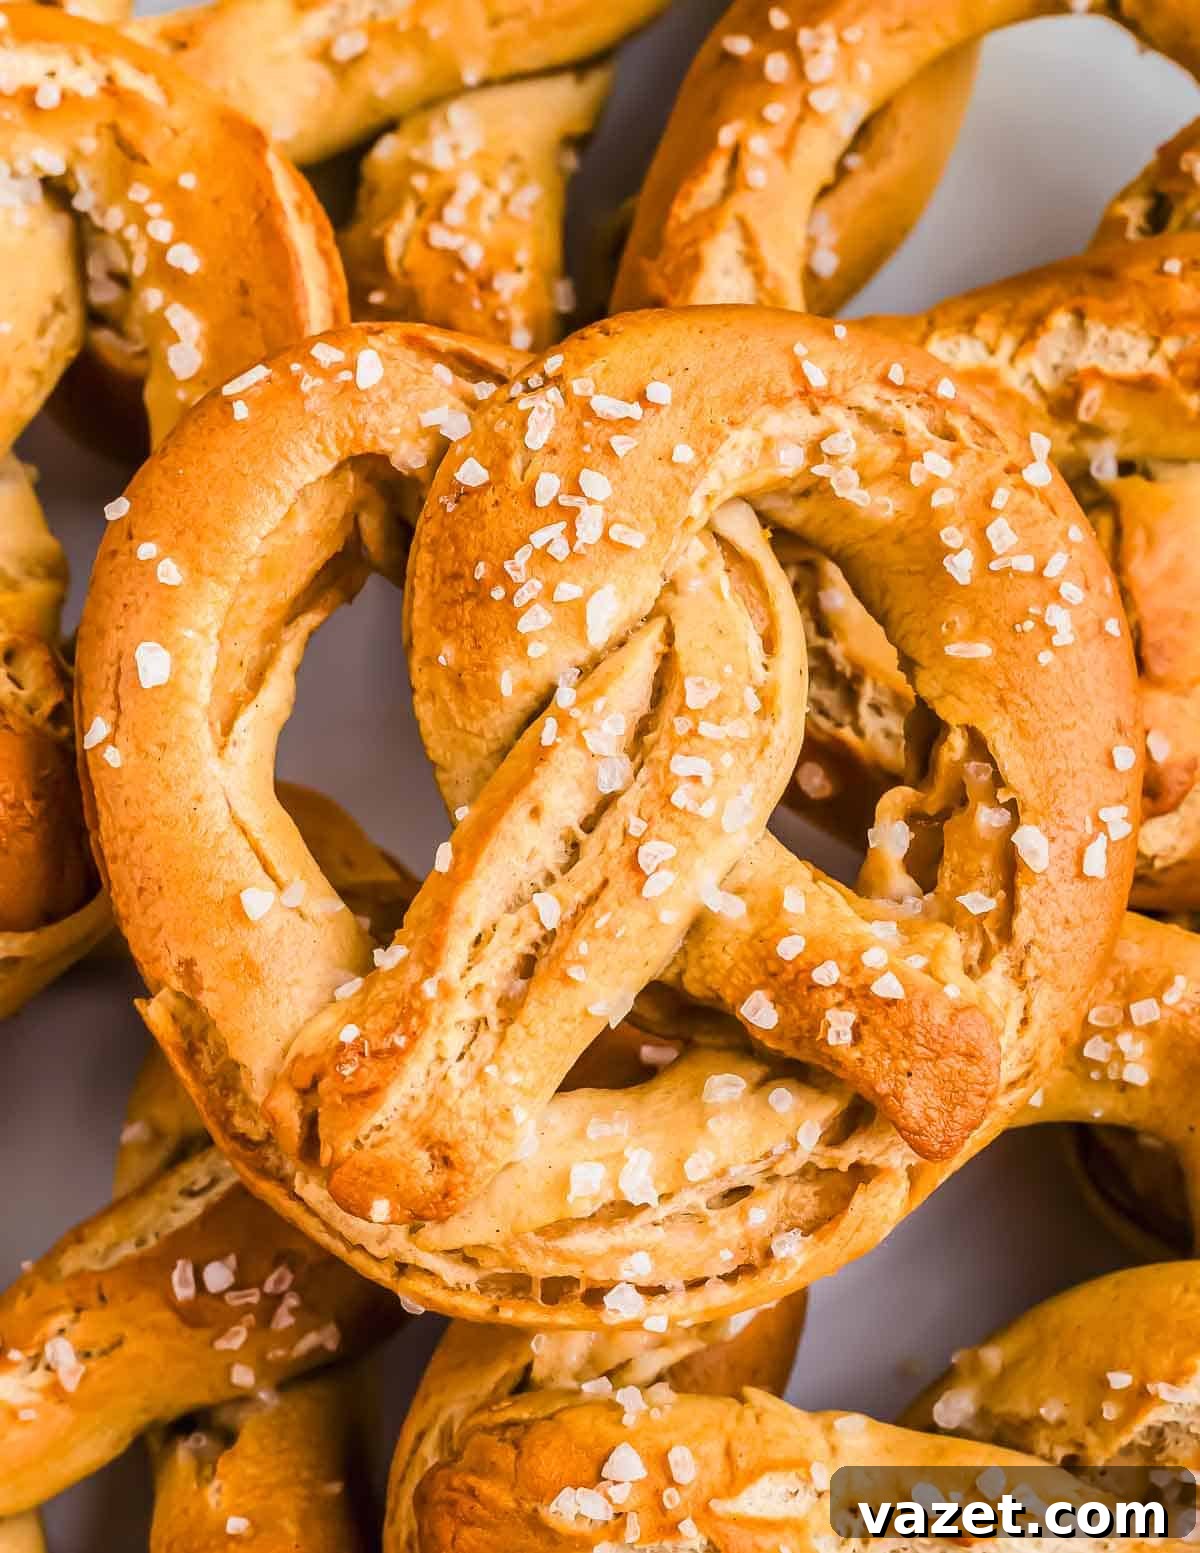
This recipe holds a special place in our hearts. My husband and I share a profound love for soft pretzels. Living in rural New York, restaurant options can be limited. However, we’re fortunate to have several fantastic breweries nearby, and one in particular has become our beloved Friday afternoon ritual. You can often find us at Ommegang Brewery in Cooperstown, NY, eagerly anticipating whether their rotating menu features the “brewer’s board” – a delightful charcuterie-inspired spread with a colossal, perfectly baked soft pretzel as its star.
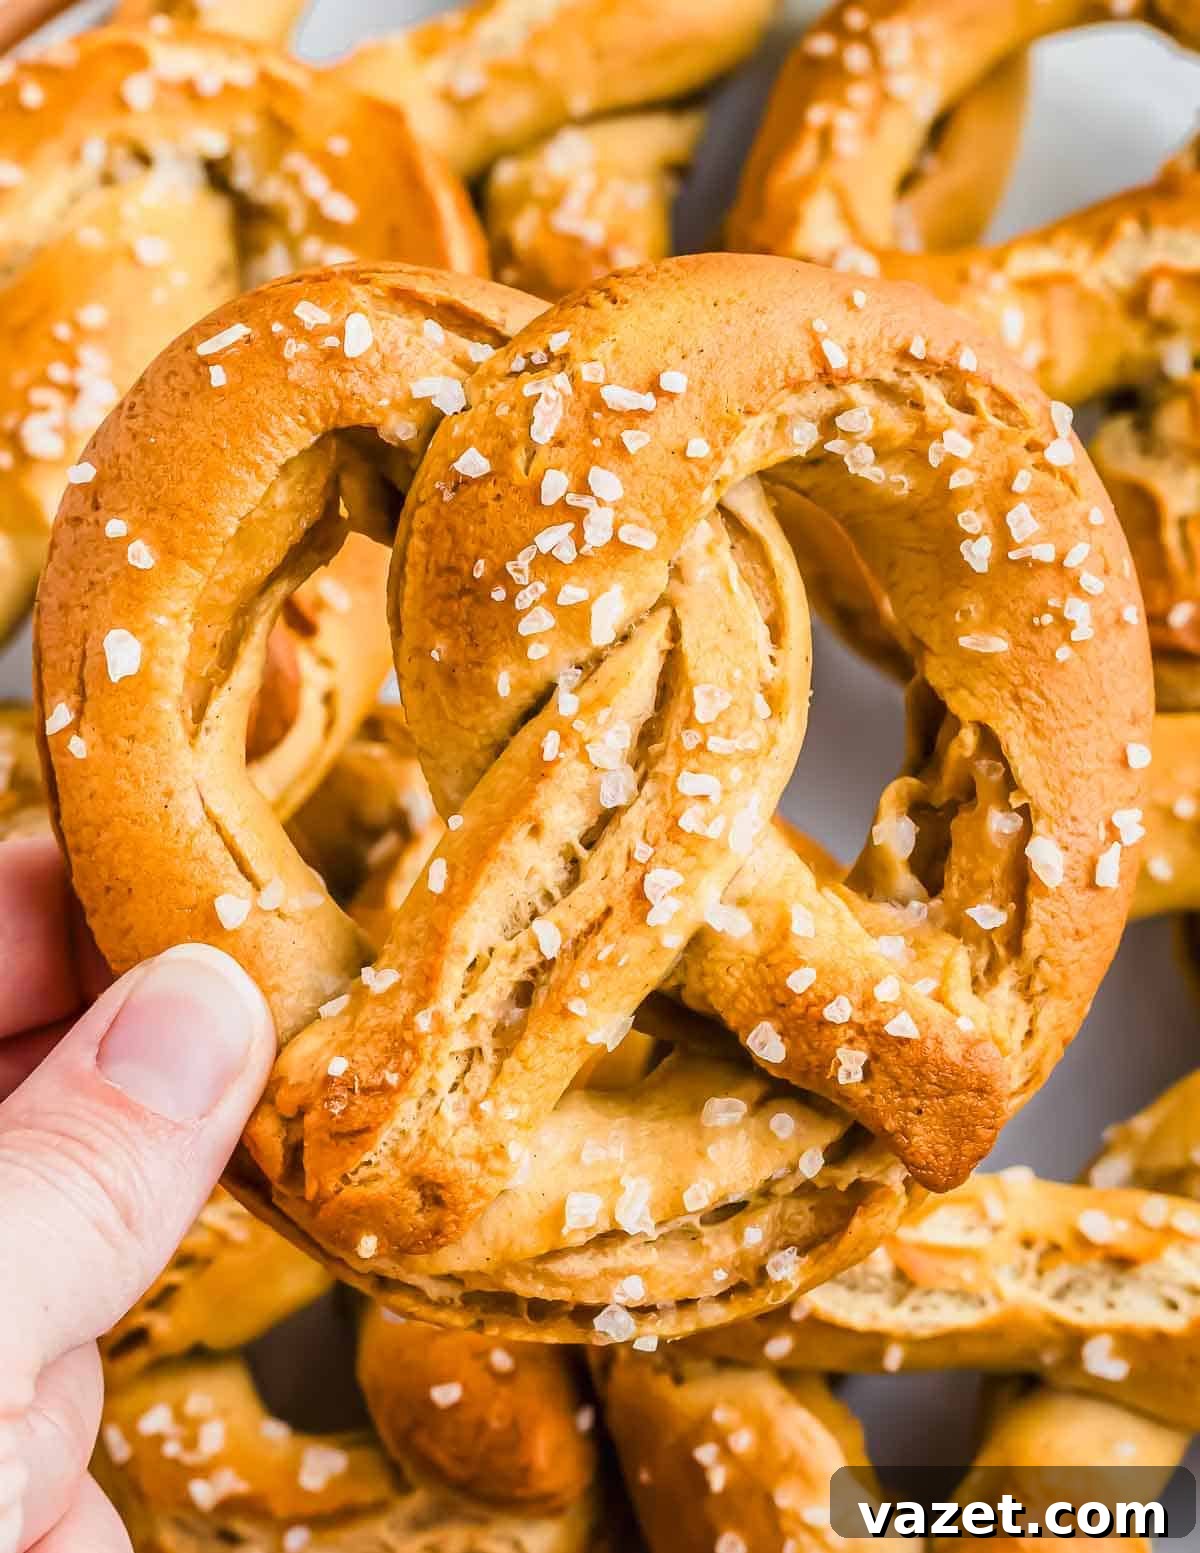
That pretzel embodies every soft pretzel lover’s dream: a beautifully crispy, golden-brown exterior dusted with just the right amount of coarse salt, giving way to a wonderfully doughy, chewy center. It’s the kind of indulgence that, frankly, makes me question my ability to ever commit to a full carnivore diet! As someone who eats mostly gluten-free, a few bites of this magnificent pretzel serve as my cherished weekly “cheat.” Recreating this authentic soft pretzel in a gluten-free form has been at the top of my baking list for over a year, and after extensive trial and error, I’m thrilled to finally share this triumphant recipe with you.
These **homemade gluten-free soft pretzels** are truly the real deal. They encapsulate **everything** you love about a “traditional” pretzel, but in a completely gluten-free package. I don’t make this claim lightly, as we’ve all encountered too many gluten-free imitations that simply don’t measure up to their gluten-filled counterparts. I was absolutely resolute in not sharing this recipe until it was flawlessly solid, consistently delivering superior results. So, trust me when I say, this one is a winner!
While making pretzels, including delicious stuffed pretzel bites, involves a few distinct steps, there’s nothing inherently difficult or intimidating about the process. To guide you every step of the way, I’ve included helpful pictures for each stage. Once you’ve successfully made them yourself, you’ll likely wonder why you ever thought they seemed complicated in the first place.
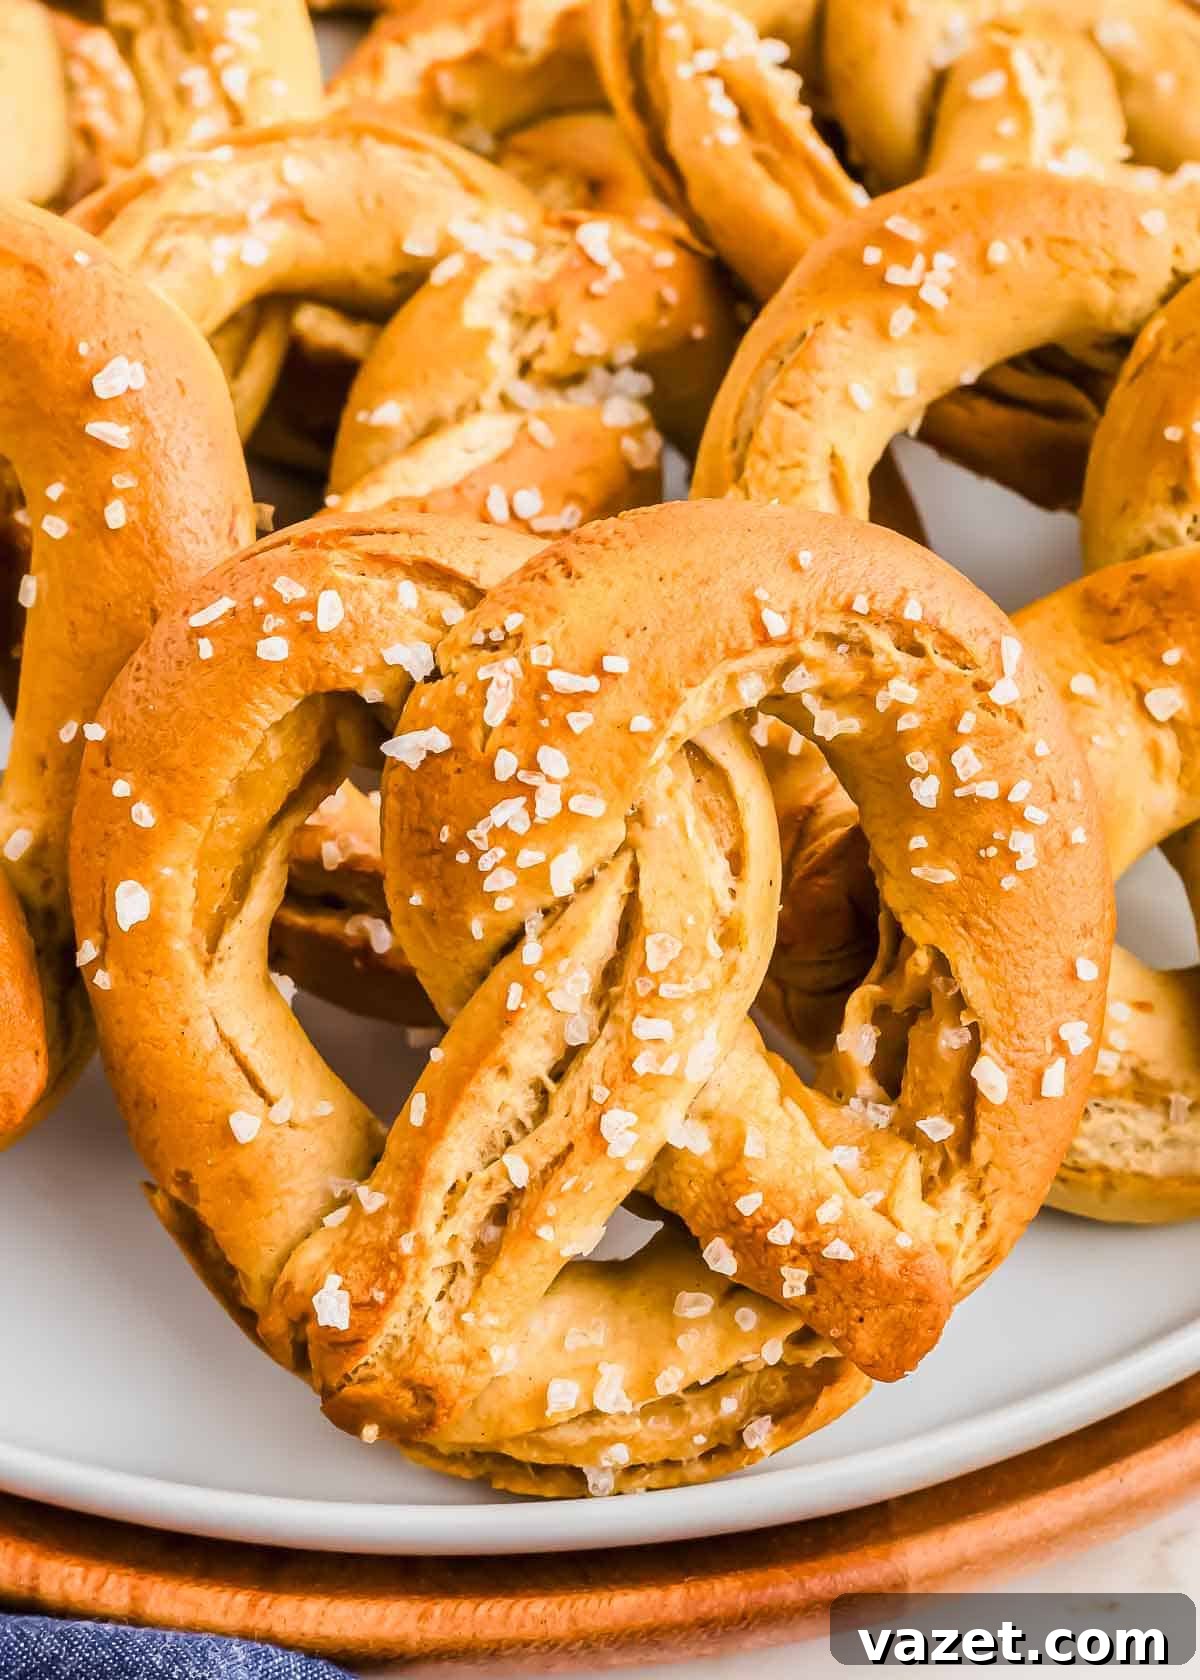
Essential Ingredients for Your Gluten-Free Soft Pretzels
Crafting the perfect gluten-free soft pretzel requires a few key ingredients, each playing a vital role in achieving that sought-after texture and flavor. Here’s a detailed look at what you’ll need:
- Gluten-Free All-Purpose Flour: For this specific **gluten-free pretzel recipe**, I highly recommend using King Arthur Measure for Measure Gluten-Free Flour. This blend is my go-to for most gluten-free baking due to its consistent performance. It’s crucial to note that every GF flour blend is formulated differently and will behave uniquely in recipes. Using the King Arthur blend ensures the most consistent and guaranteed results for these pretzels.
- Baking Soda: This humble ingredient serves two critical purposes. First, a small amount is incorporated into the dough to aid in leavening and contribute to the pretzel’s rise. More importantly, it’s used in the water bath for a par-cooking step, which is absolutely essential for the classic pretzel crust and chew.
- Salt: A touch of salt is fundamental in almost any baking recipe, not just for taste, but to enhance and bring out the deeper flavors of the other ingredients.
- Xanthan Gum: This is arguably **the most critical ingredient** in achieving the perfect texture for these **GF pretzels**. While many gluten-free flour blends, like King Arthur’s, already include xanthan gum, I found through extensive testing that an additional amount is necessary. Without it, the pretzel dough tends to be too crumbly and lacks the elasticity needed to hold its shape and achieve that signature chew. **Do not skip this ingredient!** It’s remarkable how such a tiny quantity can make such a profound difference in the final outcome of your homemade gluten-free pretzels.
- Brown Sugar: The addition of brown sugar to the dough serves several functions. It provides a food source for the yeast, helping it to activate and proof effectively. Beyond its functional role, brown sugar also imparts a lovely, subtle sweetness and a deeper, more nuanced flavor to the finished pretzels.
- Salted Butter: Using salted butter in the dough contributes significantly to the overall flavor profile of the pretzels, adding a rich, savory depth. Furthermore, butter enhances the dough’s texture, making it wonderfully silky and a dream to knead and shape.
- Eggs: You’ll need two eggs for this recipe. One egg is directly incorporated into the pretzel dough, contributing to its structure and richness. The other egg is reserved to create an egg wash, which is brushed over the shaped pretzels before baking. This wash is key to achieving that authentic, irresistible golden-brown color and slightly glossy finish.
- Warm Water: Filtered water, maintained at a precise temperature between 100°F and 110°F, is essential for properly activating the instant yeast. Using a digital thermometer is highly recommended to ensure accuracy, as water temperatures exceeding 115°F can unfortunately kill the yeast, preventing the dough from rising.
- Instant Yeast: The freshness of your yeast packet is paramount for successful dough rising. Always double-check the expiration date – it’s a simple yet frequently overlooked tip when working with yeast-based recipes. I personally use Fleischmann’s RapidRise Fast-Acting instant yeast for consistent results.
- Olive Oil: A generous amount of extra virgin olive oil is used to grease the bowl where the dough will proof. It also comes in handy for lightly oiling your hands while shaping the pretzels, helping to keep the dough moist and preventing it from sticking excessively.
How to Make the Best Gluten-Free Soft Pretzels at Home
Making delicious **homemade gluten-free pretzels** is a rewarding culinary adventure. While the process is straightforward, having the right tools on hand can make it even smoother. Here’s a list of a few pieces of equipment you’ll find useful:
- Stand Mixer with Dough Hook: Essential for efficiently mixing and kneading the pretzel dough to the perfect consistency.
- Food Scale: Invaluable for precise measurement, especially when dividing the dough to ensure uniform pretzel sizes and even baking.
- Bench Scraper: A versatile tool for dividing dough, cleaning your work surface, and easily transferring dough.
- Large Pot: For the crucial baking soda bath.
- Slotted Spoon or Spider Strainer: For carefully transferring pretzels from the boiling bath to the baking sheet.
- Parchment Paper: To line baking sheets, preventing sticking.
- Pastry Brush: For applying the egg wash.
For more detailed notes and helpful tips, make sure to read the full recipe section below.
1. Preparing the Gluten-Free Pretzel Dough
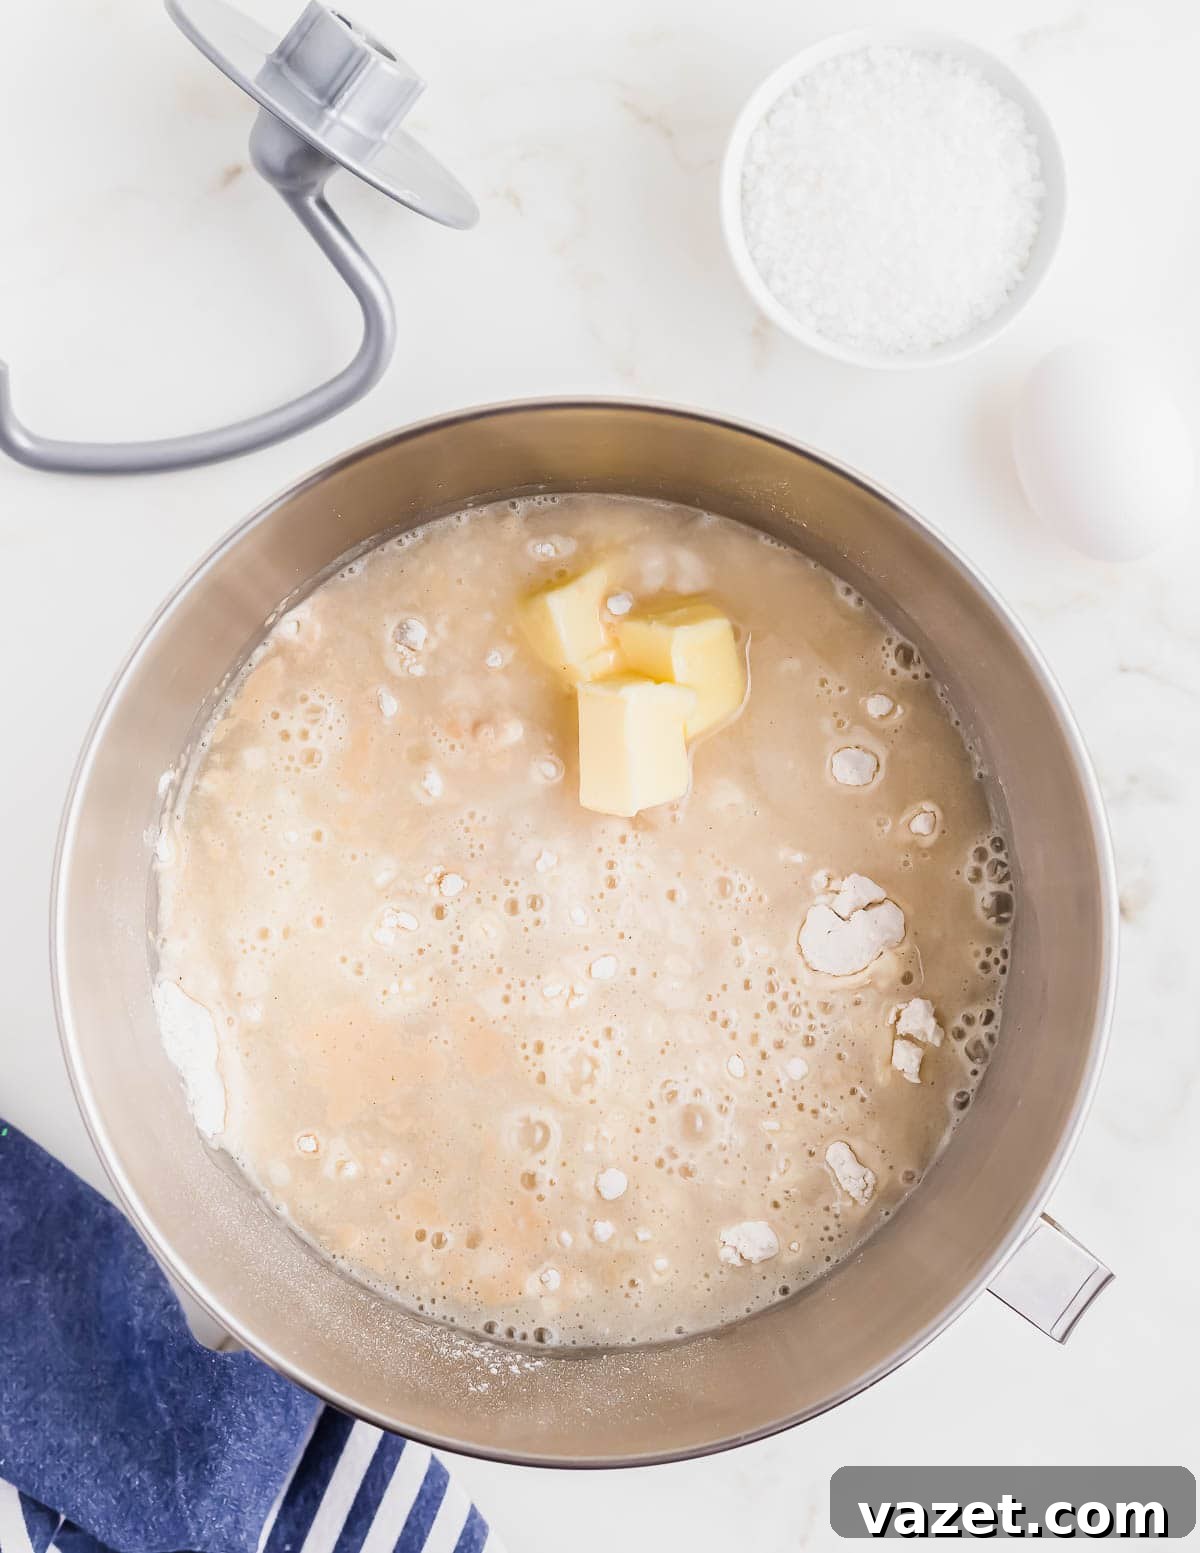
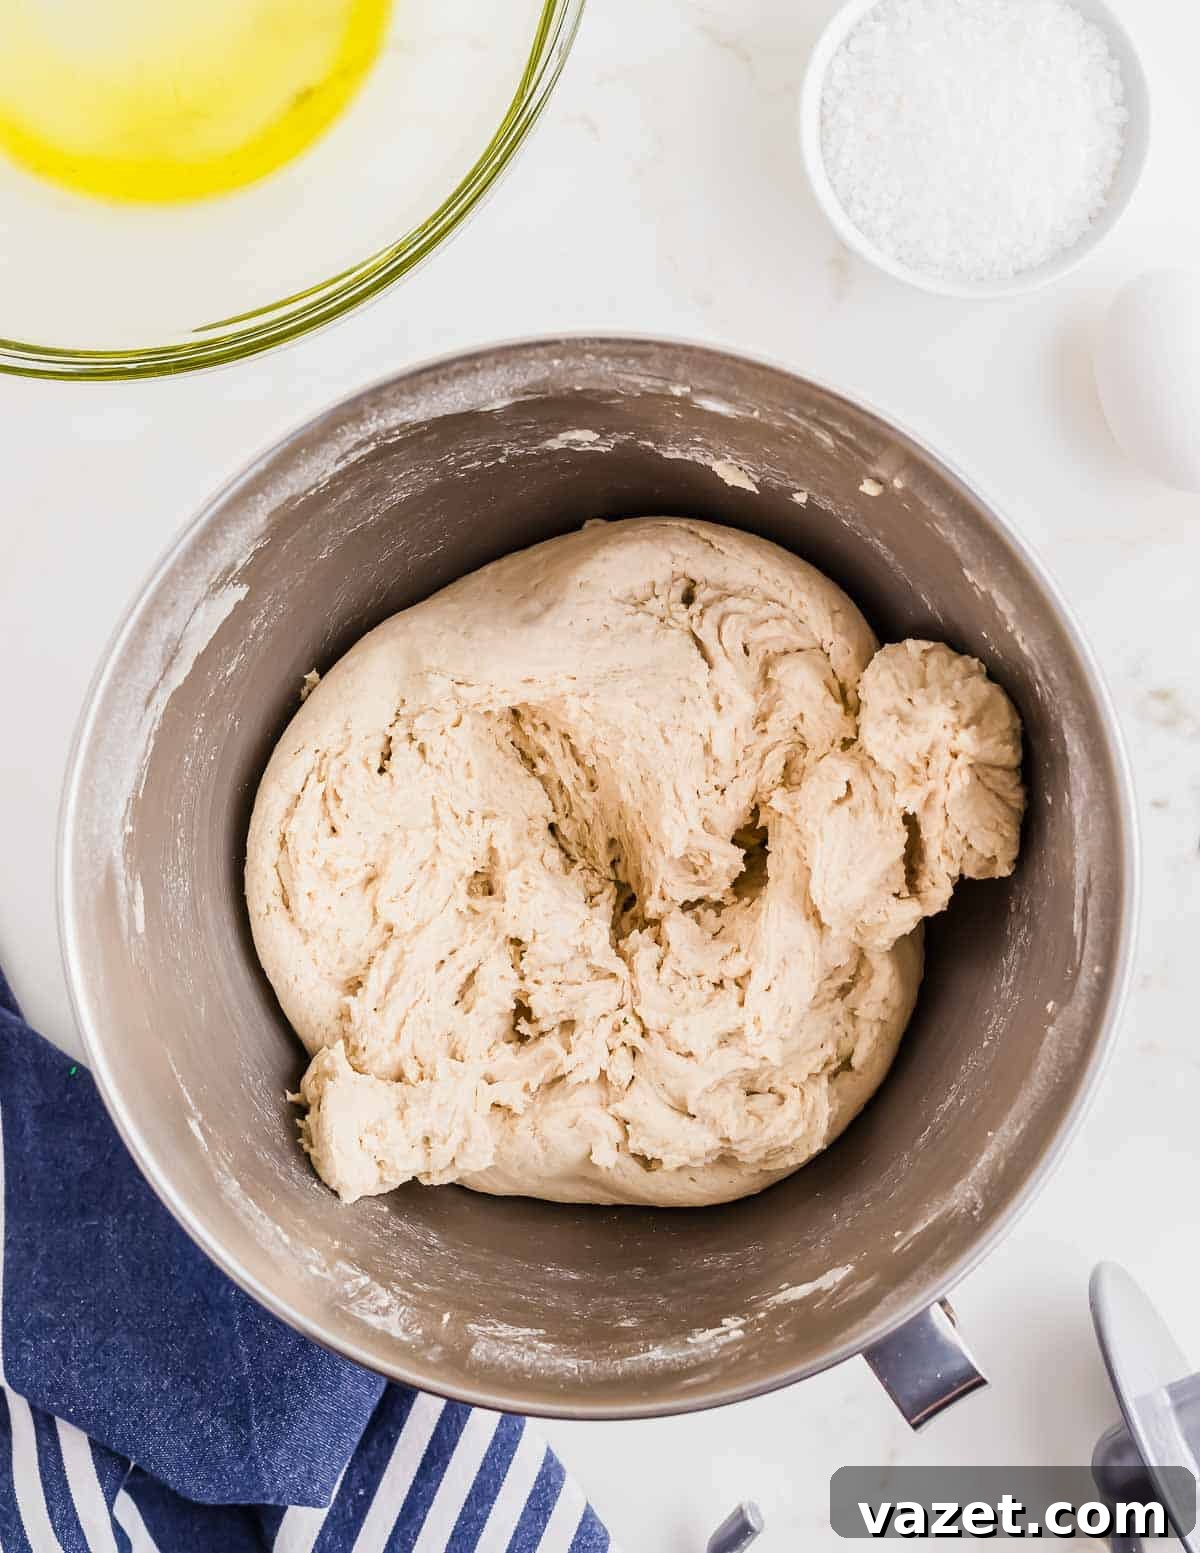
Begin by combining all the dry ingredients – gluten-free all-purpose flour, salt, baking soda, xanthan gum, and brown sugar – in the bowl of your stand mixer. Add the softened salted butter, one of the eggs, and the instant yeast. Slowly pour in the warm water, ensuring it’s between 100°F and 110°F to activate the yeast without killing it.
Attach the dough hook to your mixer and start mixing on a low speed until all ingredients are just combined. Once everything comes together, gradually increase the speed to medium-low and continue mixing for approximately 3-4 minutes. The goal is to achieve a well-blended, smooth dough with a slightly sticky, yet manageable, texture. This gentle kneading helps to develop the structure of the gluten-free flour blend.
2. Allowing the Dough to Proof and Rise
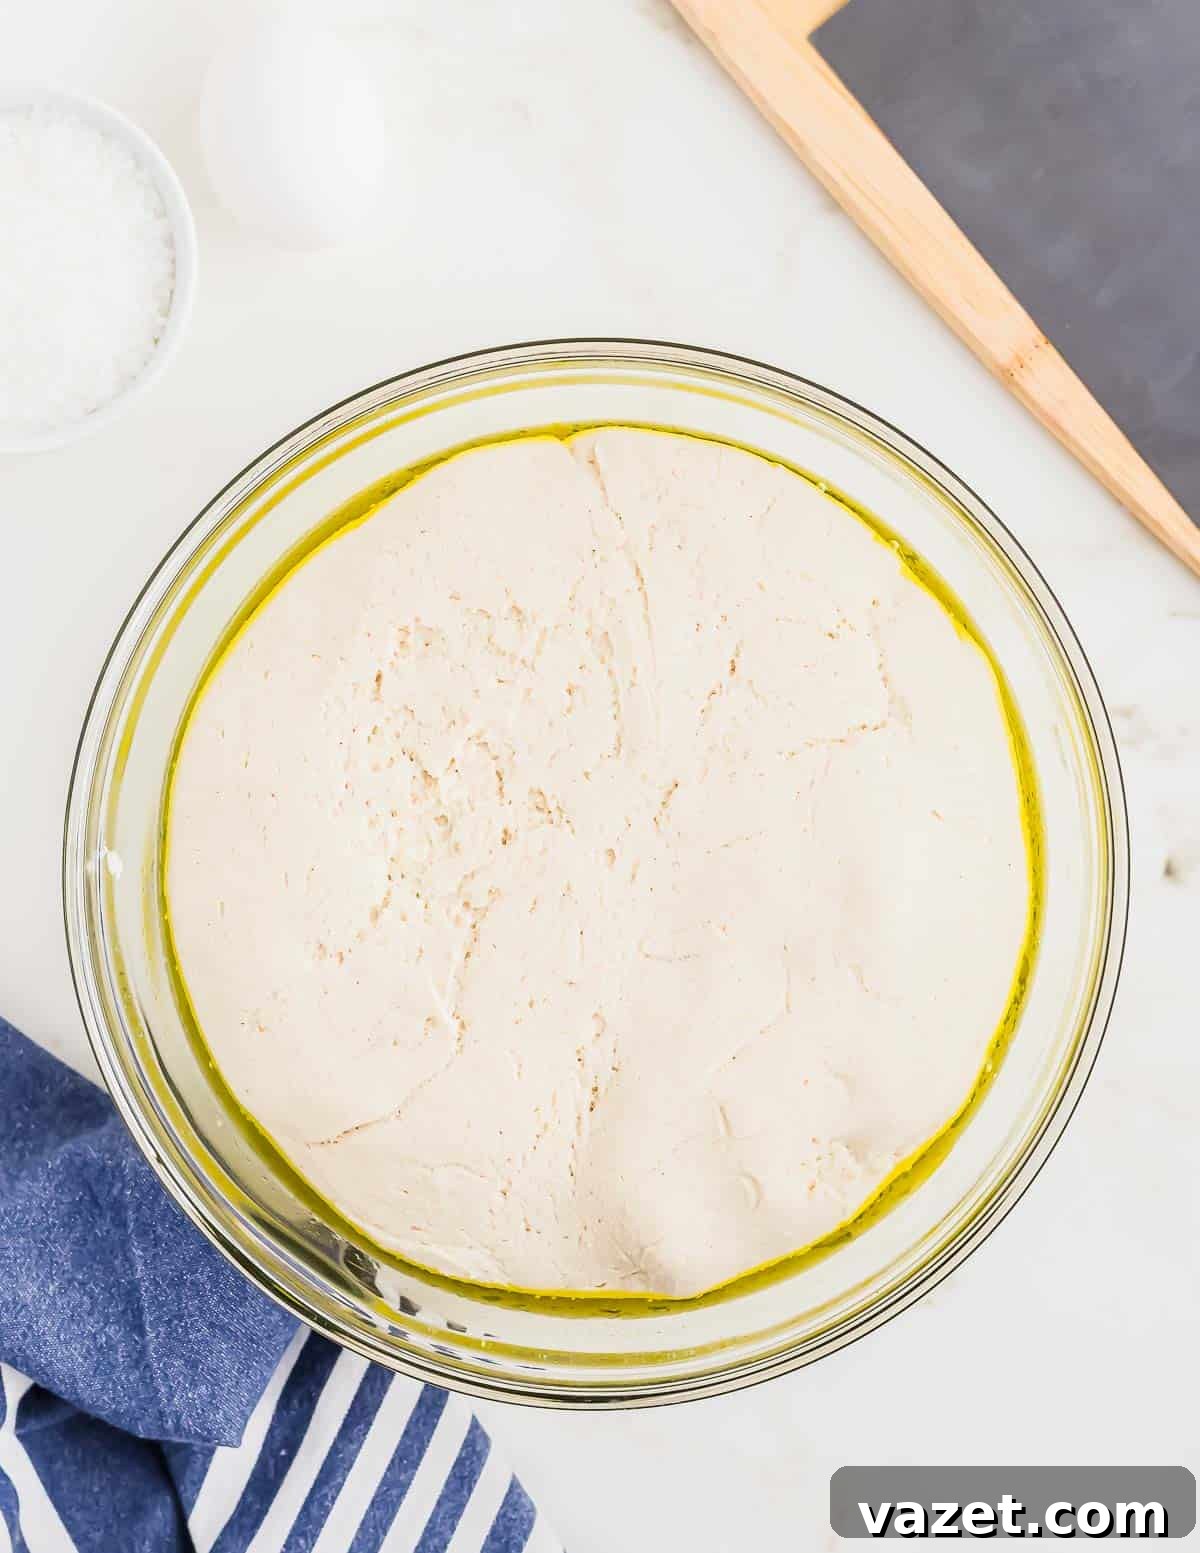
Once your dough is mixed, generously oil a large bowl with extra virgin olive oil. Form the dough into a cohesive ball and transfer it to the prepared bowl. Cover the bowl tightly with plastic wrap to prevent the dough from drying out. Place the bowl in a warm, draft-free spot for about 40 minutes to allow the dough to proof and rise. A warmed microwave (heated briefly with a cup of water, then removed) can serve as an excellent proofing chamber. The dough should visibly grow slightly larger and appear airy when it’s ready for the next step.
3. Shaping Your Perfect Gluten-Free Pretzels
As the dough finishes its rise, preheat your oven to 425°F. Next, prepare your baking soda bath: fill a large pot with 10 cups of water and ½ cup of baking soda, then bring it to a rolling boil. In a small separate bowl, vigorously whisk the remaining egg to create an egg wash, and set it aside.
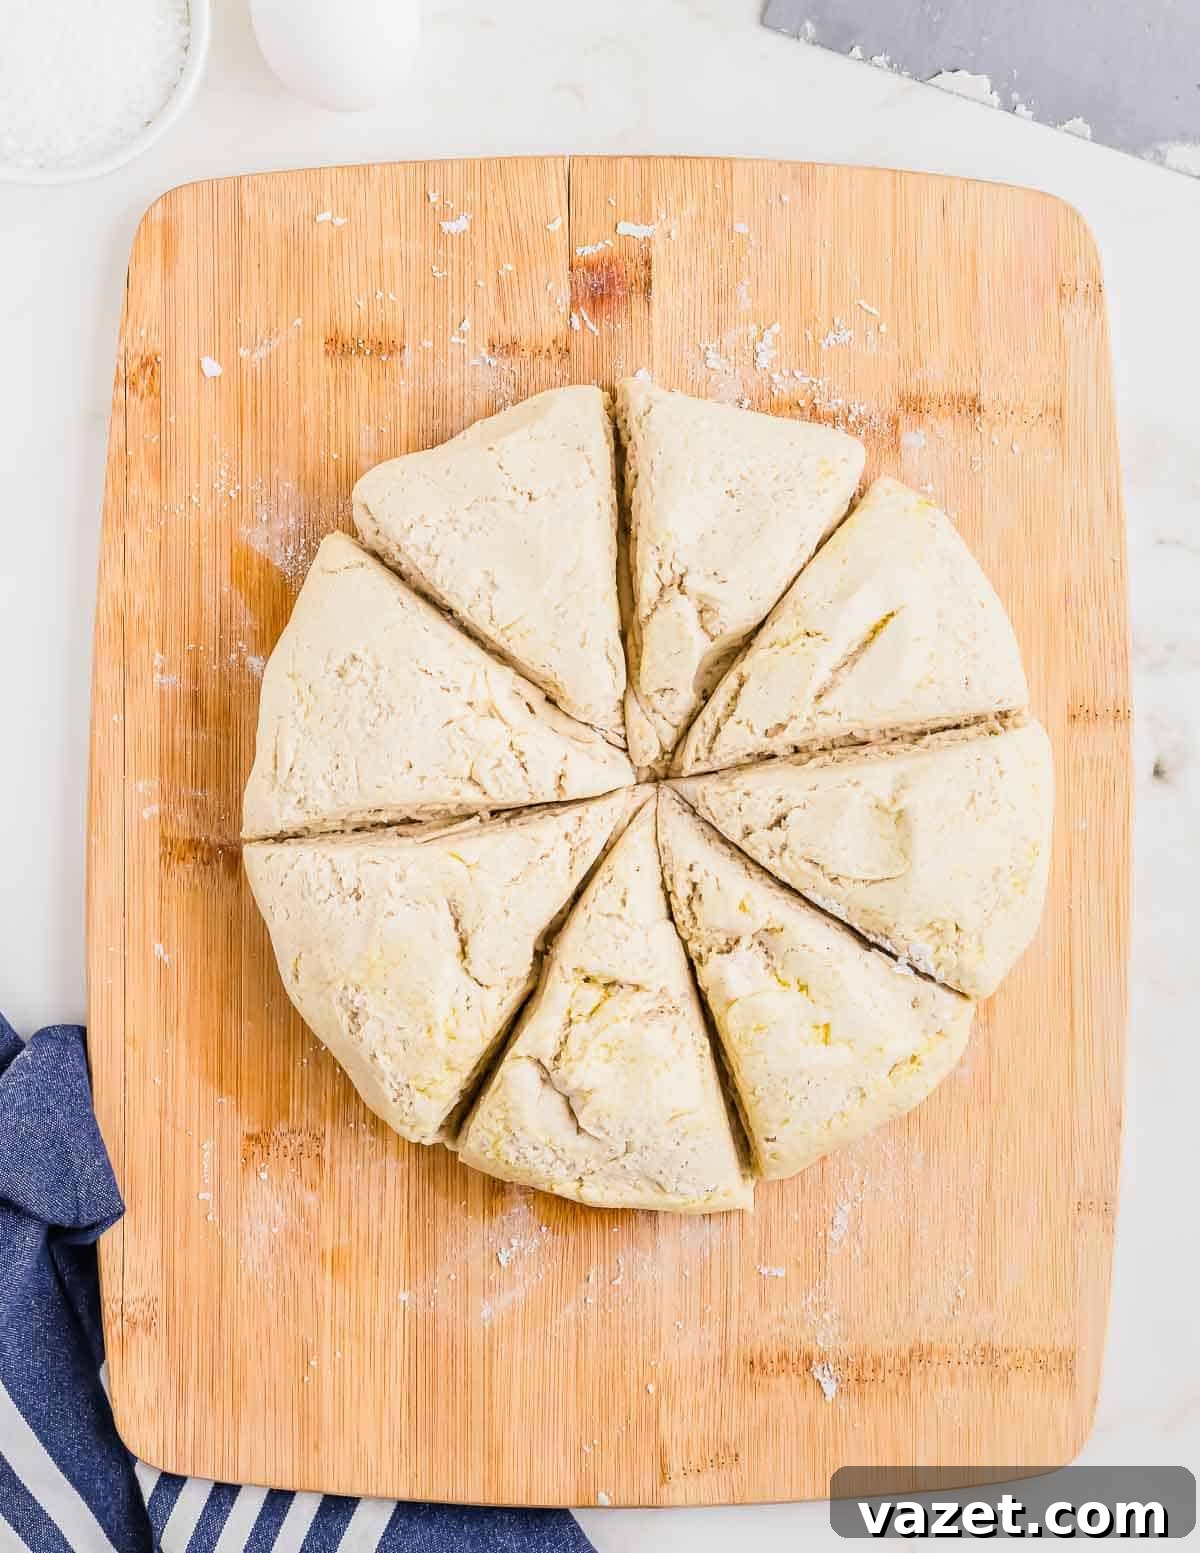
Lightly flour your clean work surface and gently transfer the risen pretzel dough onto it. Knead the dough lightly for about 2 minutes to release any air bubbles and improve its elasticity, then reform it into a ball. Using a bench scraper or a sharp knife, divide the dough into 8 equal portions.
Pro Tip for Uniform Pretzels
Recipe Tip: Use a Food Scale
For perfectly uniform pretzels that bake evenly, this is where your food scale truly shines. Weigh the entire dough ball after kneading to get its total weight. Then, divide that total weight by 8 to determine the ideal weight for each individual dough portion. This ensures all your pretzels are consistent in size and thickness.
Work with one piece of dough at a time, keeping the remaining portions covered in the oiled bowl to prevent them from drying out. Roll one piece of dough into a long rope, aiming for approximately 18 inches in length and 1 to 1.5 inches in thickness. As you roll, maintain a lightly floured surface, adding only a little flour as needed. Too much flour can dry out the dough, causing it to crack. If the dough becomes sticky, lightly coating your hands with olive oil can help considerably.
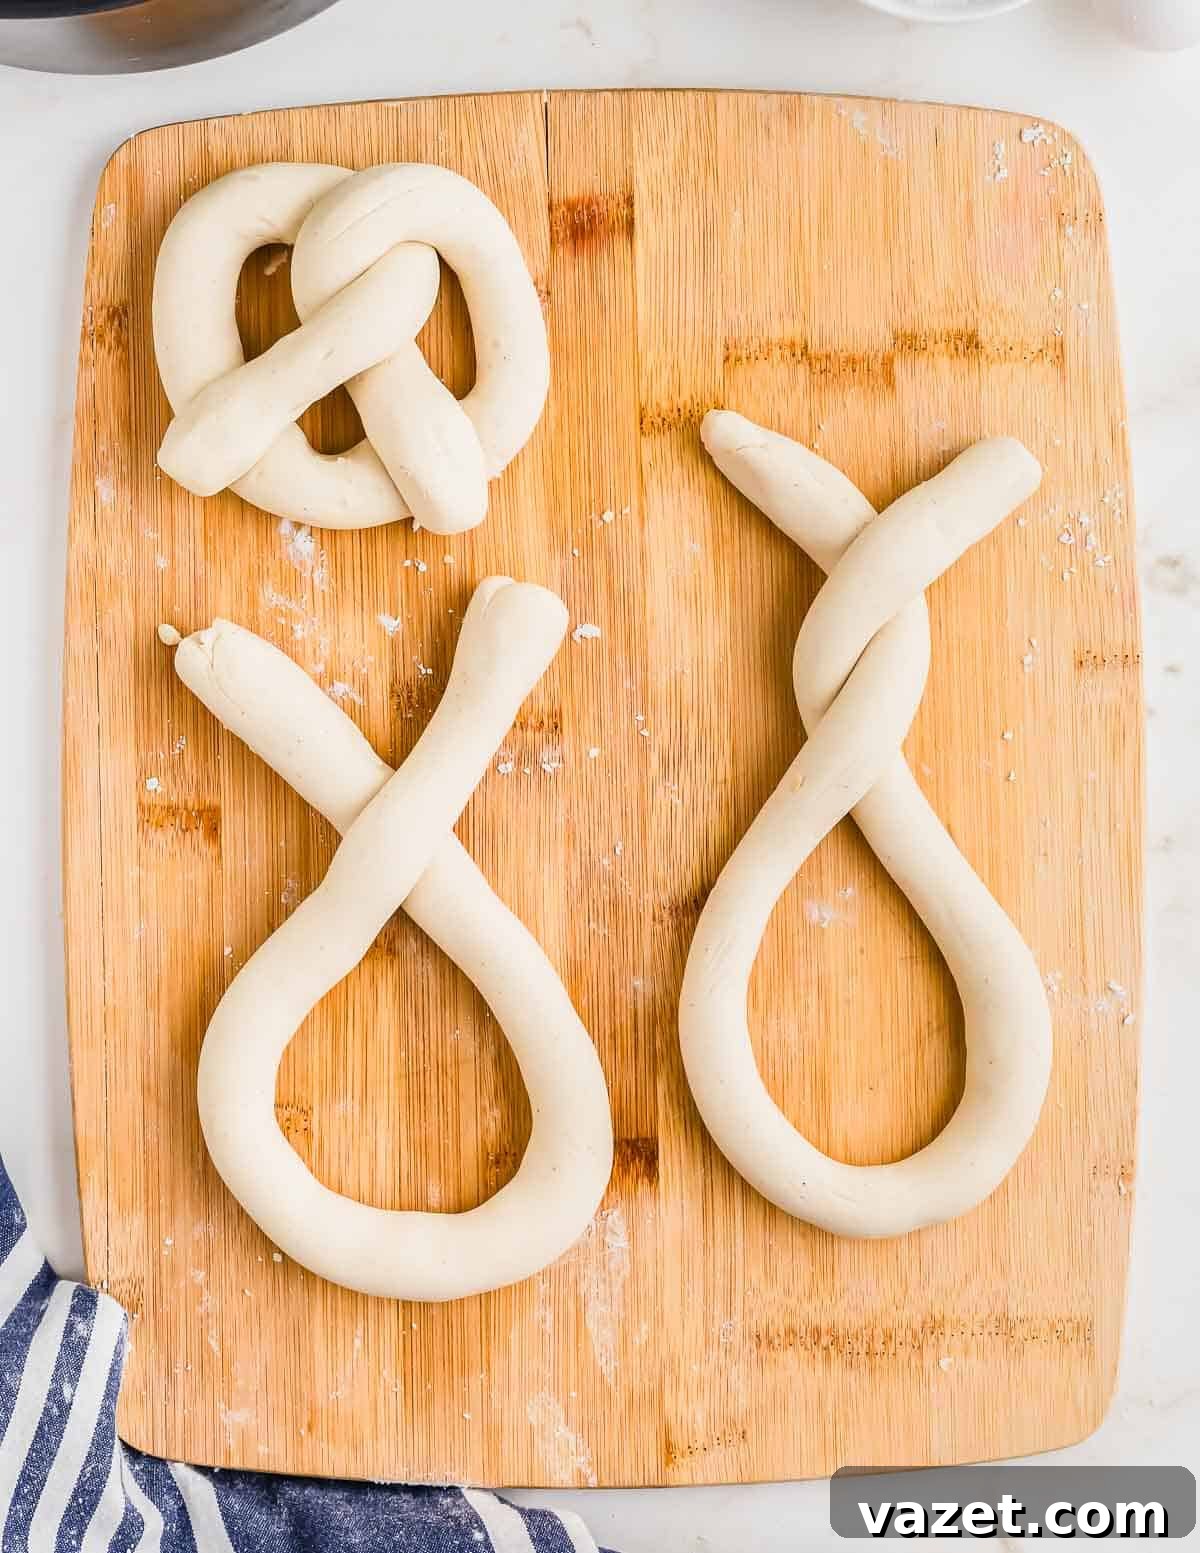
To form the classic pretzel shape: take the rope of dough, bring the two ends upwards so they meet, creating a U-shape. Gently twist the ends together once or twice. Then, fold the twisted ends down towards the bottom curve of the U-shape, pressing them firmly into place with a dab of water if necessary to secure them. Carefully adjust the pretzel to ensure the twist is centered and both sides are symmetrical.
4. The Crucial Baking Soda Bath
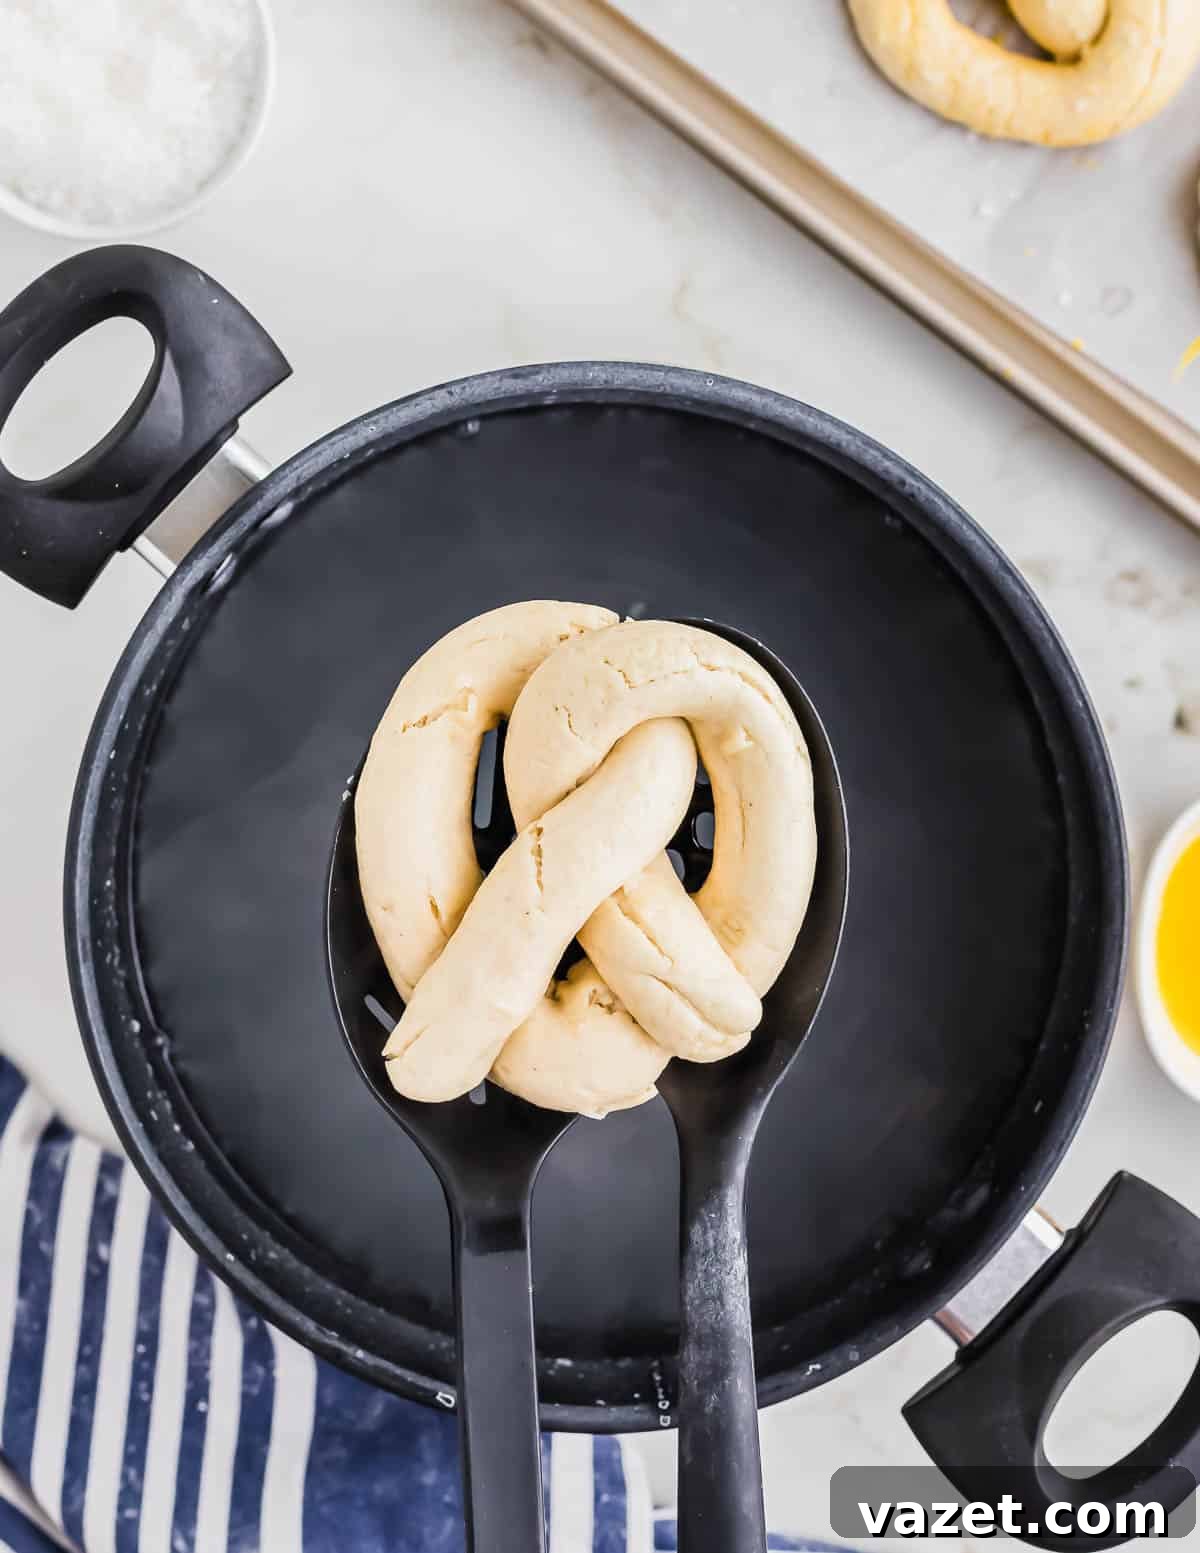
This step is absolutely fundamental for achieving the signature texture of soft pretzels – do not skip it! Gently lower one shaped pretzel into the vigorously boiling water bath. It will initially sink but quickly rise to the surface within a few seconds. Once it floats, allow it to boil for precisely 25-30 seconds. Using a slotted spoon or spider strainer, carefully remove the pretzel, allowing as much excess water as possible to drain off. Immediately transfer the par-cooked pretzel to a baking sheet lined with parchment paper.
5. Egg Wash, Salt, and Bake to Golden Perfection
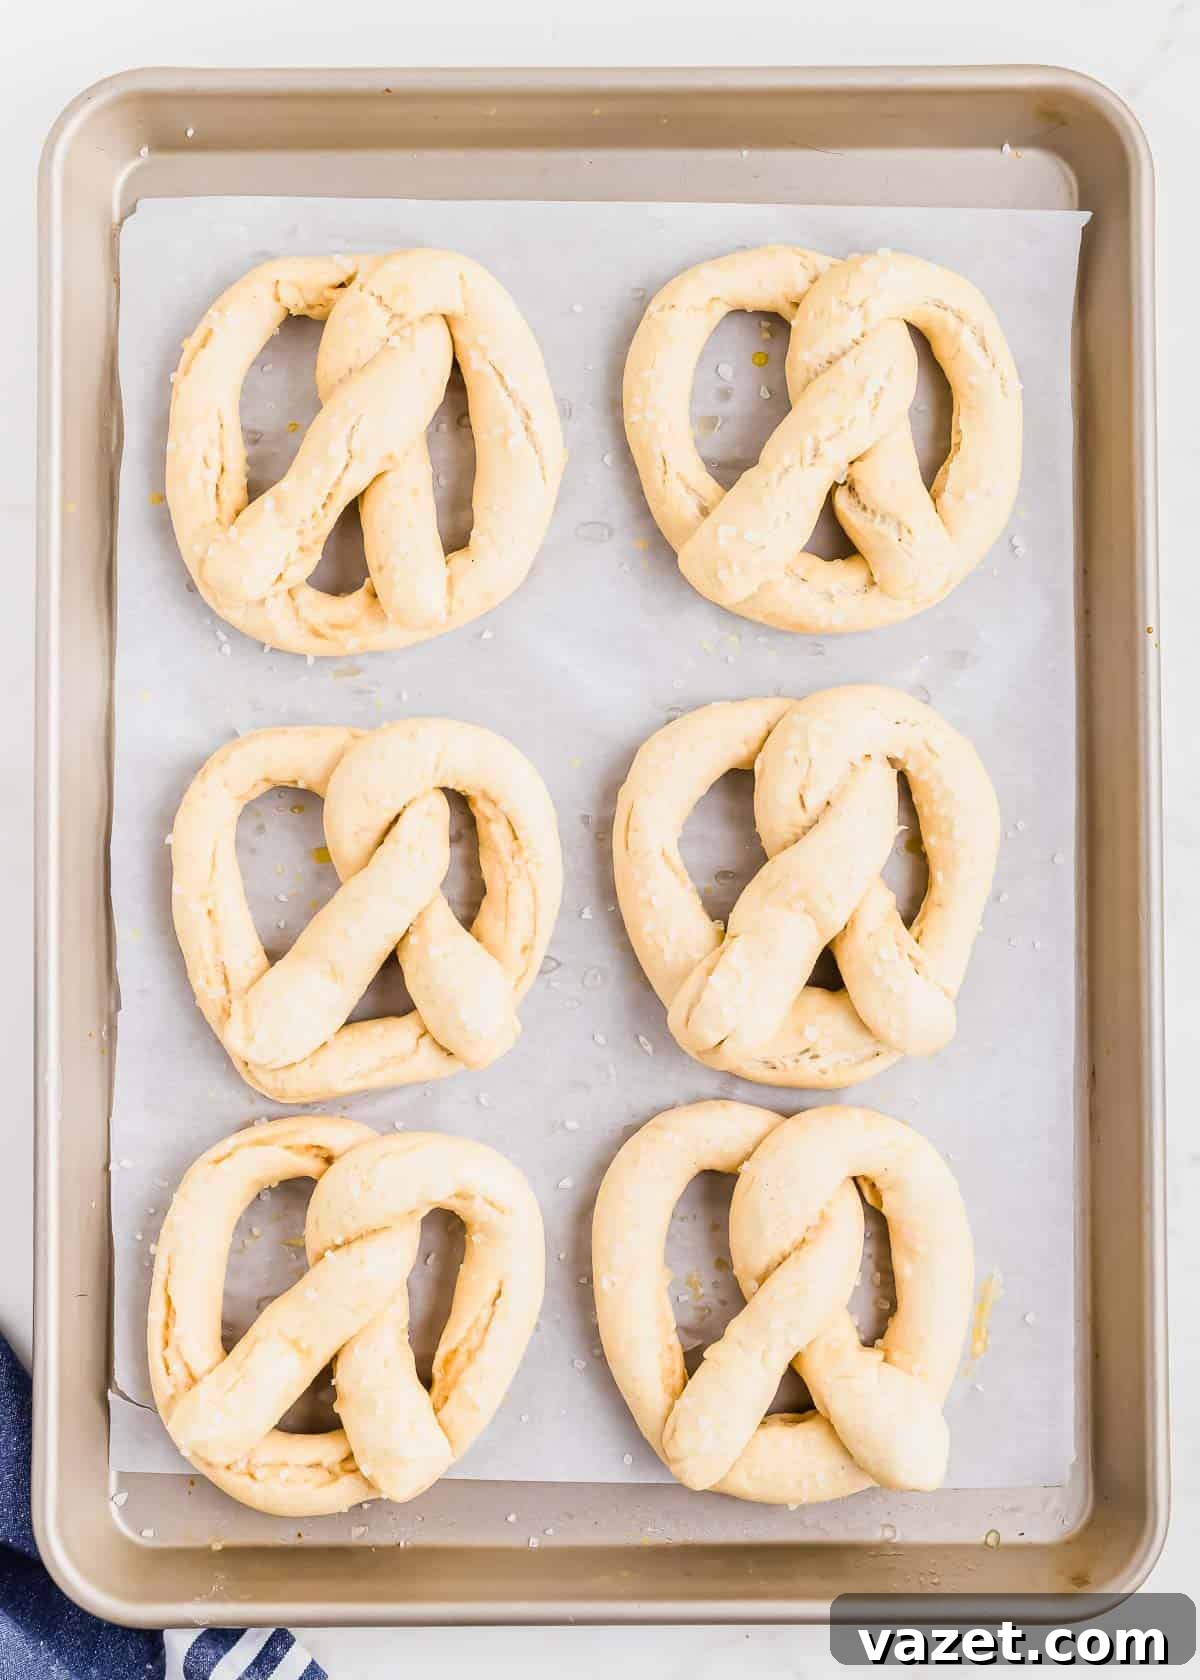
Once a pretzel is on the parchment-lined baking sheet, use a pastry brush to coat it evenly with the prepared egg wash. Immediately sprinkle generous amounts of coarse salt (or pretzel salt) over the wet egg wash, ensuring it adheres well. Repeat this boiling, egg-washing, and salting process for the remaining 7 dough sections until all your pretzels are ready on the baking sheets.
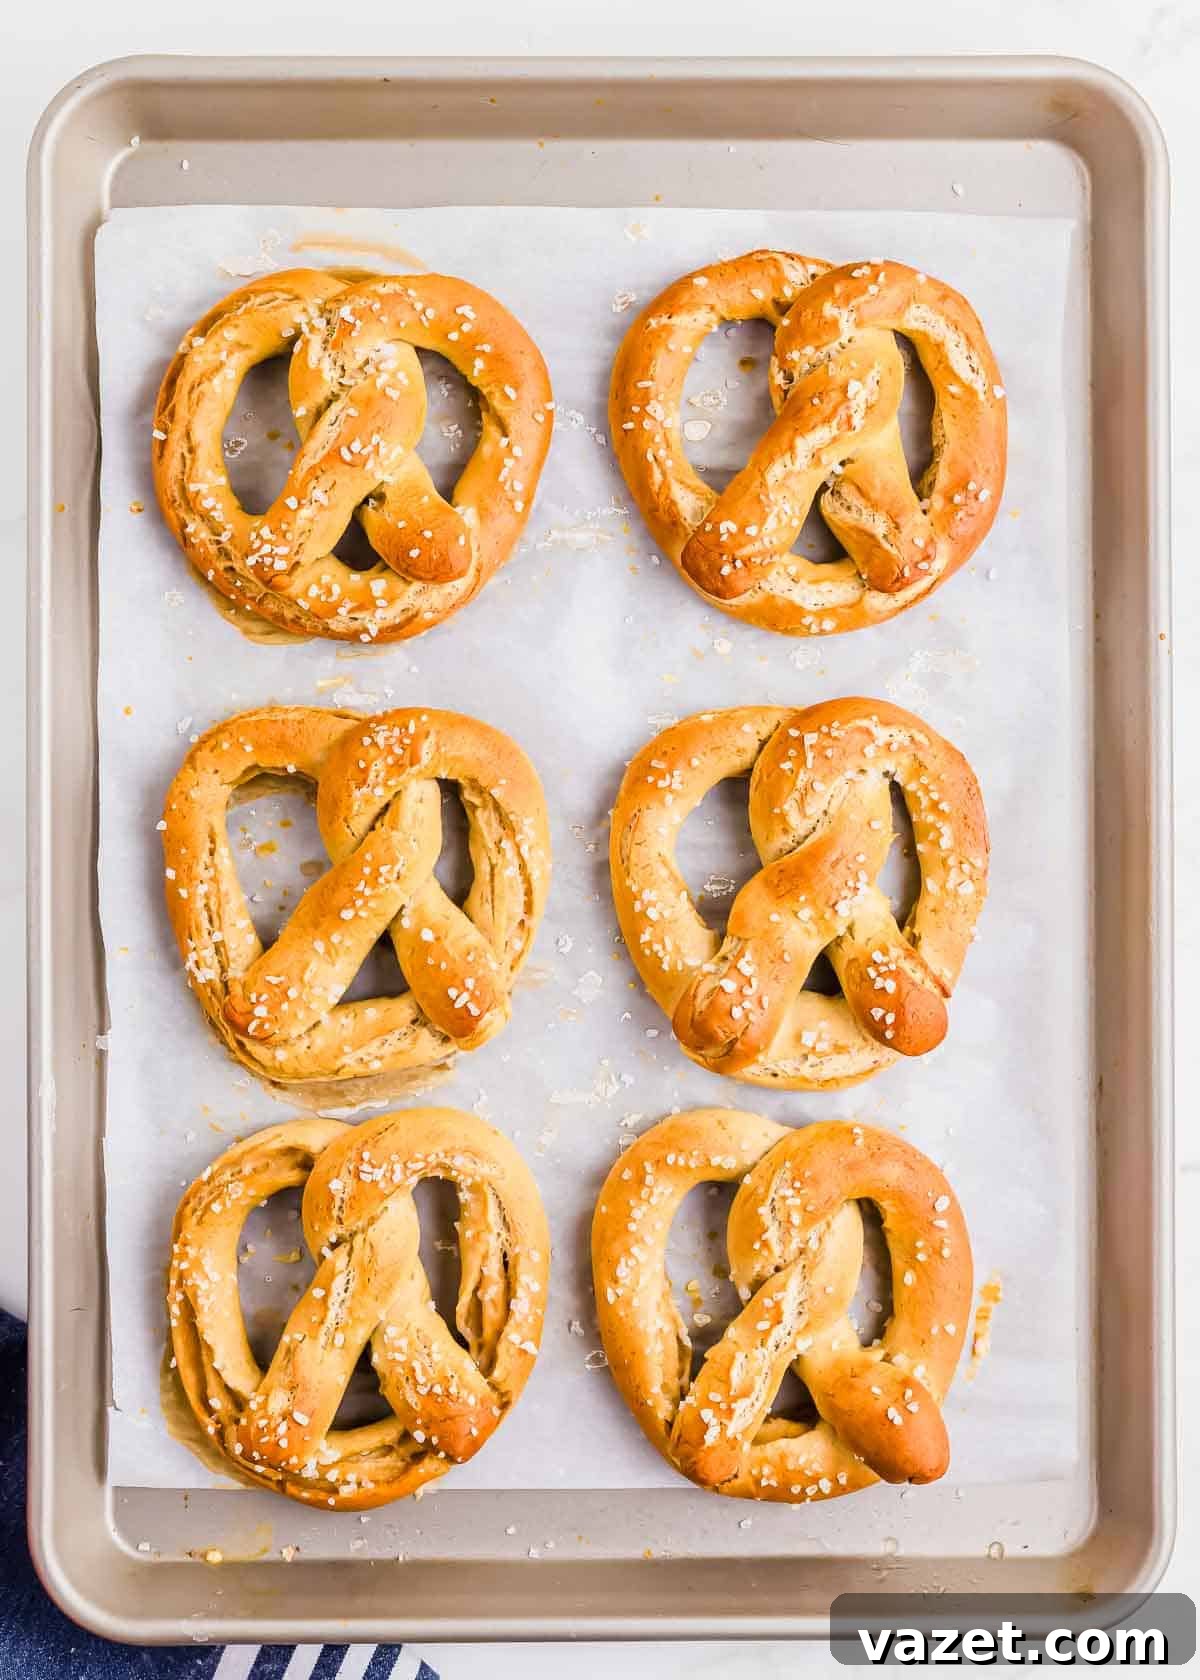
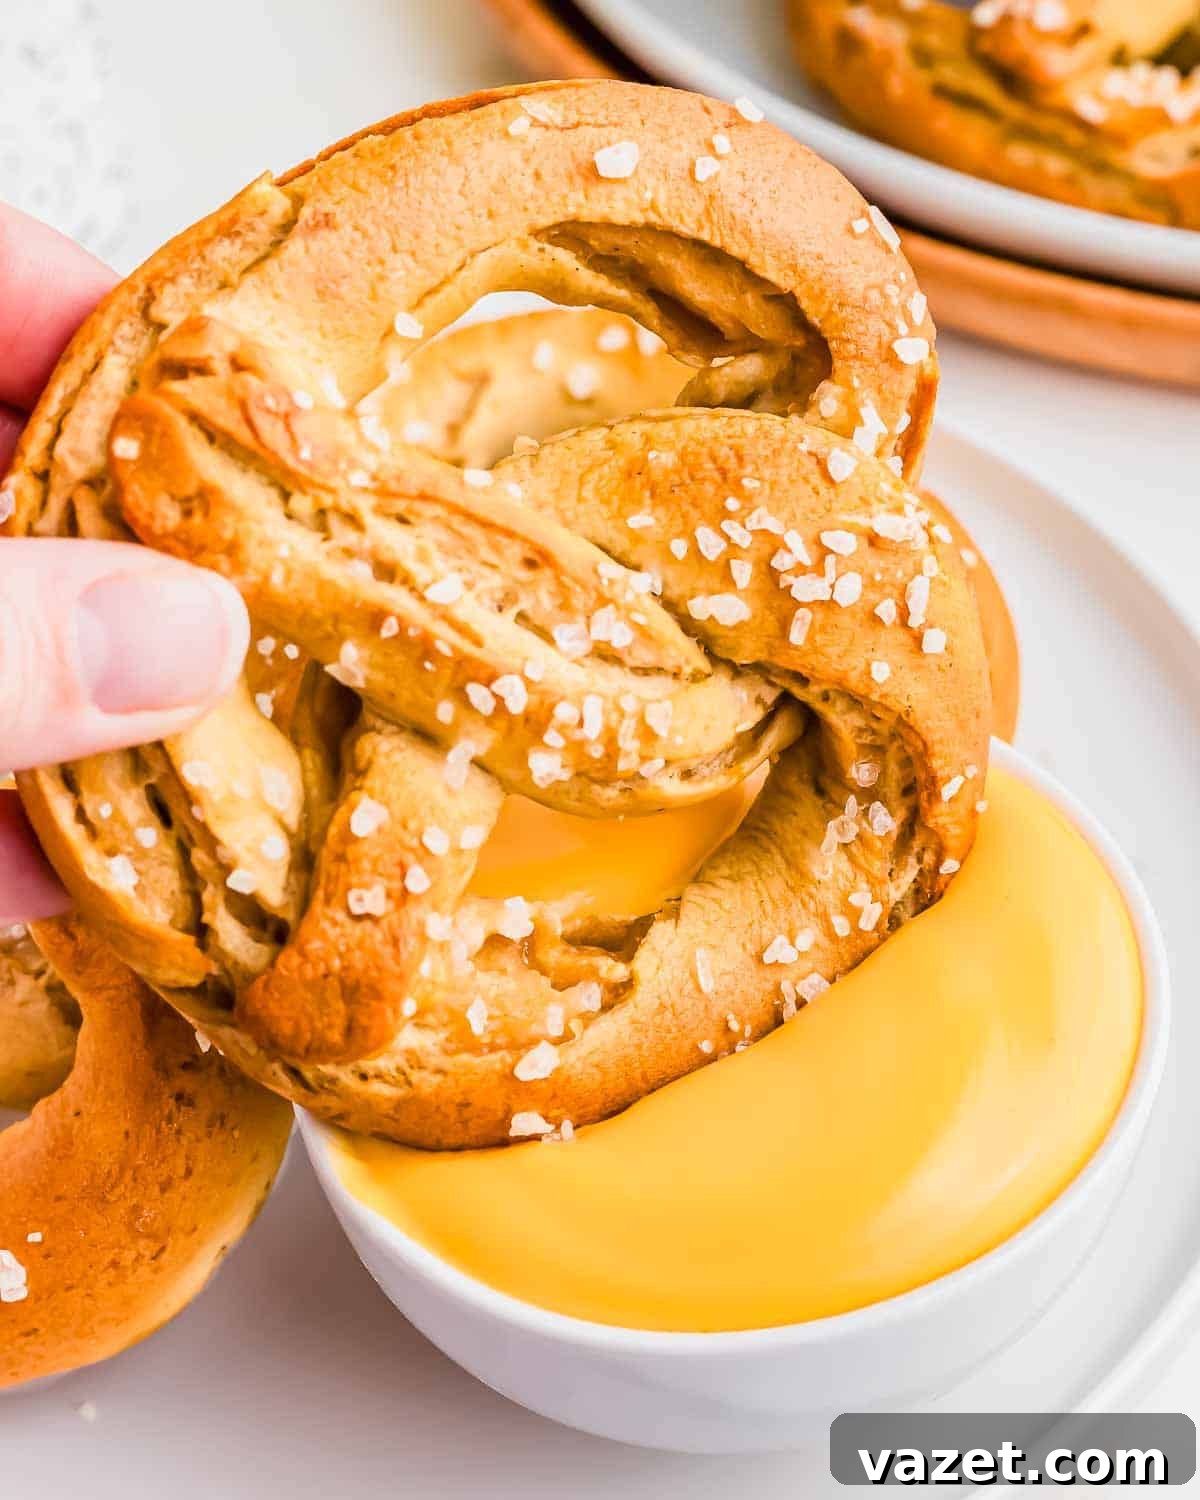
Transfer the baking sheet(s) to your preheated 425°F oven and bake for 15-17 minutes, or until the pretzels achieve a beautiful golden-brown color. For even cooking and browning, rotate the sheet pan halfway through the baking time. Once baked, allow the pretzels to cool slightly on the baking sheet for a few minutes before transferring them to a wire cooling rack. Enjoy these warm, freshly baked **gluten-free soft pretzels** on their own, or with your favorite cheese dip!
Creative Topping Options for Your Gluten-Free Pretzels
While a classic salted pretzel is always a fantastic starting point, especially when you’re making these **GF pretzels** for the first time, don’t hesitate to experiment with different flavors and topping ideas after that! Here are some delicious suggestions to elevate your homemade soft pretzels:
- Cinnamon Sugar: For a sweet treat, bake your pretzels plain (with just the egg wash, no salt). Once they’re out of the oven and still warm, brush them generously with melted butter and immediately roll them in a mixture of cinnamon and sugar. For inspiration, check out these delightful apple cinnamon pretzel twists.
- Garlic Butter: Infuse your pretzels with a savory kick. After they come out of the oven, brush them with a flavorful garlic butter mixture.
- Everything Seasoning: For a popular bagel-inspired twist, sprinkle “everything seasoning” over the pretzels after applying the egg wash and before baking. This adds a fantastic blend of sesame seeds, poppy seeds, dried garlic, and dried onion.
- Garlic Salt: A simpler savory option, use garlic salt in place of coarse salt before baking the pretzels for a subtle garlic flavor.
- Cheesy Pretzels: Instead of serving your pretzels with a cheese dip, transform them into cheesy delights! After the baking soda bath and egg wash, top the boiled pretzels with your favorite grated cheese (like cheddar, mozzarella, or a blend) before baking. Keep a close eye on them in the oven to prevent the cheese from burning. If it browns too quickly, you might want to loosely tent foil over them for the remainder of the baking time.
The Non-Negotiable Step for Truly Chewy Soft Pretzels: The Baking Soda Bath
There’s a fundamental reason why pretzels are traditionally made in two distinct steps – boiling followed by baking – and that’s precisely because of the unique, desirable texture it creates. You might be tempted to skip the boiling step, but please, resist the urge! It may seem counterintuitive that just 25-30 seconds in boiling water with baking soda can make such a dramatic difference in the texture of a cooked pretzel, but it absolutely does.
If you’re aiming for that signature soft, wonderfully chewy, and slightly doughy center combined with a thin, crispy crust, then the baking soda bath is a non-negotiable step. This alkaline bath causes the exterior of the dough to gelatinize and sets the crust, which then caramelizes beautifully during baking, contributing to both the flavor and color. Traditional Bavarian-style pretzels often use a lye bath, which yields an even darker, more intensely flavored crust. However, a baking soda bath is a much safer and home-cook-friendly approach, resulting in a slightly softer texture and a lighter, yet still perfectly golden, pretzel.
Storing and Reheating Your Homemade Pretzels
Like almost any freshly baked good, these **gluten-free soft pretzels** are undeniably at their absolute best consumed warm, right out of the oven, or on the day they are baked. The fresh texture and flavor are unparalleled. However, if you happen to have any delicious extras, you can certainly store them to enjoy later.
Place any leftover pretzels in an airtight container at room temperature on your kitchen counter. They will maintain their quality for 1-2 days. To bring them back to their original soft and chewy glory, I highly recommend reheating them before serving. You can do this either in a conventional oven (at about 300°F for 5-7 minutes) or quickly in the microwave (for 15-30 seconds), which will help restore their inherent softness and warmth that might have been lost during storage.
Frequently Asked Questions About Gluten-Free Soft Pretzels
Can I make gluten-free pretzels ahead of time?
Yes, you can prepare the dough for these **GF pretzels** ahead of time. After the first rise, you can punch down the dough, form it into a ball, and place it back in the oiled bowl. Cover it tightly with plastic wrap and refrigerate for up to 24 hours. When you’re ready to bake, let the dough come to room temperature for about 30-60 minutes before proceeding with the shaping and boiling steps.
Can I freeze these homemade gluten-free soft pretzels?
Absolutely! Freezing is a great way to enjoy these pretzels whenever a craving strikes. There are two main methods:
- Freeze baked pretzels: Once fully baked and cooled completely, wrap individual pretzels tightly in plastic wrap, then place them in a freezer-safe bag or container. They can be frozen for up to 1-2 months. To reheat, thaw at room temperature, then warm in a 350°F oven for about 10-15 minutes until heated through and crisp.
- Freeze shaped, unbaked pretzels: After shaping the pretzels but *before* boiling, place them on a parchment-lined baking sheet and freeze until solid. Once frozen, transfer them to a freezer-safe bag. When ready to bake, you can boil them directly from frozen (adding a minute or so to the boiling time), then proceed with the egg wash, salt, and baking as usual.
What’s the best gluten-free flour blend for soft pretzels?
As mentioned in the ingredients, King Arthur Measure for Measure Gluten-Free Flour is highly recommended for this recipe. It’s a balanced blend that provides excellent texture and structure. While other blends might work, results can vary significantly. If you use a different blend, ensure it contains xanthan gum, and be prepared to adjust the added xanthan gum and water slightly based on the dough’s consistency.
Why is xanthan gum so important for gluten-free pretzel dough?
Xanthan gum is crucial because it acts as a binder and thickener, mimicking the elasticity and structure that gluten provides in traditional wheat flour dough. In gluten-free baking, it helps prevent the dough from becoming crumbly, gives it a much-needed chew, and allows it to hold its shape during handling, especially when shaping and boiling the pretzels.
What can I serve with my soft pretzels?
The possibilities are endless! Classic pairings include:
- Warm cheese sauce (like a classic cheddar or beer cheese dip)
- Dijon mustard or honey mustard
- Spicy brown mustard
- Marinara sauce (especially for cheesy pretzels)
- Nutella or melted chocolate (for sweet cinnamon sugar pretzels)
- Plain melted butter for extra richness.
These pretzels also make a fantastic appetizer for parties or a satisfying snack any time of day!
I genuinely hope you love this **gluten-free soft pretzel recipe** as much as I do. You now have all the knowledge and steps needed to make the **BEST** gluten-free soft pretzels, ensuring you don’t feel like you’re missing out on one of the most quintessential American comfort foods out there!
Gluten Free Soft Pretzels
By: Gina Matsoukas
Servings: 8 pretzels
Prep: 1 hr 15 mins
Cook: 15 mins
Total: 1 hr 30 mins
Make the perfect gluten-free soft pretzels at home! This easy recipe delivers chewy centers, crispy exteriors, and step-by-step instructions for a delicious snack everyone will love.

Ingredients
For the Pretzels
- 4 cups of Gluten Free All-Purpose Flour (plus extra for rolling, about 1 cup)
- ½ teaspoon salt
- 1 teaspoon baking soda
- 1 ½ teaspoons xanthan gum
- 2 tablespoons brown sugar
- 2 tablespoons salted butter, softened
- 2 eggs, divided
- 1 ¾ cups warm water (Between 100°F and 110°F)
- 1 packet of instant yeast (about 2 ¼ teaspoons; I used Fleischmann’s RapidRise Fast-Acting)
- Extra virgin olive oil, for proofing the dough
Water Bath
- 10 cups water
- ½ cup baking soda
Topping Ideas
- Coarse sea salt or pretzel salt
- Cinnamon sugar
- Garlic butter
- Garlic salt
Instructions
- Begin by combining the flour, salt, baking soda, xanthan gum, brown sugar, softened butter, yeast, and one egg in a large mixing bowl. Next, add the warm water to the dry mixture. Using a dough hook on a stand or handheld mixer, begin to slowly mix the ingredients together. Once everything has been combined, gradually increase the speed to medium-low and allow it to continue to mix for about 3-4 more minutes. The mixture should be well blended and in a slightly sticky, but smooth dough.
- Gently form a loose ball and transfer the dough to an oiled bowl. Cover the bowl with plastic wrap or your choice of cover, place the bowl in a warm area, and allow the dough to rise for 40 minutes (see notes below for tips on this). The dough should grow slightly larger and airy.
- At the end of the 40 minutes, preheat the oven to 425°F. Then, create the water bath by adding the water and baking soda to a medium or large pot and bring it to a boil. In a small bowl, vigorously whisk the second egg and set it to the side. This will be used to brush the tops of the pretzels before baking.
- Lightly flour your workspace and place the whole dough ball in the center. Knead the dough for about 2 minutes. Form a ball shape with the dough again. Using a bench scraper, cut the dough ball into 8 equal sections. I highly recommend you work with one section at a time. Keep the remaining 7 sections in the oiled bowl and keep them completely covered to help prevent any drying out.
- Continue to knead the small piece of dough on the lightly floured surface for another minute. With your hands, begin to roll the dough into a long and narrow rope. As you roll, be sure to continuously keep the counter lightly floured. Over-flouring will cause the dough to become too dry and crack or break, so only do a little bit at a time. If the dough is too sticky, see my notes for a suggestion on how using oil could help with this.
- Roll the dough to be about 1 to 1.5 inches thick and about 18 inches long. Bend the ends of the rope upwards until they meet. Gently do a twist at the top and then fold downwards towards the bottom of the pretzel. Carefully, readjust the pretzel if needed so the twist is perfectly centered and the pretzel is equal on both sides. Connect the ends of the twist to the bottom of the pretzel by using a dab of water to help make them stick.
- Very carefully place the pretzel into the boiling water bath. The pretzel will immediately sink but will float to the surface within 5 seconds. Once the pretzel reaches the surface, let the pretzel sit in the boiling water for an additional 25 seconds. Remove the pretzel using two slotted spoons, making sure to allow as much of the water to drip as possible. Place the pretzel on a baking sheet lined with parchment paper. Using a pastry brush, brush the beaten egg on the top of the pretzel and immediately sprinkle the salt. The salt should stick to the egg.
- Once you have finished the first pretzel, repeat the previous steps until all 8 pretzels are made, salted, and on the baking sheet. Place the baking sheet in the oven for 15-17 minutes, rotating the baking sheet halfway to ensure even browning and baking.
- Remove from the oven and allow the pretzels to slightly cool. Enjoy them on their own or with a cheese dip.
Notes
- When the dough sits in the oiled bowl for proofing, I placed mine in a warmed microwave. To do this, microwave a cup of water for about 2-4 minutes until the inside of the microwave becomes warm. Remove the cup of water and place the sealed dough bowl in the microwave, allowing it to sit there for the full 40 minutes of rising time.
- When splitting the dough into equal parts, using a food scale will help make the sections truly equal. This ensures the final pretzels are cohesive in size and thickness. Weigh your dough after you have kneaded it, right before you are ready to divide it. Then, divide the total weight by 8 to get the approximate size for each dough portion.
- If the dough becomes sticky while working with it, I highly recommend having a little bowl of olive oil to the side. Coating your fingers and palms with oil will help gently coat the dough continuously as you roll and work with it. This also helps keep the dough moist rather than drying it out with too much flour.
- Do not omit the xanthan gum in this recipe! It is essential for the proper gluten-free pretzel texture.
Nutrition
Serving: 1 serving
Calories: 254kcal
Carbohydrates: 47g
Protein: 8g
Fat: 6g
Saturated Fat: 2g
Polyunsaturated Fat: 1g
Monounsaturated Fat: 1g
Trans Fat: 0.1g
Cholesterol: 48mg
Sodium: 2404mg
Potassium: 23mg
Fiber: 7g
Sugar: 5g
Vitamin A: 147IU
Calcium: 58mg
Iron: 2mg
Nutrition information is automatically calculated, so should only be used as an approximation.
Additional Info
Course: Baked Goods
Cuisine: American