
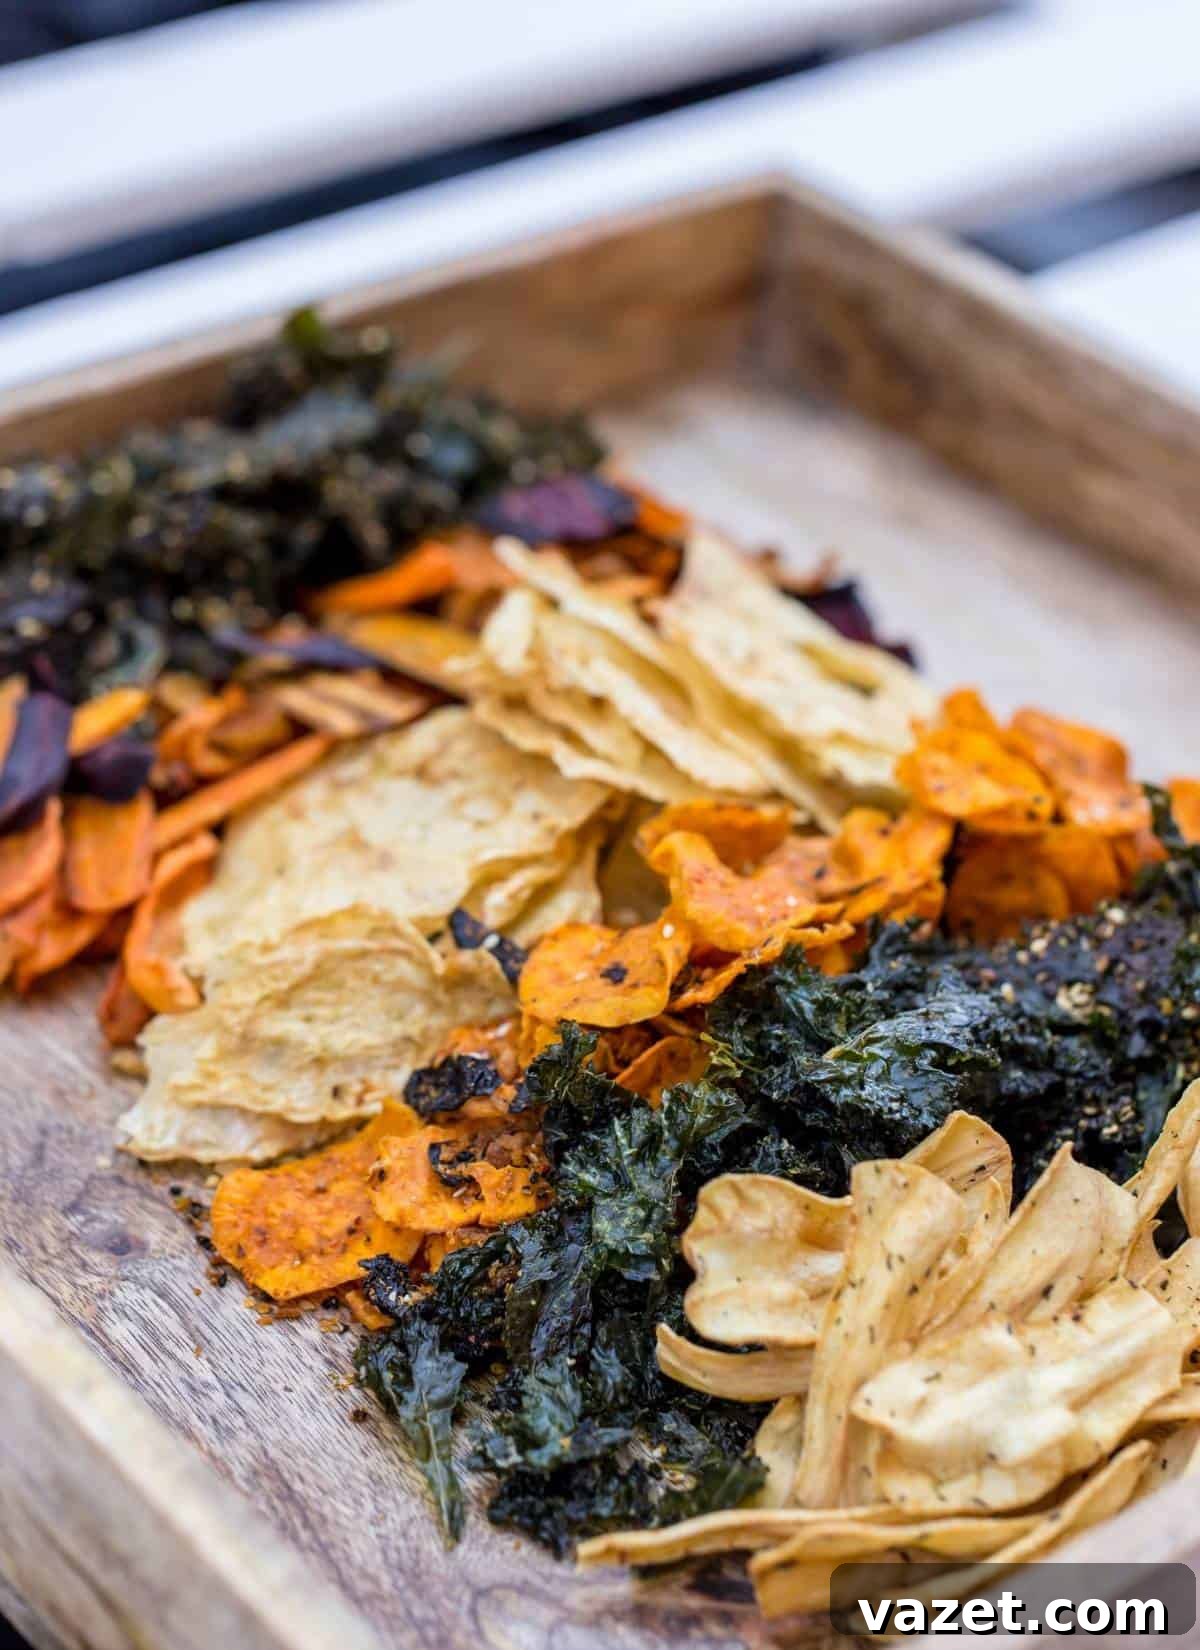
The quest for reducing food waste is a universal challenge in every kitchen. That forgotten bag of bell peppers, those slightly wilted carrots, or the abundance of zucchini from your garden often meet an untimely end in the compost bin. But what if you could transform these perishable goods into a long-lasting pantry staple, using nothing more than the everyday appliance in your kitchen – your oven? Dehydrating vegetables in your oven is a surprisingly simple, incredibly efficient, and highly rewarding method to preserve the bounty of your produce, turning potential waste into nutritious ingredients ready for future meals. With just a little preparation and the magic of low heat, you can stock your pantry with homemade, oven-dehydrated vegetables that are packed with flavor and convenience, lasting for months on end.
Unlocking the Power of Dehydration: Why Dry Your Vegetables?
Dehydrating vegetables offers a myriad of benefits that extend far beyond simply saving food from spoilage. It’s an ancient preservation technique brought into the modern kitchen, providing practical solutions for healthier living, smarter meal planning, and reduced environmental impact. By removing moisture, you create an environment where bacteria, yeast, and mold cannot thrive, effectively halting the degradation process and extending shelf life significantly.
One of the primary advantages is the remarkable extension of freshness. Vegetables that would typically last only a few days or weeks can be preserved for several months, often up to a year, without needing refrigeration or freezing. This translates directly to less food waste and fewer last-minute grocery runs. Imagine having perfectly ripe tomatoes from summer or an abundance of garden herbs available to you in the dead of winter, ready to enhance your favorite dishes.
Beyond preservation, dried vegetables are incredibly convenient. They become lightweight and compact, taking up a fraction of the space their fresh counterparts would. This makes them ideal for packing in lunchboxes, taking on camping trips, hiking adventures, or simply stashing in your bag for quick, healthy snacks. Their reduced bulk means you can store a much larger variety and quantity of produce in your pantry, maximizing your storage capacity without needing a deep freezer or extra fridge space.
Nutritional value is another significant benefit. When done correctly with low heat, the dehydration process largely preserves the vitamins, minerals, and dietary fiber present in fresh vegetables. Unlike some other preservation methods, dehydration minimizes nutrient degradation, ensuring you still get wholesome goodness in every bite. This makes dried vegetables an excellent way to maintain a steady supply of nutrient-dense ingredients, regardless of the season or availability of fresh produce. You can enjoy the health benefits of a diverse range of vegetables year-round, making healthy eating more accessible and sustainable.
Finally, dehydrated vegetables offer incredible versatility in the kitchen. They can be rehydrated and added to soups, stews, casseroles, or sauces, absorbing liquids and imparting deep flavor. They can also be enjoyed as crunchy snacks, ground into powders for seasoning blends, or incorporated into baked goods and energy bars. This flexibility makes them an invaluable ingredient for any home cook looking to be more efficient and creative.
Selecting Your Produce: The Best Vegetables for Oven Dehydration
While most vegetables can be dehydrated, some perform significantly better than others, retaining their flavor, texture, and nutritional integrity more effectively. Understanding which vegetables are best suited for oven drying will ensure the most delicious and satisfying results.
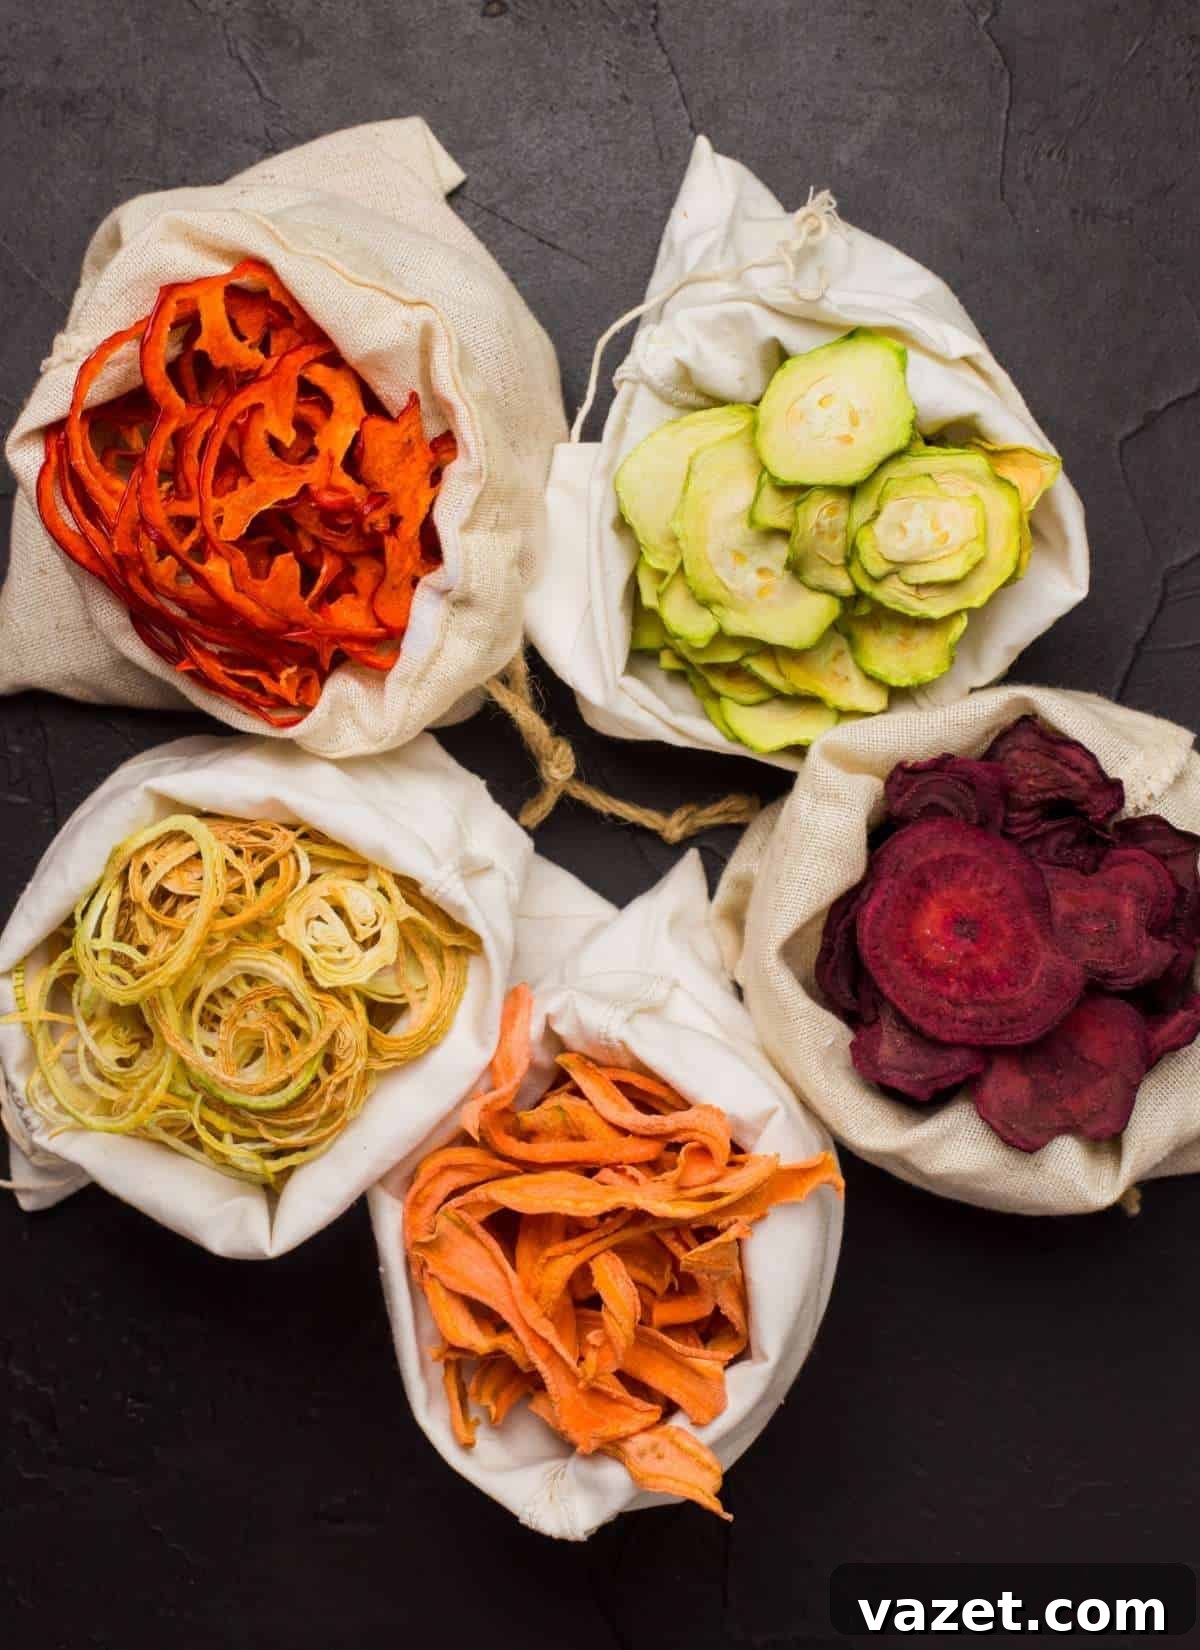
Excellent choices for beginners and seasoned dehydrators alike include carrots, zucchini, tomatoes, bell peppers, eggplant, kale, onions, and mushrooms. These vegetables tend to dry evenly and maintain a good flavor profile. Leafy greens, such as kale and spinach, shrink dramatically but become wonderfully crispy, making them perfect for turning into savory chips or adding a nutritious boost to soups and stews. Kale, in particular, excels when seasoned before drying, transforming into irresistible crunchy snacks.
Some vegetables, however, require a little extra attention to ensure optimal results. Potatoes, sweet potatoes, green beans, and broccoli benefit significantly from a quick blanching step before they enter the oven. Blanching involves briefly immersing the vegetables in boiling water, then rapidly cooling them in ice water. This process helps to preserve their vibrant color, firm texture, and nutritional value during storage, preventing them from turning brown or developing off-flavors. While not strictly necessary for safety with oven dehydration, blanching improves the quality of the final product considerably.
Conversely, certain vegetables are less ideal for oven dehydration. High-water content vegetables like cucumbers can be dried but often yield a less satisfying texture. Avocados and high-fat content vegetables are generally not recommended for dehydration as their fats can go rancid quickly, even when dried. Starchy vegetables like corn or peas can be dehydrated, but their texture might become excessively chewy or hard. For those new to the process, starting with simpler options like mushrooms, bell peppers, or tomatoes is a great way to build confidence before experimenting with vegetables that require more specialized preparation.
Prepping for Success: Essential Steps Before Oven Drying
Proper preparation is paramount to successful vegetable dehydration. Taking the time to prepare your produce correctly ensures even drying, superior flavor, and a significantly longer shelf life. Skipping these crucial steps can lead to inconsistent results, spoilage, or simply a less enjoyable end product.
- Thorough Washing: Begin by washing all your vegetables meticulously under cool running water. This step is essential to remove any dirt, soil, pesticides, or other residues that might be present on the surface. For root vegetables, a stiff brush can be helpful to scrub away stubborn dirt.
- Complete Drying: After washing, it’s critical to dry your vegetables thoroughly. Excess surface moisture will significantly slow down the dehydration process and can lead to uneven drying or even mold growth if not removed. Use a clean kitchen towel or paper towels to pat them dry. For leafy greens, a salad spinner can be very effective in removing excess water.
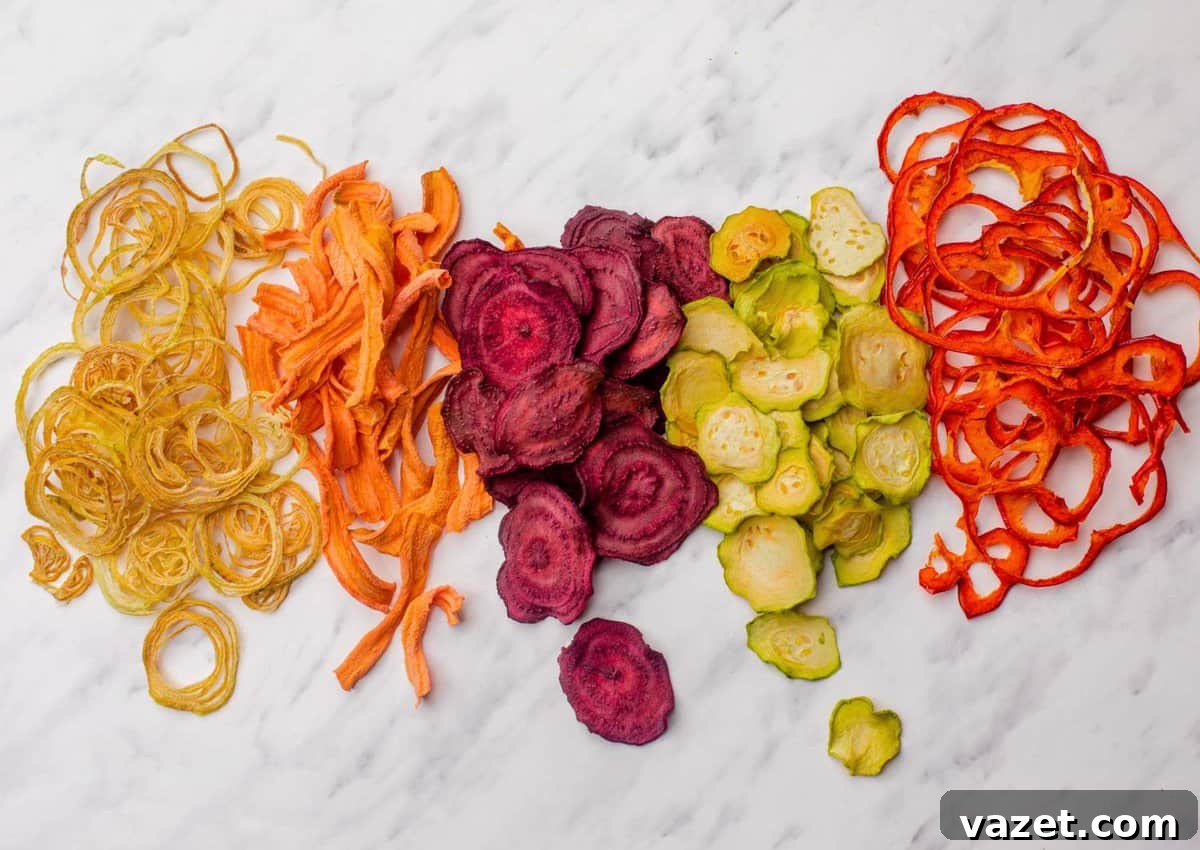
- Uniform Slicing: Consistency in slice thickness is arguably the most important preparation step. Vegetables should be sliced into even pieces, typically between 1/8 and 1/4 inch thick. This ensures that all pieces dehydrate at the same rate. If some pieces are thicker than others, the thinner ones will dry out and become brittle while the thicker ones remain soft and susceptible to spoilage. Use a sharp knife or a mandoline for precise, uniform slices. Root vegetables like carrots or beets can be sliced into thin rounds or julienned, while bell peppers can be cut into strips or small squares.
Beyond these basics, some vegetables benefit from a quick pre-treatment to enhance their quality and stability during storage. As mentioned, blanching is key for vegetables like carrots, green beans, broccoli, and potatoes. This involves a brief dip in boiling water (1-2 minutes) followed by an immediate plunge into ice water. Blanching helps to deactivate enzymes that can cause color loss, flavor changes, and texture degradation over time. It helps vegetables retain their vibrant colors and a more desirable, firm-yet-chewy texture once dried.
For vegetables and fruits that are prone to browning, such as potatoes, apples, or pears, a simple pre-treatment can prevent discoloration. Soaking slices in a solution of lemon juice and water (typically 1 part lemon juice to 4 parts water) for a few minutes, or using an ascorbic acid (vitamin C) solution, can inhibit enzymatic browning. While less common for most vegetables being oven-dried, it’s a useful technique if you’re mixing in certain fruits or preparing specific vegetables for aesthetic reasons. Taking these extra moments to prepare your produce properly will significantly improve the flavor, appearance, and overall shelf life of your dehydrated vegetables, making all your efforts worthwhile.
Mastering Your Oven: Setup for Optimal Dehydration
The success of oven dehydration hinges on creating the right internal environment: low, consistent heat combined with excellent airflow. Unlike baking or roasting, where high heat is desired, dehydration requires a gentle, steady warmth that gradually removes moisture without cooking the vegetables. Proper oven setup is critical to avoid partially dried, soggy, or overly brittle results.
Here’s a detailed guide to preparing your oven for dehydration:
- Temperature Control is Key: Set your oven to its absolute lowest temperature, ideally between 125°F and 150°F (approximately 50°C to 65°C). The goal is to evaporate moisture, not to cook the food. If your oven’s lowest setting is higher than 150°F, you can still dehydrate, but you’ll need to monitor the vegetables more closely to prevent over-baking or scorching. A lower temperature ensures the vegetables dry slowly and evenly, preserving their nutrients and flavor.
- Utilize Baking Sheets and Wire Racks: For maximum airflow, arrange your prepared vegetables on wire racks placed inside standard baking sheets. The wire racks elevate the vegetables, allowing air to circulate all around each piece, significantly speeding up and evening out the drying process. If you don’t have wire racks, you can place vegetables directly on parchment-lined baking sheets, but be prepared for longer drying times and more frequent rotation.
- Parchment Paper for Small Pieces: If you are dehydrating smaller items like finely chopped onions, herbs, or very thin slices of vegetable, line your wire racks or baking sheets with parchment paper. This prevents smaller pieces from falling through the grates while still being permeable enough to allow moisture to escape. Avoid using aluminum foil, as it can trap moisture and impede airflow.
- Ensure Adequate Airflow: This is arguably the most crucial step. Dehydration is essentially accelerated evaporation, and for evaporation to occur effectively, the moist air needs a way to escape your oven. Prop the oven door open slightly – just a crack, about 1 to 2 inches – using a heat-safe utensil like a wooden spoon, a folded kitchen towel, or a heat-resistant silicone trivet. This allows steam to vent out, preventing the oven from becoming a steamy environment that would cook rather than dry your vegetables. This small gap also helps maintain the low temperature, as it prevents the oven from overheating.
- Rotate Trays: If using multiple racks, plan to rotate them periodically (every 1-2 hours) throughout the drying process. Swap the top racks with the bottom ones and rotate them 180 degrees. This compensates for any hot spots or temperature variations within your oven, ensuring all vegetables dry uniformly.
By meticulously setting up your oven with these guidelines, you create an optimized environment for moisture removal, laying the groundwork for perfectly dehydrated vegetables that will last for months.
The Dehydration Process: How to Dry Vegetables in Your Oven
With your vegetables prepped and your oven perfectly set up, it’s time to begin the actual dehydration process. This stage requires patience, attention to detail, and a consistent environment to ensure the best results. The core principle is to gently extract moisture without “cooking” the vegetables, preserving their natural qualities.
Arranging the Vegetables: Carefully arrange your sliced vegetables in a single layer on your prepared wire racks or parchment-lined baking sheets. It is absolutely crucial that no pieces overlap or touch. Crowding the trays traps steam, which not only slows down drying but can also lead to uneven drying and potentially encourage mold growth. Give each piece ample space for air circulation on all sides.
Initiating the Drying: Once the trays are loaded, slide them into your preheated oven. Remember to keep the oven door propped open slightly to allow moisture to escape. This constant ventilation is vital for effective dehydration. The low, steady heat will slowly begin to draw moisture out of the vegetables.
Monitoring and Rotating: Dehydration is not a set-it-and-forget-it process, especially in an oven. You will need to actively monitor your vegetables throughout. Rotate the trays every 1 to 2 hours, swapping positions (e.g., top rack to bottom, front to back) to ensure even exposure to heat and airflow. This helps to counteract any temperature variations within your oven and ensures consistent drying across all your produce.
Checking for Doneness: Drying times will vary significantly based on the type of vegetable, its thickness, and its moisture content. Oven performance can also play a role. The most reliable way to determine if your vegetables are done is by visual and tactile inspection, rather than strictly adhering to a timer. Begin checking for doneness after the minimum estimated drying time for your chosen vegetable.
Perfectly dehydrated vegetables should be:
- Crisp/Brittle: Many vegetables, especially thinner slices like carrots or bell peppers, should snap cleanly when bent, with no signs of flexibility.
- Leathery/Pliable: Some thicker or fleshier vegetables, like tomatoes or zucchini, might have a slightly leathery or pliable texture, but they should not feel soft, spongy, or sticky. There should be no visible moisture when you break a piece open.
- No Stickiness: They should not feel tacky or moist to the touch.
If you find some pieces are done while others are not, remove the fully dried pieces and continue drying the rest. It’s better to slightly over-dry than to under-dry, as any residual moisture can lead to spoilage during storage. When in doubt, dry a little longer.
Cooling Completely: Once the vegetables reach the desired texture, turn off the oven and remove the trays. It is absolutely crucial to let the dehydrated vegetables cool completely to room temperature before transferring them to storage containers. This can take several hours. Storing warm or even slightly warm vegetables will create condensation inside your sealed containers, reintroducing moisture and potentially leading to mold or spoilage.
By following these steps, you’ll successfully transform your fresh produce into a shelf-stable, flavor-packed ingredient, ready for long-term storage and use.
A Guide to Drying Times for Common Vegetables in the Oven
Predicting exact drying times for vegetables in an oven can be challenging due to variables like vegetable type, slice thickness, moisture content, and individual oven characteristics. However, understanding general timeframes and the critical importance of checking for doneness will guide you to perfect results. Always remember: texture is a more reliable indicator than the clock.
Here’s a general guide for common vegetables, assuming uniform slices of 1/8 to 1/4 inch thickness and an oven temperature between 125-150°F (50-65°C):
- Leafy Greens (e.g., Kale, Spinach, Swiss Chard):
- Preparation: Wash, pat dry, remove tough stems. No blanching usually required.
- Drying Time: 2 to 4 hours.
- Doneness: Extremely brittle and crispy, easily crumbling when touched.
- Preparation: Wash, pat dry, slice. Mushrooms and onions typically don’t need blanching. Tomatoes can be peeled for smoother texture but it’s optional. Zucchini and eggplant benefit from salting briefly to draw out water before drying, then rinsing and patting dry.
- Drying Time: 5 to 10 hours.
- Doneness: Leathery and pliable, but with no soft spots, stickiness, or visible moisture when bent or torn. Bell peppers can become quite brittle.
- Preparation: Wash, peel (if desired), slice thinly. Blanching is highly recommended for these to preserve color, texture, and flavor. Green beans and broccoli should be blanched before drying.
- Drying Time: 8 to 12+ hours. These denser vegetables take the longest.
- Doneness: Very firm and brittle, snapping cleanly when bent. Green beans will be tough and chewy but completely dry.
During the drying process, especially for longer durations, you’ll notice the vegetables gradually shrinking and changing color. Don’t be alarmed; this is a normal part of moisture removal. Remember to continue rotating your trays every hour or two to ensure even drying. The final texture should be consistent across all pieces of a single vegetable type. If some pieces are still soft, continue drying them until they reach the desired crisp or leathery state. Patience is key to achieving perfectly dehydrated vegetables that store well and taste great.
Optimal Storage for Dehydrated Vegetables: Maximizing Shelf Life
Once your vegetables are thoroughly dried and completely cooled to room temperature, proper storage is the final, crucial step to ensure they remain fresh, flavorful, and safe for extended periods. Any lingering warmth or moisture, no matter how slight, can lead to condensation inside your storage containers, creating a breeding ground for mold and spoilage.
Airtight is Essential: The primary goal of storage is to protect your dehydrated vegetables from air and humidity. Oxygen and moisture are the enemies of dried food.
- Glass Jars: Mason jars or other glass jars with tight-fitting, airtight lids are an excellent choice. They are non-reactive, provide a good seal, and allow you to easily see the contents.
- Vacuum-Sealed Bags: For the longest shelf life and most compact storage, vacuum-sealing is highly effective. It removes almost all oxygen, significantly extending freshness.
- Food-Grade Storage Bags: Heavy-duty freezer bags with a zip-top closure can work for shorter-term storage (a few weeks to a couple of months), provided they are thick enough and sealed well. Squeeze out as much air as possible before sealing.
Cool, Dark, and Dry Environment: Store your sealed containers in a cool, dark, and dry pantry or cupboard.
- Cool Temperature: Consistent cool temperatures (below 70°F or 21°C) help prevent nutrient degradation and preserve flavor.
- Darkness: Direct sunlight or even bright artificial light can cause color fading and loss of some heat-sensitive nutrients over time.
- Low Humidity: A dry environment is crucial to prevent any moisture from seeping back into the dried vegetables.
Consider Moisture Absorbers: If you live in a particularly humid climate or want an extra layer of protection for very long-term storage, consider adding food-safe moisture absorbers (like silica gel packets designed for food) to your containers. These packets absorb any residual moisture, further safeguarding your dehydrated goods. Ensure they are specifically rated for food use.
Labeling and Rotation: Always label your containers clearly with the type of vegetable and the date it was dried. This helps you track your pantry stock and ensures you use older batches first. Most properly stored dehydrated vegetables will last for 6 months to a year, and sometimes even longer. Implementing a “first in, first out” rotation system will help you enjoy everything at its peak quality.
“Conditioning” Your Dried Veggies (Optional but Recommended): After your vegetables have cooled and been transferred to jars, loosely seal the jars for the first week. Shake them gently once a day. If you notice any condensation forming inside the jar, it means there’s still moisture present, and the vegetables need to go back into the oven for further drying. This conditioning step ensures that any residual moisture is evenly distributed or detected, preventing future spoilage. Once no condensation appears for several days, you can confidently seal the jars tightly for long-term storage.
By following these meticulous storage practices, you can confidently rely on your pantry of oven-dehydrated vegetables, knowing they are preserved to perfection and ready for your next culinary adventure.
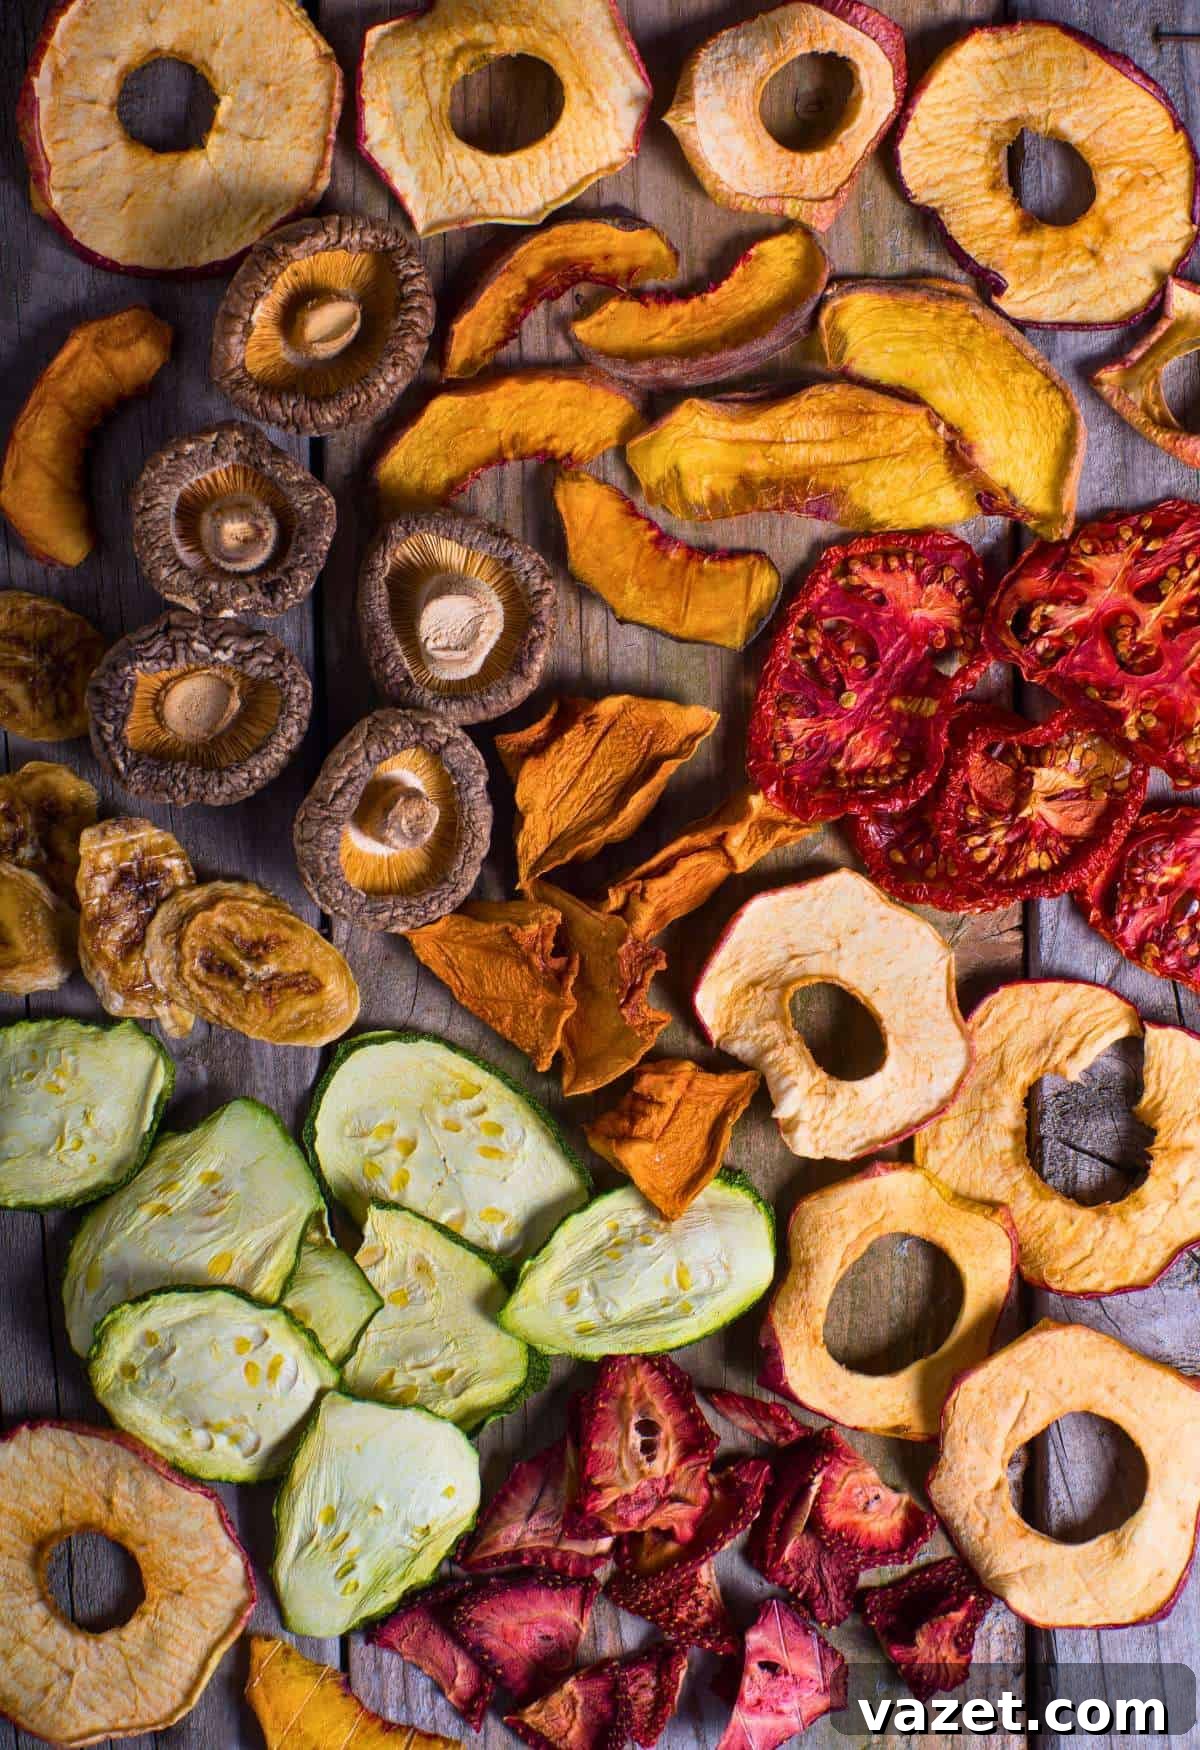
Culinary Creativity: Making the Most of Your Dehydrated Vegetables
The true joy of dehydrating vegetables comes from incorporating them into your daily cooking and discovering new ways to enjoy their concentrated flavors and convenient forms. Dehydrated vegetables are incredibly versatile, offering both time-saving solutions and opportunities for culinary experimentation.
Rehydration for Hearty Meals: For dishes that require a softer texture, such as soups, stews, casseroles, or pasta sauces, you can easily rehydrate your dried vegetables. Simply soak them in warm water, broth, or even wine for 10-20 minutes, or until they soften and plump up. Alternatively, you can add them directly to simmering liquids like this wild mushroom soup that beautifully uses both fresh and dried mushrooms, where they will absorb liquid as they cook. The concentrated flavor of dried vegetables often adds a deeper, richer dimension to slow-cooked dishes.
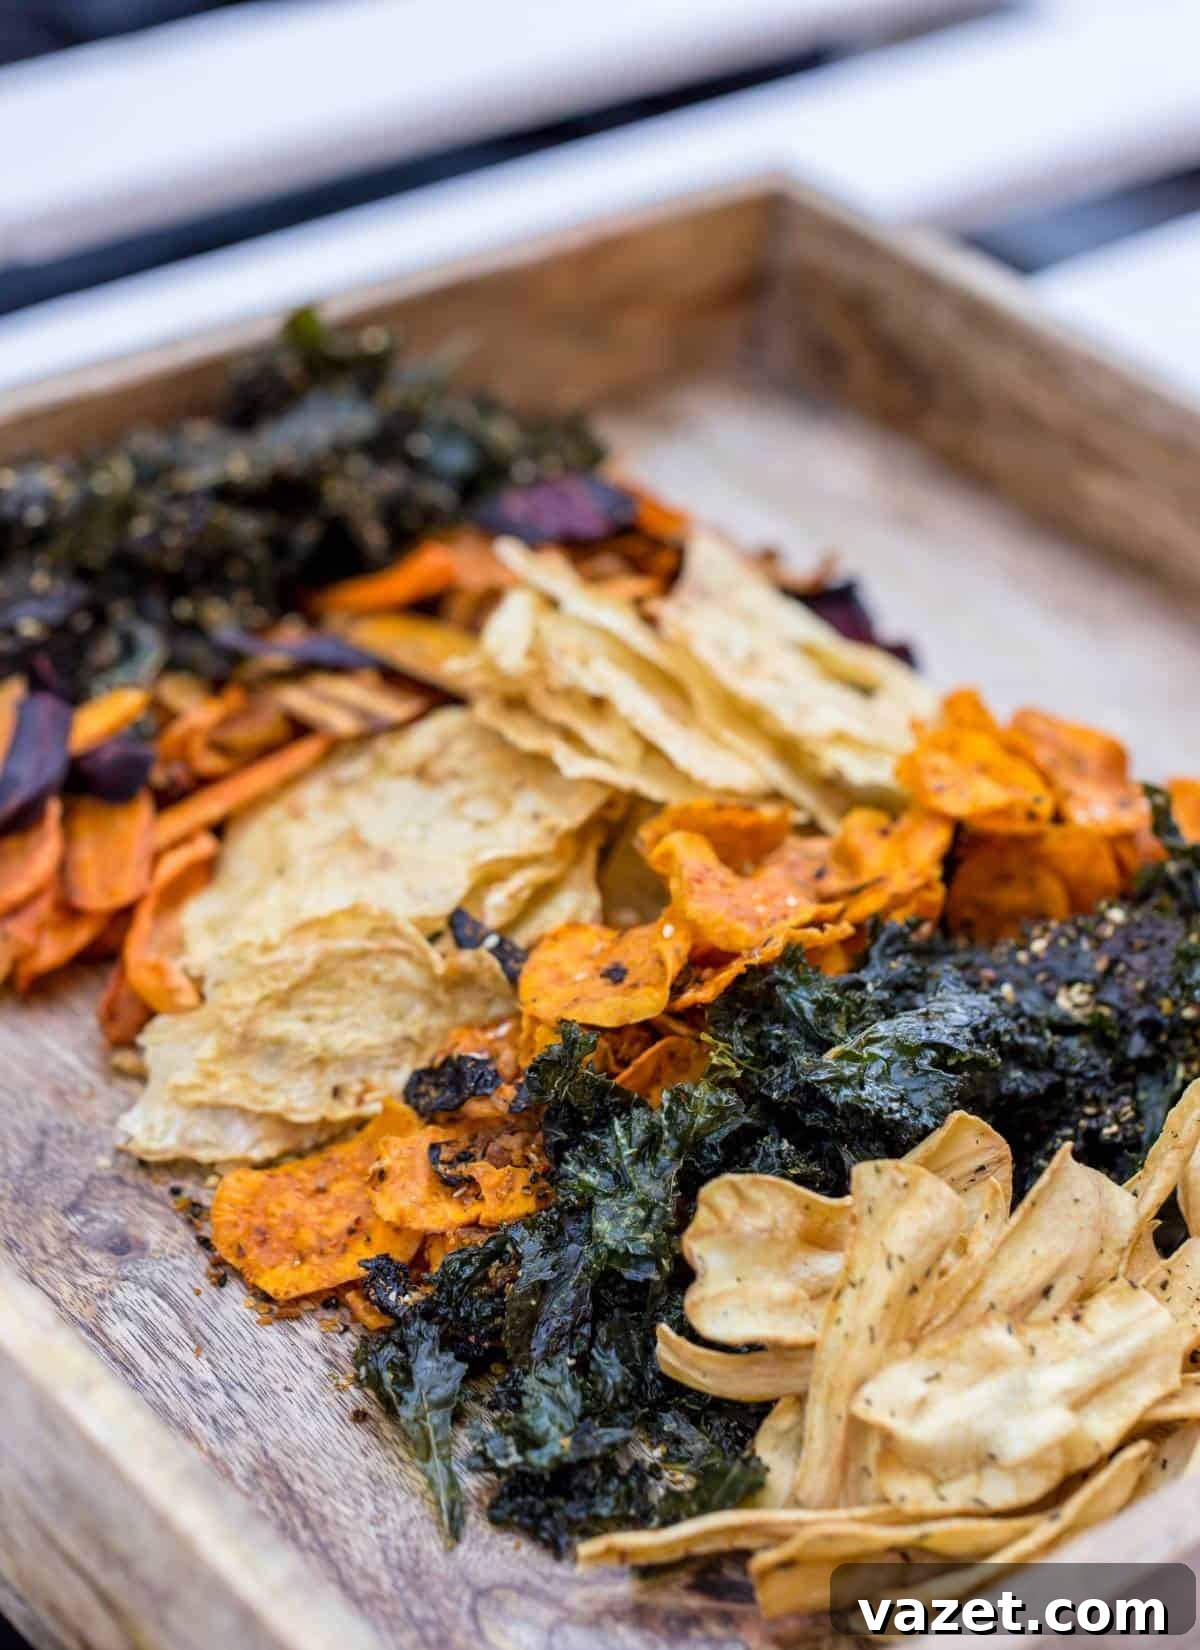
Snacks and On-the-Go Fuel: Dehydrated vegetables are perfect as standalone snacks. Crispy kale chips, zucchini crisps, or sweet potato slices provide a healthy and satisfying crunch. Their lightweight nature and lack of refrigeration needs make them ideal for outdoor activities like camping, hiking, or backpacking, providing essential nutrients and energy without adding bulk to your pack.
Flavor Boosters and Seasonings:
- Vegetable Powders: One of the most ingenious uses for dried vegetables is grinding them into powders. Use a coffee grinder or a powerful blender to turn dried tomatoes, carrots, spinach, or mushrooms into fine powders. These powders can be added to smoothies, sprinkled into soups and stews for extra nutrition and flavor, or used to thicken sauces. Imagine a vibrant green spinach powder boosting the color and nutrition of a pasta sauce, or a rich mushroom powder adding umami to a gravy.
- Seasoning Blends: Create your own custom seasoning blends by combining different vegetable powders with herbs and spices. A homemade vegetable broth powder made from dried carrots, celery, onion, and herbs can replace store-bought bouillon cubes.
Innovative Culinary Applications:
- Pizza Toppings: Dried bell pepper strips, onion flakes, or mushroom slices can be rehydrated and used as pizza toppings, offering convenience without the added moisture of fresh vegetables.
- Egg Dishes: Fold rehydrated spinach or dried mushroom bits into scrambled eggs or omelets for a quick and nutritious breakfast.
- Baked Goods: Finely ground vegetable powders can be incorporated into breads, muffins, or crackers, subtly enhancing their nutritional profile.
- Garnishes: Crispy dried vegetables like kale chips or zucchini crisps make excellent garnishes for salads and grain bowls.
Having a diverse array of dried vegetables on hand streamlines meal preparation, minimizes food waste, and offers endless creative possibilities for enjoying the goodness of produce throughout the entire year. It’s a step towards greater self-sufficiency and a more sustainable kitchen.
The Enduring Value: Why Oven Drying Is a Rewarding Effort
In a world increasingly focused on sustainability, conscious consumption, and healthy eating, the simple act of drying vegetables in your oven stands out as a profoundly valuable skill. While it undeniably requires an investment of time and patience, the myriad benefits and long-term rewards far outweigh the initial effort.
Firstly, oven dehydration empowers you with an unparalleled level of control over your food supply. You know exactly what ingredients are going into your dehydrated products – fresh, wholesome vegetables without any of the additives, preservatives, or excessive sodium often found in commercially dried goods. This direct control translates into healthier eating for you and your family, aligning perfectly with a commitment to clean, unprocessed foods.
Beyond health, it’s a powerful tool for waste reduction. That overflowing garden harvest or the discounted produce section at the grocery store no longer poses a dilemma of “use it or lose it.” Instead, it becomes an opportunity to preserve nutrients and flavor for months to come. This not only saves money by preventing spoilage but also contributes to a more sustainable lifestyle by minimizing your environmental footprint.
Moreover, embracing oven dehydration fosters a sense of self-sufficiency and resourcefulness. It connects you to traditional food preservation methods, building a valuable life skill that reduces reliance on commercial products and adds a layer of preparedness to your household. Imagine the satisfaction of reaching into your pantry in the middle of winter and pulling out vibrant, sun-kissed tomatoes or aromatic garden herbs that you preserved yourself.
The concentrated flavors of dehydrated vegetables add a unique depth to your cooking that fresh or frozen alternatives sometimes cannot match. They transform everyday meals into culinary experiences, offering versatility for snacks, ingredients, and flavor enhancers.
In essence, oven drying vegetables is more than just a technique; it’s an investment. It’s an investment in reducing waste, eating healthier, saving money, and cultivating a more sustainable, self-reliant approach to food. It turns what might have been discarded into a pantry treasure, offering dozens of practical and delicious uses for every season. The effort expended is truly a small price to pay for the bounty and peace of mind it brings to your kitchen.
This article originally appeared on Food Drink Life.