
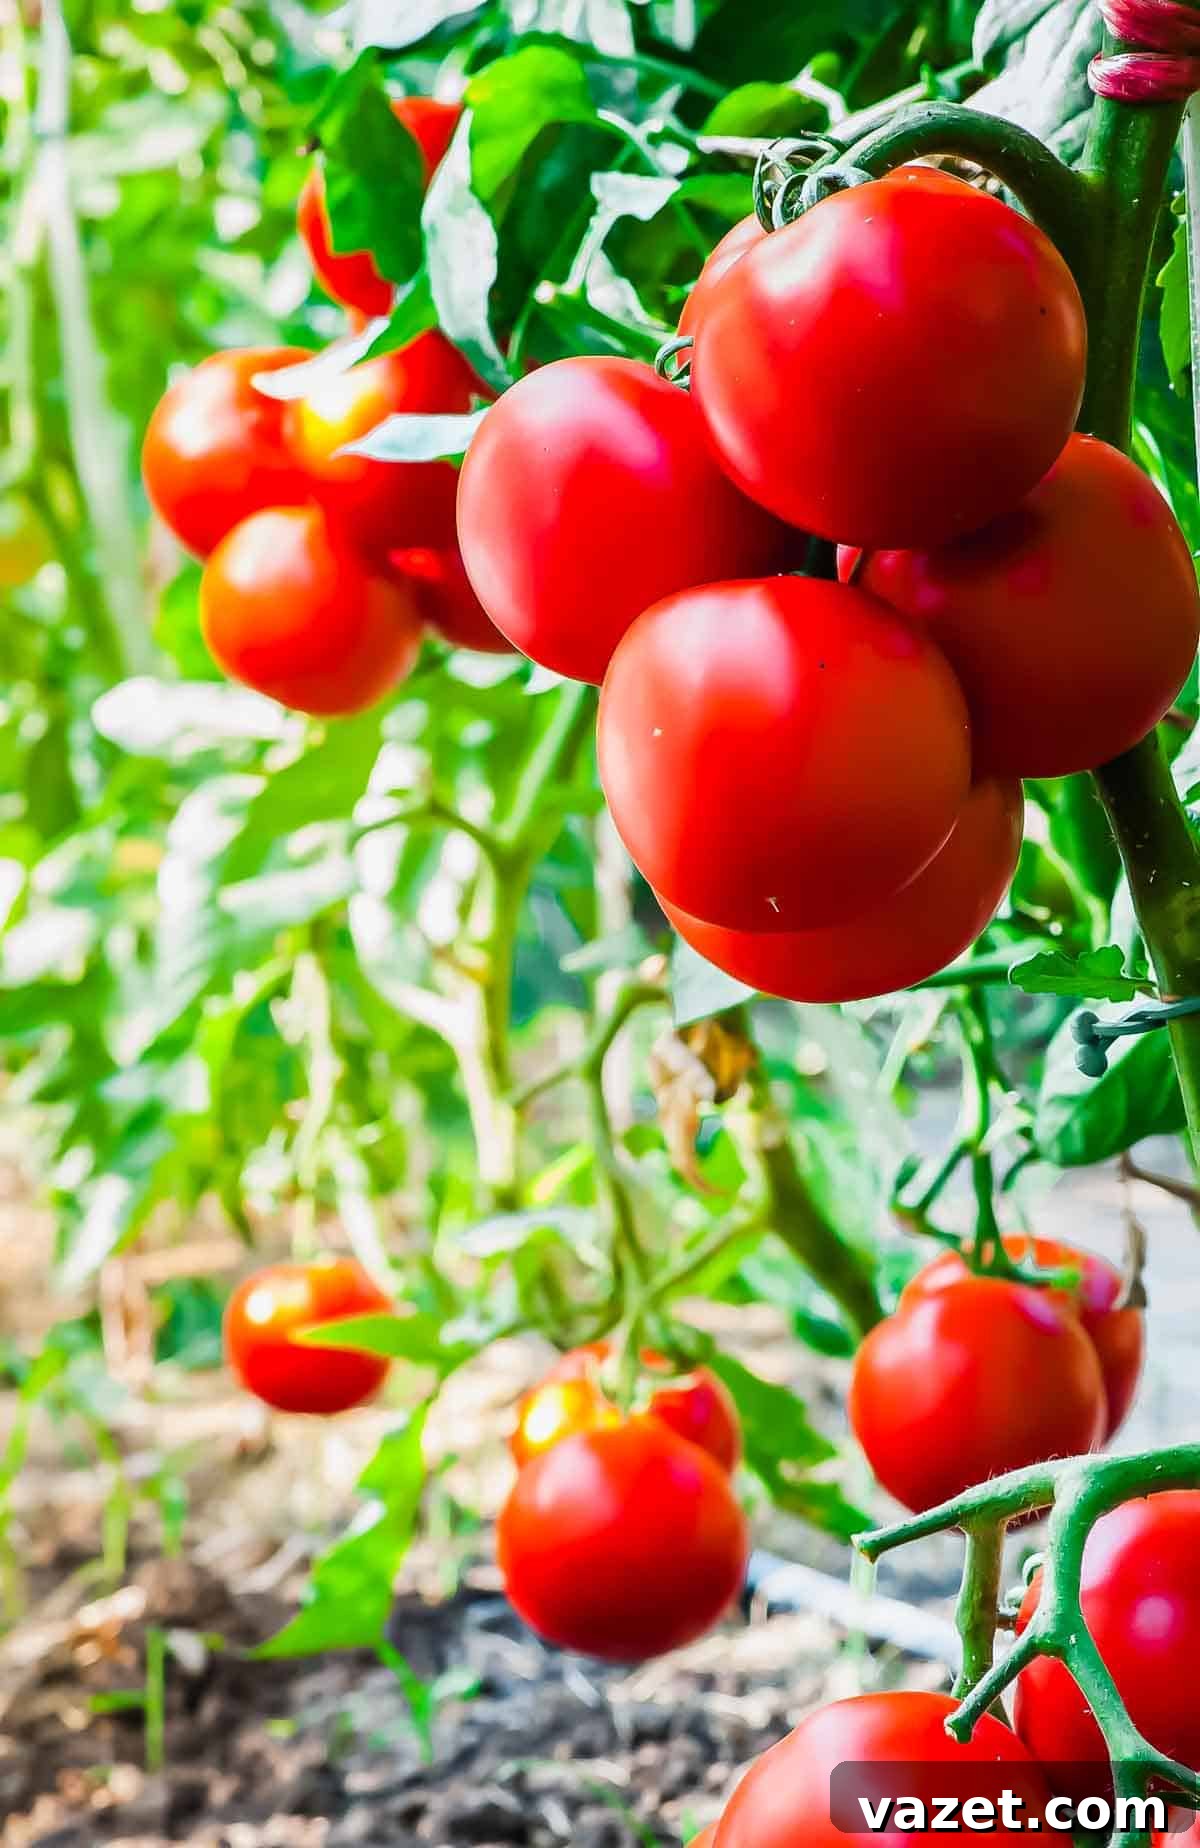
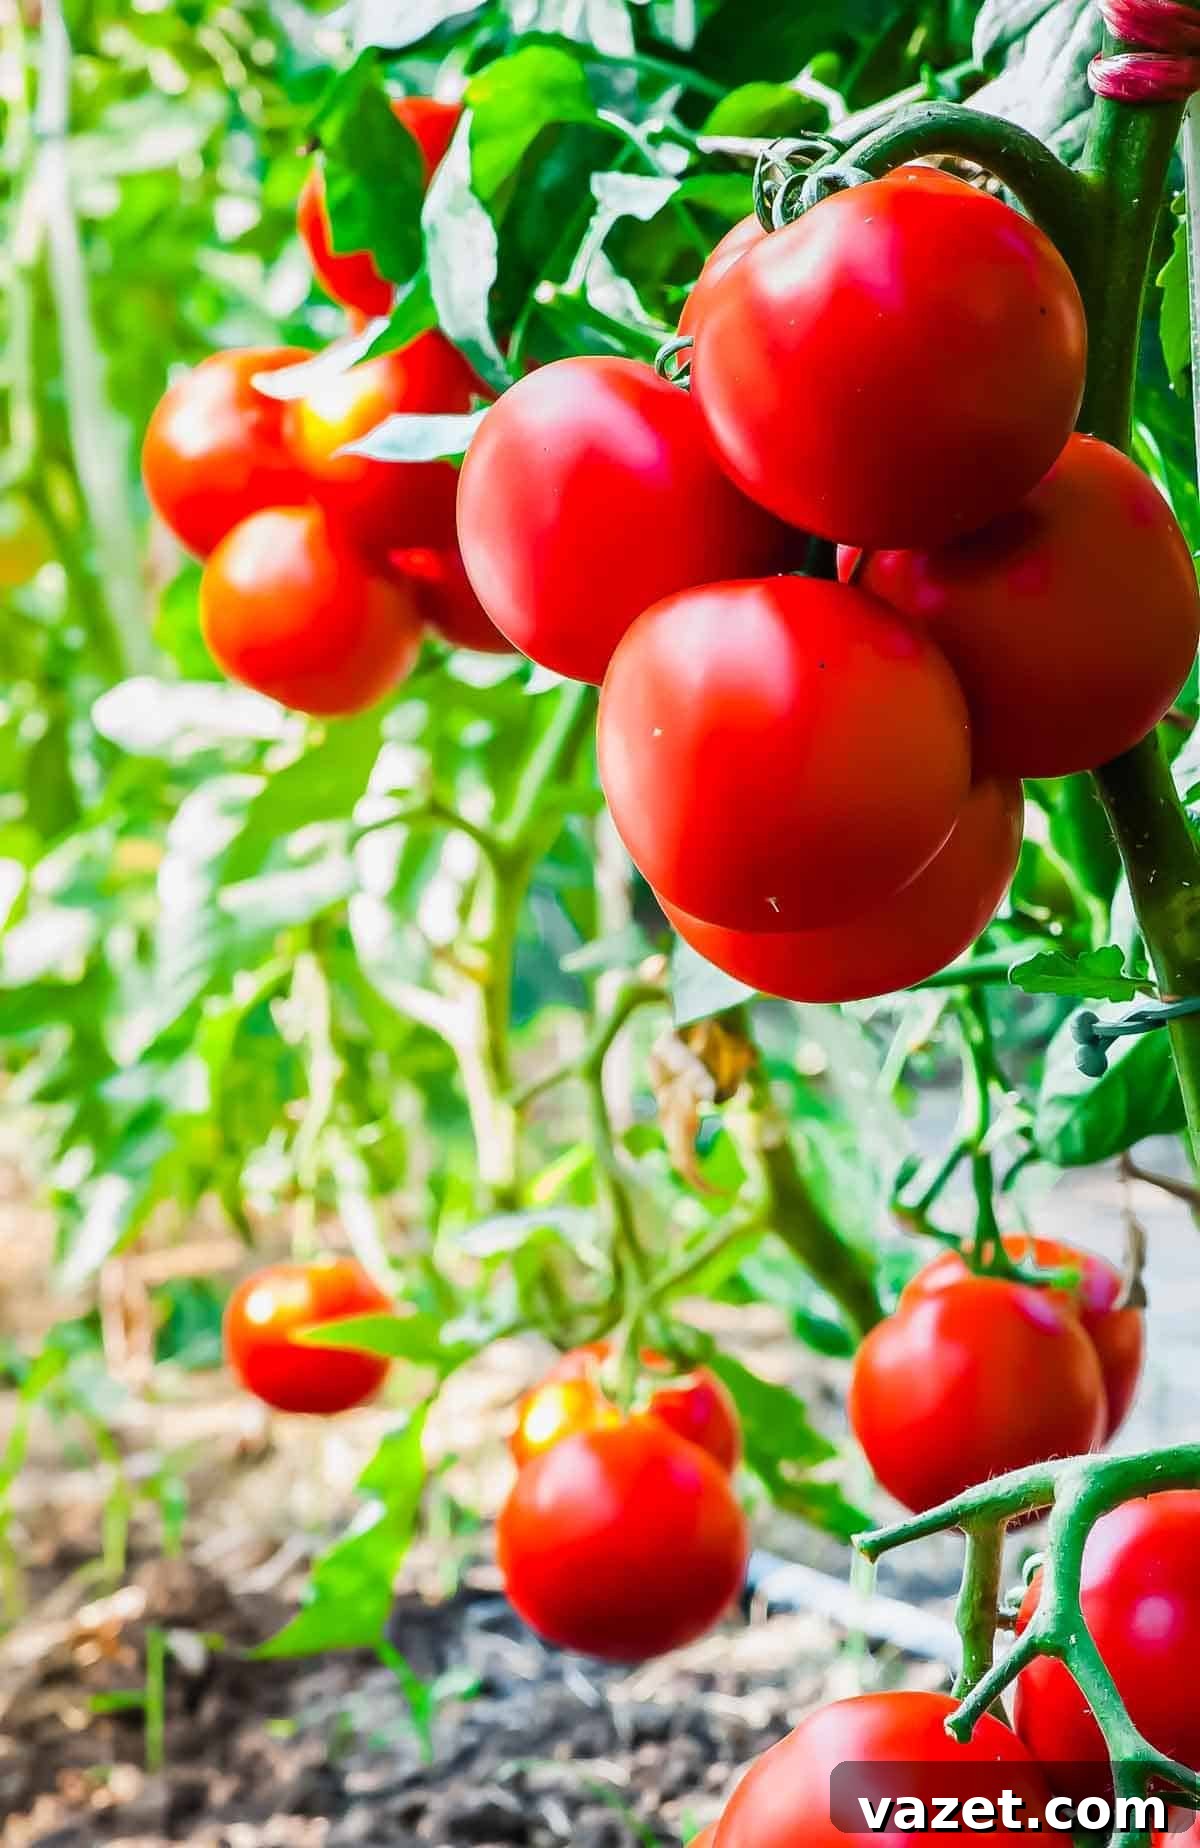
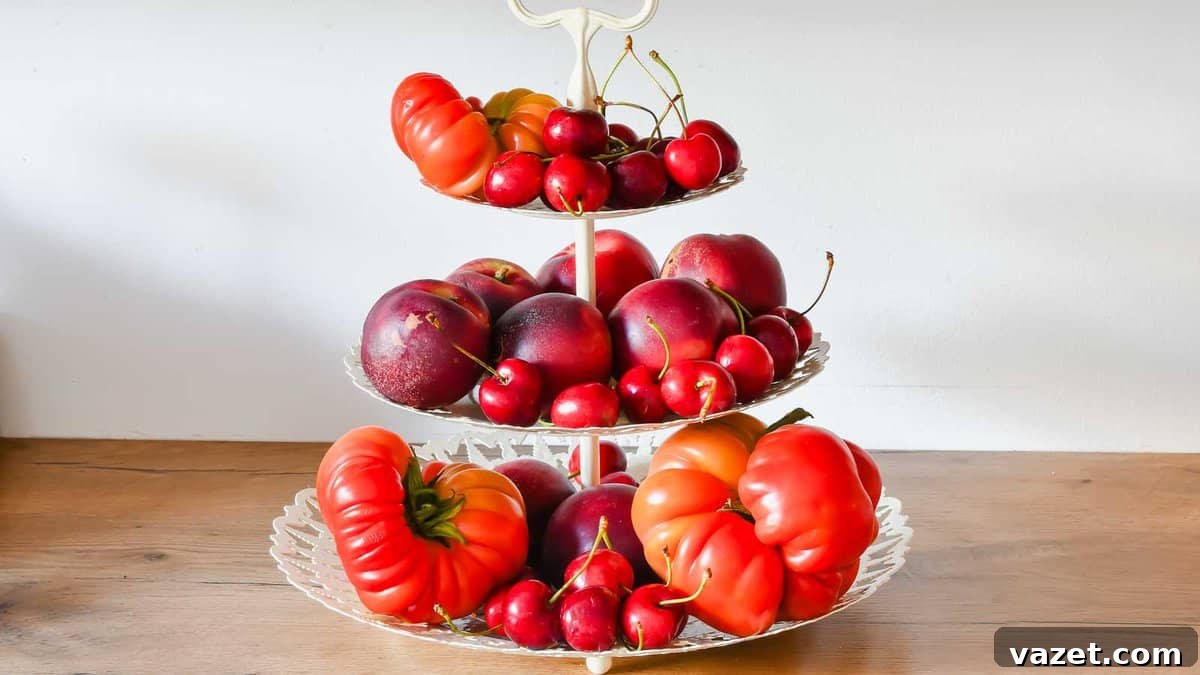
There’s an undeniable magic in a sun-ripened tomato, plucked fresh from the vine. The vibrant color, the sweet aroma, the burst of flavor – it’s the very essence of summer captured in a single fruit. Yet, for anyone who tends a garden or frequents a farmer’s market during peak season, a familiar challenge often emerges: what do you do when your bountiful harvest of fresh tomatoes suddenly threatens to overwhelm your kitchen counters? One week you’re enjoying a handful, and the next, your precious summer bounty is everywhere, demanding immediate attention. Don’t let a single ruby-red gem go to waste! Instead, embrace the simple yet incredibly effective art of freezing tomatoes.
Freezing is not just about extending the shelf life of your produce; it’s about preserving that peak-season taste and ensuring you can enjoy the vibrant flavor of summer in your cooking all year long. Whether you envision homemade tomato sauces simmering on a chilly winter evening, comforting soups warming your soul, or quick weeknight meals infused with garden-fresh goodness, freezing tomatoes keeps things simple and delicious. This comprehensive guide will walk you through several easy-to-follow methods, ensuring you can successfully freeze your tomato harvest, making sure the taste of summer is always just a freezer-door away. Learn how to do it right and enjoy your labor of love for months to come!
Why Freeze Tomatoes? The Benefits of Preserving Summer’s Bounty
Freezing tomatoes offers a myriad of advantages that make it an essential skill for any home cook or gardener facing an abundant harvest. Here’s why it’s such a fantastic preservation method:
- Captures Peak Flavor: Tomatoes are at their absolute best when they are ripe and in season. Freezing allows you to lock in that fresh, vibrant flavor, far surpassing the taste of any store-bought canned tomatoes or out-of-season produce.
- Reduces Waste: Instead of letting excess tomatoes spoil on your counter, freezing provides a practical solution to utilize every last one, minimizing food waste and maximizing your garden’s output.
- Cost-Effective: Buying tomatoes in bulk during their peak season when prices are lower, and then freezing them, can save you money in the long run compared to purchasing them off-season.
- Convenience for Future Meals: Imagine whipping up a delicious pasta sauce or a hearty chili in the middle of winter using tomatoes that taste like they were just picked. Frozen tomatoes make meal prep easier and faster, eliminating the need for fresh chopping when time is short.
- Versatility: Frozen tomatoes can be used in a wide array of dishes, from soups and stews to sauces, casseroles, and more. They are incredibly adaptable to various culinary needs.
- Healthier Alternative: By freezing your own tomatoes, you control the ingredients, avoiding added salt, sugar, or preservatives often found in commercial canned products.
Choosing the Best Tomatoes for Freezing
While almost any tomato can be frozen, selecting the right ones will ensure the best flavor and texture in your future dishes. Opt for tomatoes that are:
- Ripe and Flavorful: The most important factor! Choose tomatoes that are deep in color, firm to the touch but not hard, and heavy for their size. They should have a fragrant, sweet aroma. Overly soft or bruised tomatoes are best used immediately or composted.
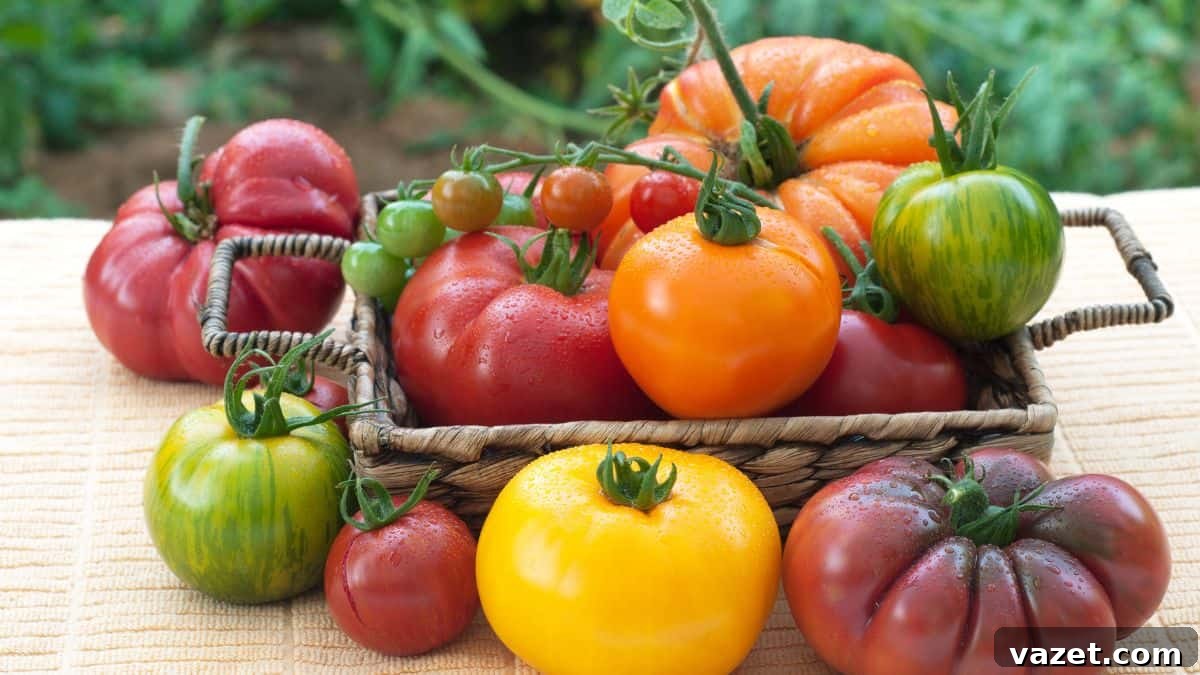
- Variety Matters: Roma or paste tomatoes are excellent for freezing, especially if you plan to make sauces, as they have fewer seeds and less water content. Beefsteak or slicing tomatoes also freeze well and are great for general cooking. Cherry and grape tomatoes can be frozen whole for roasting or adding to stews.
- Pesticide-Free: If possible, choose organic tomatoes or those from a trusted local grower to ensure minimal chemical exposure.
Preparation Steps Common to All Freezing Methods
Before you begin any specific freezing method, a few initial steps are crucial for ensuring the quality and safety of your frozen tomatoes:
Wash Thoroughly
No matter how you plan to freeze your tomatoes, start by thoroughly washing them under cool, running water. Gently rub the skins to remove any dirt, soil, lingering pesticides, or debris. This is a vital step to ensure cleanliness.
Dry Completely
After washing, it’s important to pat the tomatoes completely dry with a clean kitchen towel or paper towels. Excess moisture on the surface can lead to the formation of ice crystals during freezing, which can impact texture and potentially cause freezer burn. Ensuring they are dry helps maintain their quality.
Method 1: Freezing Whole Tomatoes – The Easiest Way
This method is by far the simplest and fastest way to freeze a large quantity of tomatoes. It’s perfect if you’re short on time, don’t mind keeping the skins on, and intend to use the frozen tomatoes primarily in cooked dishes like soups, stews, chilis, or sauces where the skins will naturally break down during cooking, or can be easily removed after thawing.
Step 1: Core the Tomatoes (Optional but Recommended)
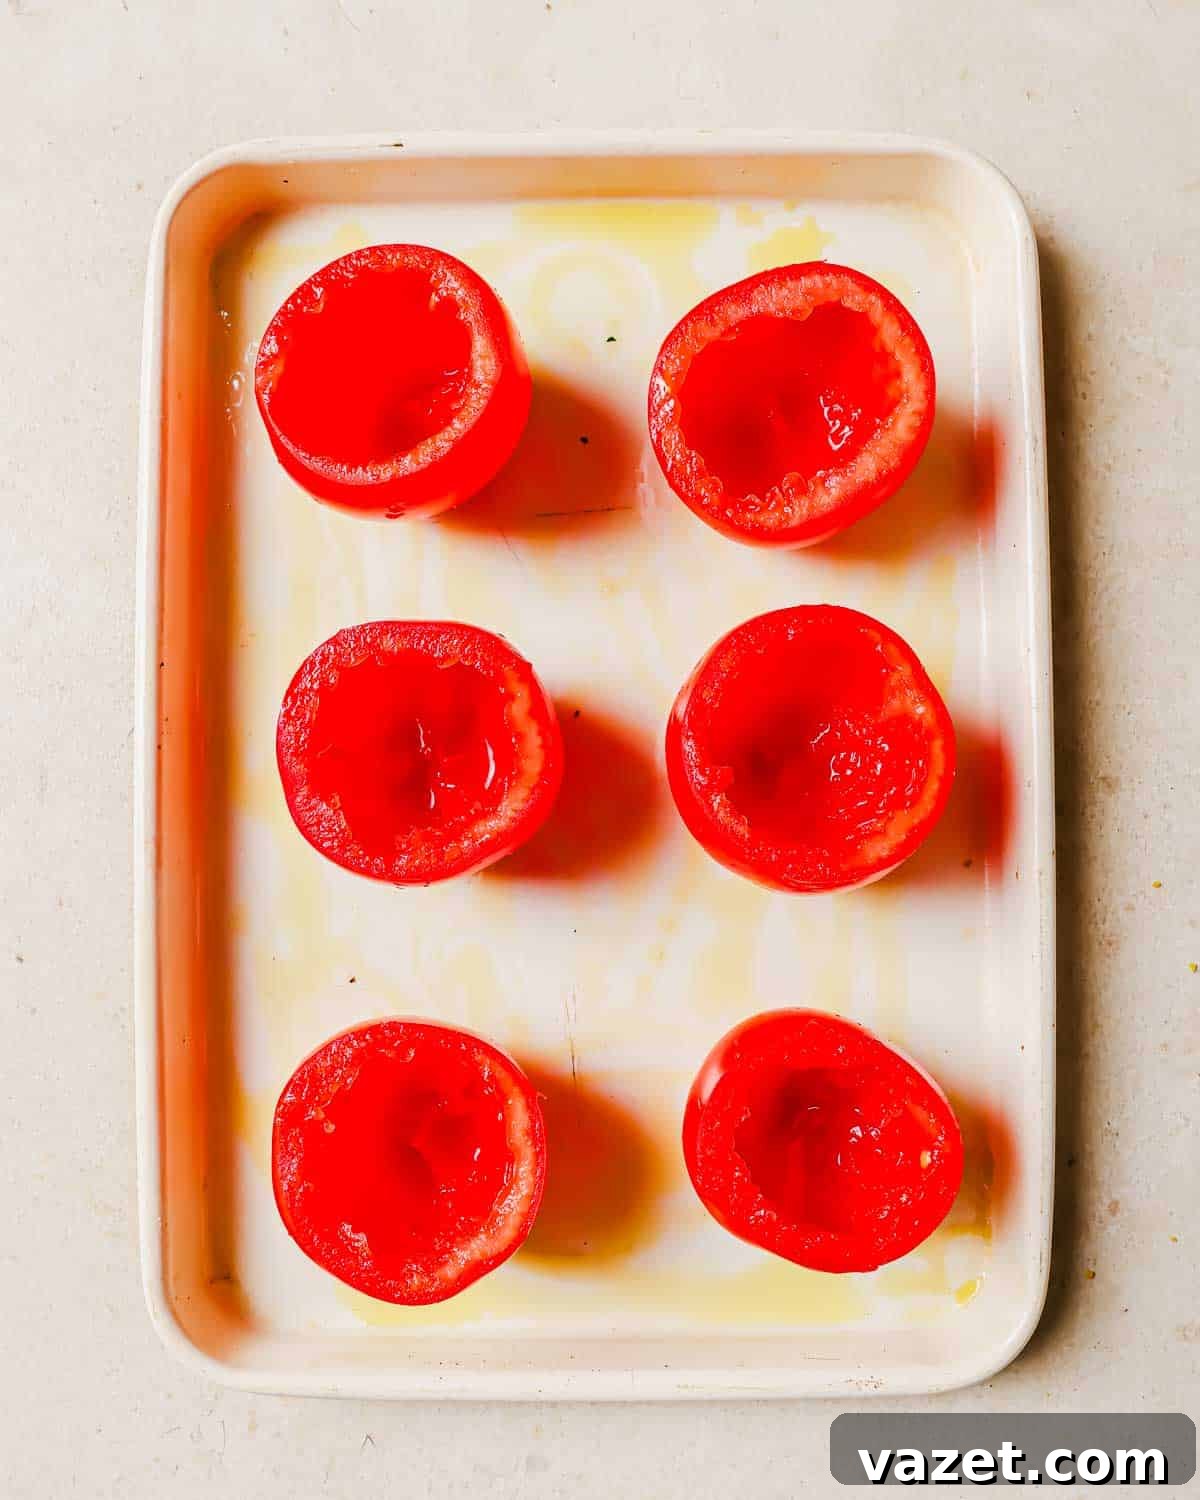
While optional, removing the core before freezing can save you time later. Use a small, sharp paring knife to carefully cut around the stem end of each tomato in a cylindrical or conical shape, removing the tough, woody core. This part is not pleasant to eat and removing it now makes post-thaw prep even quicker. For smaller tomatoes, simply removing the green stem is sufficient.
Step 2: Flash Freeze for Individuality
This “flash freezing” step is crucial to prevent your tomatoes from clumping together into one large, unmanageable block. Arrange the whole, prepared tomatoes in a single layer on a baking sheet. Make sure they are not touching each other, allowing air to circulate around each one. Place the baking sheet into the freezer and freeze until the tomatoes are completely solid. Depending on the size of your tomatoes and the temperature of your freezer, this usually takes anywhere from 2 to 4 hours.
Step 3: Transfer to Freezer-Safe Storage
Once the tomatoes are rock-solid, carefully transfer them from the baking sheet into freezer-safe bags or airtight containers. For freezer bags, squeeze out as much air as possible before sealing to minimize the risk of freezer burn, which can compromise flavor and texture. If using rigid containers, ensure they are filled to the top with as little air gap as possible. Label each bag or container with the date and contents (e.g., “Whole Tomatoes – [Date]”) so you can easily keep track of their freshness. Frozen whole tomatoes can maintain their quality for 8-12 months.
Method 2: Freezing Blanched and Peeled Tomatoes – For Smooth Textures
This method involves a little more effort upfront but is highly recommended if you prefer skinless tomatoes in your recipes, especially for smooth sauces, purées, and dishes where a silky texture is desired. Blanching makes the task of peeling incredibly easy.
Step 1: Prepare for Blanching
Begin by setting up your blanching station. Bring a large pot of water to a rolling boil. Simultaneously, prepare an ice bath by filling a large bowl with ice and cold water. This will be used to quickly cool the tomatoes after blanching, halting the cooking process. Before boiling, use a small, sharp paring knife to score a shallow “X” on the bottom of each tomato. This small cut will help the skin peel off easily after blanching.
Step 2: Blanch the Tomatoes
Carefully drop a few tomatoes at a time into the boiling water. Do not overcrowd the pot, as this can lower the water temperature and make blanching less effective. Let the tomatoes boil for just 30 to 60 seconds, or until you see the skins start to wrinkle and split at the “X” you scored. The goal is to loosen the skin, not to cook the tomato itself. As soon as the skins begin to split, immediately remove the tomatoes with a slotted spoon and plunge them into the ice bath. This rapid cooling stops the cooking and further aids in skin removal.
Step 3: Peel the Tomatoes with Ease
Once the blanched tomatoes are cool enough to handle (usually after a few minutes in the ice bath), retrieve them. The skins should now slip off effortlessly. You can simply peel them away with your fingers or use a small knife if needed. Remove any remaining core at this stage if you haven’t already. At this point, you can also gently squeeze out excess seeds and watery pulp if you’re aiming for a very thick sauce or purée, though this is optional.
Step 4: Flash Freeze Peeled Tomatoes
Just like with whole tomatoes, flash freezing is key to prevent sticking. Arrange the peeled and cored tomatoes in a single layer on a baking sheet, ensuring they don’t touch. Place the sheet in the freezer and allow the tomatoes to freeze completely solid, which will take a few hours.
Step 5: Store in Freezer Bags or Containers
Once completely frozen, transfer the solid peeled tomatoes into freezer-safe bags or airtight containers. Remove as much air as possible from bags before sealing to prevent freezer burn. Label clearly with the date and contents. These blanched and peeled tomatoes will also keep well for 8-12 months in the freezer.
Method 3: Freezing Cooked Tomatoes – Ready-Made Meals
If you enjoy the convenience of ready-made ingredients, freezing tomatoes in the form of a prepared sauce, soup, purée, or even roasted tomatoes, is an excellent option. This method allows you to preserve the rich flavors of your cooked creations, making future meal prep incredibly quick and easy.
Step 1: Prepare Your Tomato-Based Dish
Start by cooking your favorite tomato recipe. This could be a basic marinara sauce, a rich tomato soup, a concentrated purée, or even roasted tomatoes with herbs. You can season the dish with all your desired herbs and spices. However, a crucial tip for freezing is to avoid adding cream, milk, or other dairy products to soups or sauces before freezing, as dairy can sometimes separate or develop an undesirable texture upon thawing and reheating. It’s best to stir in these ingredients fresh when you reheat your dish.
Step 2: Cool the Cooked Tomatoes Completely
Once your tomato dish is finished cooking, it is absolutely essential to let it cool completely before freezing. Freezing hot food can raise the temperature of your freezer, potentially thawing other items, and can also lead to large ice crystals forming, which negatively impacts the texture of your food. You can speed up the cooling process by transferring the hot dish to smaller, shallow containers, placing the pot in an ice bath, or simply allowing it to sit at room temperature for an hour or two until it reaches room temperature. Ensure it’s fully cooled before moving to the next step.
Step 3: Portion and Prepare for Freezing
Transfer the cooled soup, sauce, or purée into freezer-safe containers. It’s highly beneficial to freeze them in practical portion sizes – enough for a single meal, a few servings, or an amount you’d typically use in a recipe. This prevents you from having to defrost a massive batch when you only need a small amount. For maximum space efficiency, especially with sauces or purées, use freezer bags and lay them flat in the freezer. This allows them to freeze into thin, stackable blocks. If using rigid containers, remember to leave a little headspace (about an inch) at the top, as liquids expand when they freeze. Squeeze out as much air as possible from freezer bags to combat freezer burn. Label all containers clearly with the date and the specific contents (e.g., “Marinara Sauce – [Date],” “Roasted Tomato Soup – [Date]”).
Step 4: Freeze Until Solid
Place the containers or bags of cooked tomato soup, sauce, or purée in the freezer. Allow them to freeze completely solid. Once frozen, these delicious, ready-made tomato preparations will last for several months (typically 6-9 months for best quality) and will be ready for use whenever you need a taste of summer. This method truly simplifies future cooking!
“Whenever I find myself with an abundance of fresh tomatoes, I love to roast them and make them into tomato soup, pasta sauce or pizza sauce, and then freeze any extra. It’s so nice to be able to taste a bit of summertime in the other seasons.”
— Susannah Brinkley-Henry, Feast + West

Maximizing Shelf Life and Preventing Freezer Burn
To ensure your frozen tomatoes retain their peak quality, flavor, and texture for as long as possible, preventing freezer burn is key. Freezer burn occurs when food is exposed to air, causing dehydration and oxidation, leading to dry, discolored spots and off-flavors. Here’s how to avoid it:
- Use Quality Freezer-Safe Containers: Always opt for containers specifically designed for freezer use. These are thicker and more durable, offering better protection against air exposure.
- Remove as Much Air as Possible: This is the most crucial step. When using freezer bags, press out all the air before sealing. A vacuum sealer is an excellent investment if you freeze large quantities of food, as it removes nearly all air. For rigid containers, choose sizes that minimize empty space once filled, or top off with a layer of plastic wrap pressed directly onto the surface of the food before sealing with the lid.
- Proper Packaging: Double-bagging or wrapping items tightly can offer an extra layer of protection.
- Freeze Quickly: The faster food freezes, the smaller the ice crystals, which helps preserve texture. Don’t overload your freezer, as this can slow down the freezing process.
- Label and Date: Always label your frozen items with the contents and the date they were frozen. This helps you rotate your stock and use older items first.
Reheating and Serving Your Frozen Tomatoes
Once you’ve successfully frozen your summer tomatoes, the next step is to transform them into delicious meals! The thawing and reheating method largely depends on how you froze them and how you plan to use them.
Using Whole or Blanched, Peeled Frozen Tomatoes
Frozen whole or blanched/peeled tomatoes are best suited for cooked dishes rather than fresh preparations like salads, as freezing alters their texture, making them softer when thawed. They integrate beautifully into soups, stews, chilis, and sauces.
- Thawing Options:
- Refrigerator Thaw: The safest method is to transfer the frozen tomatoes (still in their sealed bags or containers) to the refrigerator overnight.
- Quick Thaw: For a faster approach, place the sealed bag of frozen tomatoes under cool running water or immerse it in a bowl of cool water.
- Directly to the Pot: In many cases, especially for sauces and soups, you can add whole or peeled frozen tomatoes directly to a simmering pot. They will thaw and break down as they cook.
- Skin Removal After Thawing: If you froze whole tomatoes with skins on, and now prefer them skinless, the skins will often slip off easily once the tomatoes are partially or fully thawed.
- Recipe Ideas: These tomatoes are perfect for rustic dishes like a hearty marinara sauce, a rich Italian tomato pasta soup, or a flavorful stewed okra and tomatoes. They also work wonderfully in dishes like lemony herbed scallops where the tomatoes cook down into a delicious sauce. Blanched and peeled tomatoes are ideal for any recipe requiring a smoother texture, such as a tomato and mascarpone sauce, spaghetti arrabbiata, or a creamy roasted tomato soup.
Using Frozen Cooked Tomato Preparations
The beauty of freezing cooked sauces, soups, or purées is their ultimate convenience.
- Thawing and Reheating Options:
- Refrigerator Thaw: The gentlest method is to transfer the frozen cooked tomato dish to the refrigerator overnight to thaw.
- Stovetop Reheat: You can often reheat frozen cooked tomatoes directly on the stovetop over low to medium heat, stirring occasionally, until thawed and heated through. Add a splash of water or broth if it seems too thick.
- Microwave Reheat: For a quick reheat, use your microwave’s defrost setting, then continue heating until hot.
- Water Bath Thaw: Immerse a sealed bag or container of frozen cooked tomatoes in a bowl of cool water to speed up the thawing process, especially if you need it quickly for a recipe.
- Ready for Use: Once thawed and reheated, your homemade tomato sauce, soup, or purée is ready to be enjoyed as-is or incorporated into other dishes. Remember to add any fresh dairy or herbs after thawing and reheating for best results.
Frequently Asked Questions About Freezing Tomatoes
How long do frozen tomatoes last?
When properly stored in airtight containers or freezer bags, whole or blanched frozen tomatoes can maintain their best quality for 8-12 months. Cooked tomato preparations like sauces or soups are generally best consumed within 6-9 months for optimal flavor and texture, though they can remain safe to eat for longer.
Do I need to thaw tomatoes before cooking?
Not always! For many cooked dishes like soups, stews, or sauces, you can often add whole or peeled frozen tomatoes directly to the pot. They will thaw and break down as they cook. For recipes where you need a more specific texture or to reduce cooking time, thawing beforehand in the refrigerator or with a quick water bath can be beneficial.
Can I freeze cherry tomatoes?
Absolutely! Cherry and grape tomatoes can be frozen whole using Method 1. Simply wash, dry, and flash freeze them on a baking sheet before transferring to a freezer bag. They are excellent for roasting straight from the freezer, adding to stews, or blending into sauces.
Can I freeze tomatoes in jars?
While glass jars can be used for freezing, there are a few important considerations. Only use canning or freezer-safe jars (like wide-mouth mason jars) to prevent breakage. Ensure you leave ample headspace (at least 1-2 inches) as liquids expand when frozen. Also, avoid thermal shock by cooling items completely before jarring and freezing. Plastic freezer containers or bags are often a safer and more space-efficient alternative.
Embrace the Ease of Freezing Tomatoes
The overflowing bounty of summer tomatoes, while a joyous sight, no longer needs to be a source of stress. By adopting the simple yet powerful technique of freezing, you can effortlessly transform that seasonal abundance into a year-round supply of vibrant flavor. Whether you opt for the quick convenience of freezing whole tomatoes, the refined texture of blanched and peeled, or the ultimate ease of ready-to-heat cooked preparations, each method offers a practical solution to preserve the essence of summer.
With a well-stocked freezer, you’re equipped to whip up delectable pasta dishes, hearty stews, comforting soups, and so much more, all infused with the incomparable taste of garden-fresh tomatoes. This small investment of time now translates into significant savings in effort and enhances the flavor of countless future meals. Say goodbye to relying on bland, store-bought alternatives and embrace the simple satisfaction of bringing summer’s best to your table, any time of the year. Freezing tomatoes is more than just preservation; it’s a celebration of flavor and a testament to clever kitchen management.