

The Ultimate Guide to Freezing Butternut Squash: Preserve Freshness Year-Round
Butternut squash, with its sweet, nutty flavor and vibrant orange flesh, is a versatile and nutritious addition to countless dishes. From comforting soups and hearty stews to creamy risottos and delicious baked goods, its culinary potential is vast. However, fresh butternut squash has a limited shelf life. When you find yourself with an abundance from your garden, a farmer’s market haul, or a great sale, freezing is undoubtedly the best way to prevent spoilage and ensure you have this wonderful vegetable on hand throughout the year.
Freezing butternut squash is a practical and straightforward solution that maintains its flavor, texture, and nutritional value. It allows you to enjoy the taste of autumn well beyond the harvest season, streamlining your meal preparation and minimizing food waste. This comprehensive guide will walk you through the most effective methods for freezing butternut squash, whether you prefer it raw or cooked, along with essential tips for optimal storage and delicious ways to incorporate your frozen stash into your favorite recipes.

Why Freeze Butternut Squash? The Benefits of Preservation
Beyond simply preventing spoilage, freezing butternut squash offers a multitude of advantages for any home cook:
- Extended Shelf Life: Fresh butternut squash lasts a few weeks in a cool, dry place. Frozen, it can last for up to a year, providing long-term availability.
- Convenience and Time-Saving: Pre-prepped frozen squash eliminates the need for peeling, deseeding, and chopping every time you want to cook. This saves valuable time on busy weeknights.
- Cost-Efficiency: Buy butternut squash in bulk when it’s in season and more affordable, then freeze it to enjoy year-round savings.
- Reduced Food Waste: Don’t let excess squash go to waste. Freezing ensures every bit is used, contributing to a more sustainable kitchen.
- Nutritional Value: Freezing locks in the essential vitamins, minerals, and fiber found in butternut squash, ensuring your meals remain nutritious.
- Recipe Versatility: Having frozen squash on hand opens up possibilities for spontaneous cooking, whether it’s a last-minute soup or a quick addition to a casserole.
Choosing the Perfect Butternut Squash for Freezing
The quality of your frozen squash starts with the fresh produce. Select butternut squash that is:
- Firm and Heavy: It should feel dense for its size, indicating a good water content and rich flavor.
- Smooth Skin: Look for squash with smooth, blemish-free skin. Avoid any with soft spots, cuts, or mold, as these can indicate spoilage.
- Deep Orange Color: A rich, deep orange color suggests ripeness and a sweeter flavor profile. Pale yellow squash might be underripe.
- Intact Stem: A firm, intact stem helps prevent moisture loss and bacterial entry.
Avoid squash that is overly ripe, as it may become mushy after thawing. Optimal selection ensures the best possible taste and texture once defrosted.
Preparation Essentials Before Freezing
Regardless of whether you plan to freeze your butternut squash raw or cooked, a few initial steps are crucial for both hygiene and optimal results:
- Clean Thoroughly: Wash the entire squash under cold running water. Use a vegetable brush to scrub away any dirt or debris from the skin.
- Peel Carefully: Butternut squash skin is tough. Use a sturdy vegetable peeler or a sharp chef’s knife to carefully remove the skin. For easier peeling, you can microwave the squash for 2-3 minutes to soften the skin slightly.
- Halve and Deseed: Cut the squash in half lengthwise. Use a spoon to scoop out the seeds and fibrous strands from the cavity. You can save the seeds for roasting if you wish!
- Cut to Size: Decide how you want to use the squash in the future. For most recipes, uniform 1-inch cubes are ideal. Slices or larger chunks might be preferred for specific dishes like roasting (if freezing cooked) or certain stews.
Once these preparatory steps are complete, you’re ready to proceed with your chosen freezing method.
The Best Methods for Freezing Butternut Squash
There are two primary methods for freezing butternut squash, each offering distinct advantages depending on your intended future use. Both options are effective for preserving your squash long after the winter squash season has passed.
Method 1: Freezing Raw Butternut Squash
Freezing butternut squash raw is a highly efficient and popular method, especially if you plan to use it in dishes where it will be cooked from scratch, such as soups, stews, casseroles, or purees. This method retains more of the squash’s firm texture, making it versatile for many applications. It’s often the preferred choice due to its simplicity and speed.
Step-by-Step Guide to Freezing Raw Butternut Squash:
- Prepare the Squash: Begin by thoroughly cleaning, peeling, deseeding, and cutting your butternut squash into desired pieces (typically 1-inch cubes or slices). Uniform pieces ensure even freezing and cooking later. Smaller cubes are excellent for quicker cooking, while slightly larger chunks or slices might be preferred for certain stew or roasted preparations (though direct roasting from raw-frozen is generally not recommended due to texture changes).
- Ensure Complete Dryness: This is a critical step for preventing ice crystal formation and freezer burn. Lay the squash pieces out on a clean kitchen towel or paper towels and gently pat them dry until absolutely no excess moisture remains on the surface.
- Flash Freeze for Separation: Arrange the dried butternut squash pieces in a single layer on a baking sheet lined with parchment paper. Ensure they do not touch each other. Place the baking sheet in the freezer for 2-4 hours, or until the pieces are completely solid. This “flash freezing” step is essential as it prevents the squash pieces from clumping together into one large block, allowing you to easily retrieve the exact amount you need later.
- Package for Long-Term Storage: Once flash-frozen, transfer the solid squash pieces into freezer-safe plastic bags or high-quality silicone reusable bags. For optimal preservation and to avoid freezer burn, remove as much air as possible from the bags using your hands or a straw. A vacuum sealer is an excellent investment for maximum air removal and extending shelf life.
- Label and Store: Clearly label each bag or container with the contents (“Raw Butternut Squash”) and the date it was frozen. Store in the freezer for up to 10-12 months. While freezer-safe containers work, bags are often preferred for their ability to be flattened, saving valuable freezer space.
Method 2: Freezing Cooked Butternut Squash
Freezing cooked butternut squash is another fantastic option, particularly if you envision using it primarily in purees, creamy soups, sauces, or baked goods where a softer texture is desirable or even preferred. This method is especially convenient because it allows you to thaw and use the squash almost immediately without any further cooking.
Step-by-Step Guide to Freezing Cooked Butternut Squash:
- Cook the Squash Until Tender: There are several ways to cook butternut squash for freezing:
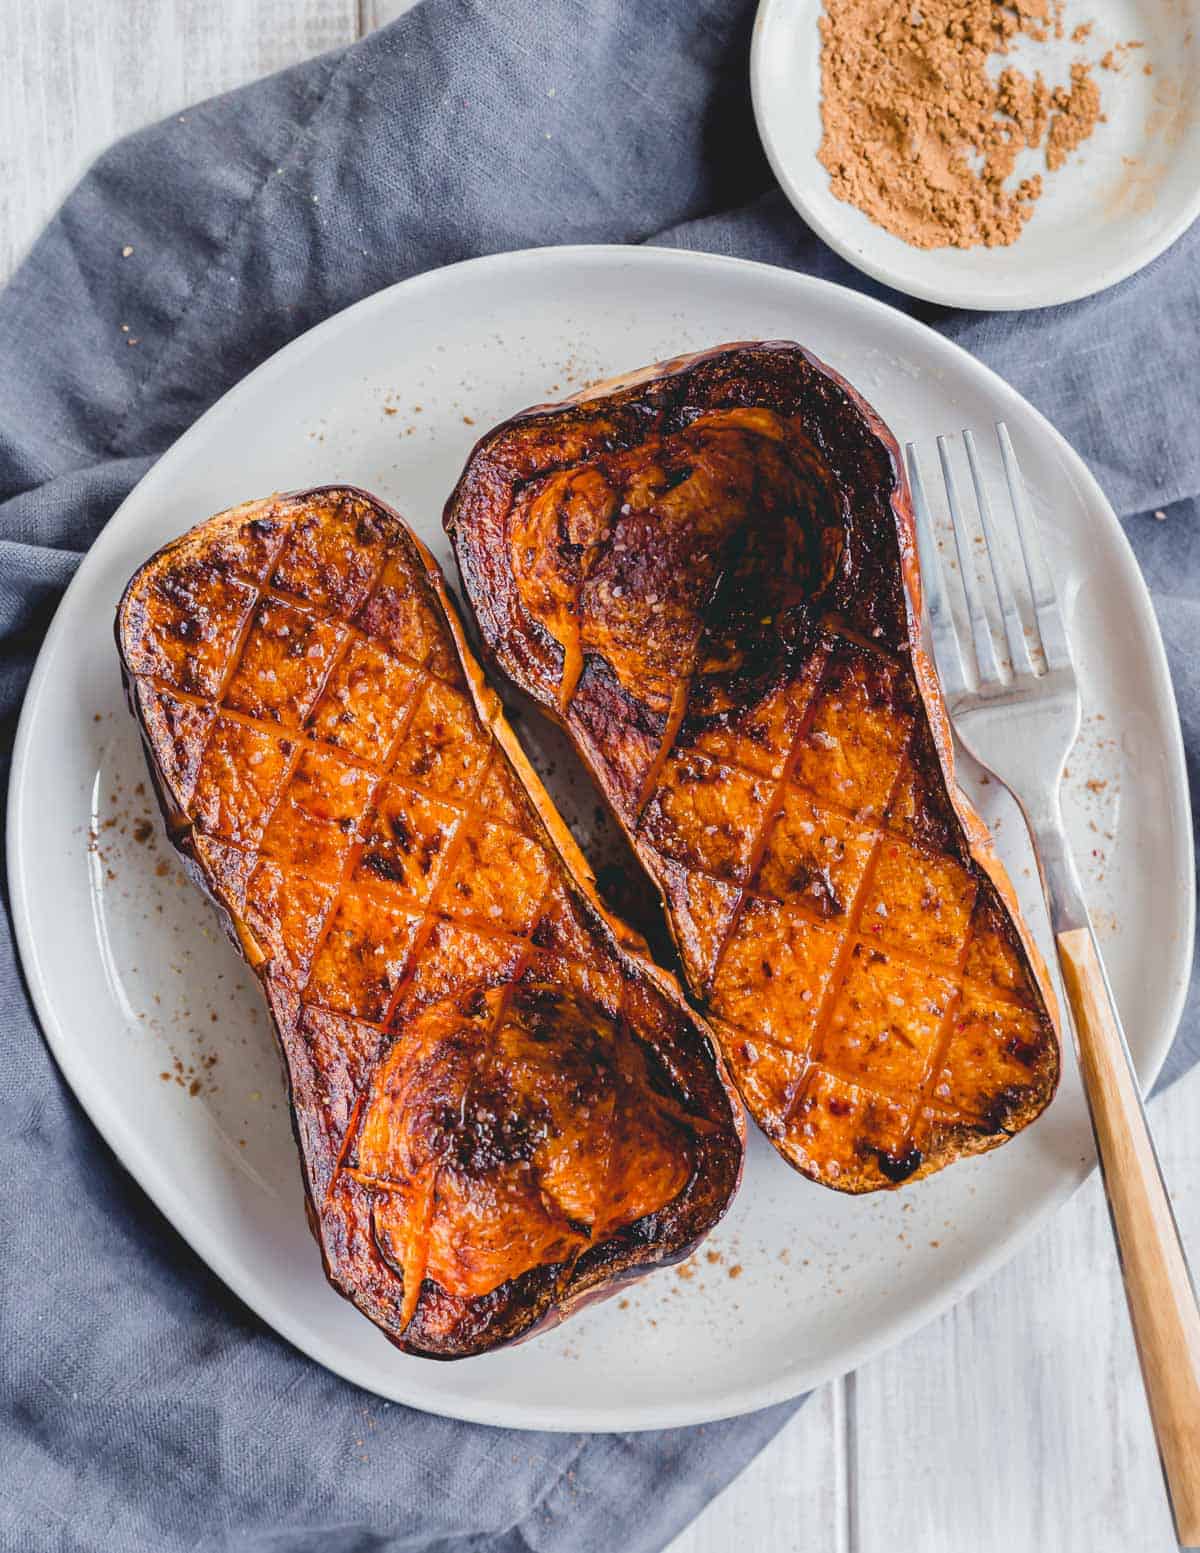
- Roasting: Halve or cube the squash, toss with a little olive oil, and roast at 400°F (200°C) until fork-tender and slightly caramelized (30-45 minutes). Roasting deepens the flavor.
- Steaming: Cube the squash and steam until tender, about 10-15 minutes. This method retains more nutrients and moisture.
- Boiling: Submerge cubes in boiling water and cook until tender, about 10-15 minutes. Drain thoroughly after cooking.
- Sautéing: Sauté diced squash in a pan with a little oil until tender.
- Cool Completely: After cooking, spread the squash out on a baking sheet or plate to allow it to cool down rapidly and completely. Placing hot food directly into the freezer can raise the freezer’s temperature, affecting other frozen items and potentially causing larger ice crystals to form on your squash.
- Puree (Optional but Recommended): For maximum versatility in recipes like baby food, creamy soups, smoothies, or baking, puree the cooked squash using a food processor or immersion blender until smooth. If the squash is too dry, you can add a tablespoon or two of water, broth, or even milk/cream to achieve the desired consistency. This pre-pureed form is fantastic for making a creamy sauce for pasta or an indulgent dip in the future.
- Portion and Pack: Divide the cooked squash (cubed or pureed) into convenient, recipe-sized portions before transferring it into freezer-safe containers or bags. For purees, ice cube trays are excellent for small portions, which can then be transferred to a larger bag once frozen solid.
- Seal and Label: Remove as much air as possible from bags or ensure containers are tightly sealed to prevent freezer burn. Label each container or bag clearly with the contents (“Cooked Butternut Squash,” “Butternut Squash Puree”) and the date of freezing. Store in the freezer for up to 8-10 months.
Using Your Frozen Butternut Squash Effectively
The method you chose for freezing will largely dictate how you should use your butternut squash. Understanding these differences will help you achieve the best results in your culinary endeavors.
Using Frozen Raw Butternut Squash
Frozen raw butternut squash maintains a firmer texture than its cooked counterpart, making it ideal for dishes where it will undergo cooking from its frozen state:
- Soups and Stews: Add raw frozen butternut squash directly to simmering soups, stews, or chili. There’s no need to thaw it first; the moisture it retains from freezing won’t negatively affect these dishes.
- Casseroles: Incorporate frozen raw cubes into baked casseroles. They will thaw and cook alongside other ingredients.
- Curries and Stir-fries: While not as firm as fresh, raw frozen squash can be added to curries, though it might become slightly softer than if added fresh.
- Pureeing/Mashing: You can boil or steam raw frozen squash directly, then puree or mash it to serve alongside delicious roast chicken or lamb.
Important Note: Raw frozen butternut squash is generally *not* suitable for direct roasting after freezing. The high moisture content from freezing causes it to steam rather than caramelize, resulting in a soggy texture instead of crispy edges. If you wish to roast, it’s best to cook the squash fully before freezing, as outlined in Method 2.
“I always keep a bag of frozen butternut squash in my freezer — it doesn’t spoil easily and saves me the hassle of peeling and chopping a fresh squash. It’s perfect for making quick stovetop butternut squash soup. Sometimes I even dump a bag into the slow cooker with some diced apples, dried cranberries and warm spices for an easy, flavorful side dish!”
— Kristin King, Dizzy Busy and Hungry
Using Frozen Cooked Butternut Squash
Cooked and frozen butternut squash is incredibly convenient for dishes where a soft, smooth texture is desired:
- Purees and Mashes: Simply thaw and reheat. Perfect for serving as a side dish or as a base for baby food.
- Creamy Soups and Sauces: Thaw and blend into creamy soups, pasta sauces, or risottos. The pre-cooked nature means less active cooking time.
- Baked Goods: Use thawed and pureed squash in muffins, breads, pies, or even biscuits as a nutritious and moistening ingredient, similar to pumpkin puree.
- Smoothies: Add frozen cooked cubes or spoonfuls of puree directly to your blender for a nutritious and thick smoothie, offering a great alternative to pumpkin in smoothies.
- Dips: Thawed puree makes an excellent base for savory dips, like an indulgent goat cheese and butternut squash dip.
For enhanced flavor, consider adding warm spices like cumin, cinnamon, nutmeg, or even a blend of pumpkin spice to your cooked squash dishes.

Essential Tips for Optimal Butternut Squash Freezing
To ensure your frozen butternut squash maintains its quality and is a joy to use, keep these expert tips in mind:
- Prevent Freezer Burn: This is paramount! Freezer burn occurs when food is exposed to air, leading to dehydration and flavor loss. To combat this:
- Remove Air: Squeeze as much air as possible out of freezer bags before sealing. A vacuum sealer is the ultimate tool for this.
- Tight Seals: Ensure containers have airtight lids.
- Minimal Headspace: For purees in containers, leave about half an inch of headspace to allow for expansion, but not too much air.
- Label Everything Clearly: Always label your bags or containers with the contents (e.g., “Raw Butternut Squash Cubes,” “Cooked Butternut Squash Puree”) and the freezing date. This prevents guessing games and helps you use older items first.
- Portion Control: Freeze squash in amounts that are practical for your typical recipes. This allows you to grab just what you need without thawing and refreezing large batches, which can degrade quality.
- Use Quality Freezer Bags/Containers: Invest in heavy-duty freezer bags or BPA-free, freezer-safe plastic or silicone containers specifically designed for freezing. These are more resistant to punctures and temperature fluctuations.
- Avoid Overfilling Your Freezer: A packed freezer is an efficient freezer, but don’t overstuff it to the point where air can’t circulate. This helps maintain consistent temperatures.
- Consistent Temperature: Ensure your freezer maintains a steady temperature of 0°F (-18°C) or lower for optimal long-term storage. Fluctuations can lead to ice crystal formation and freezer burn.
- Flash Freezing is Key for Raw: Don’t skip the flash-freezing step for raw squash. It’s the secret to having individual, easy-to-grab pieces.
Troubleshooting Common Freezing Issues
Even with the best intentions, you might encounter a few issues when freezing butternut squash. Here’s how to address them:
- Mushy Texture After Thawing (Raw Squash): This is usually due to high water content and not drying the squash thoroughly before freezing, or trying to roast it directly. To prevent this, ensure squash is very dry before freezing and use raw frozen squash in dishes like soups or stews where texture breakdown is less noticeable or desirable.
- Freezer Burn: Grey, dry spots on your squash indicate freezer burn. While safe to eat, the affected areas will have a compromised flavor and texture. Prevent by removing all air from packaging and ensuring airtight seals.
- Squash Clumping Together: This is a common issue if you skip flash-freezing raw squash. Always flash-freeze individual pieces on a baking sheet before transferring to bags.
- Loss of Flavor: Over time, even properly frozen squash can lose some vibrancy. Use within the recommended storage times (10-12 months for raw, 8-10 months for cooked) for the best flavor.
Final Thoughts: Enjoy Butternut Squash All Year Long
Freezing butternut squash is truly a practical and easy method for preserving this versatile and nutritious vegetable. By taking a little time for preparation, you can ensure a steady supply of this wonderful fall vegetable, allowing you to enjoy its sweet, earthy flavor long after the harvest season has ended. Whether you opt to freeze it raw for hearty soups and robust stews or cooked for creamy purees and delightful baked goods, proper storage techniques are the key to maintaining its quality.
While defrosted raw squash may not always be suitable for direct roasting due to its high moisture content, it excels in a multitude of other recipes where that moisture won’t affect the outcome. Cooked frozen squash, on the other hand, provides unparalleled convenience for quick meal solutions, enriching everything from morning smoothies to decadent pasta sauces.
Embrace the simplicity of freezing butternut squash to make meal planning easier, reduce food waste, and always have a nutritious ingredient at your fingertips. With the right freezing techniques, the deliciousness of butternut squash will be available to you throughout the entire year, ready to transform everyday meals into something special.
Frequently Asked Questions About Freezing Butternut Squash
- Do you have to cook butternut squash before freezing?
- No, you don’t have to. Butternut squash can be frozen both raw and cooked. Freezing it raw is quicker for prep but best for dishes like soups and stews. Freezing it cooked (and often pureed) is great for instant use in sauces, baked goods, and smoothies.
- How long does frozen butternut squash last?
- Properly frozen raw butternut squash can last in the freezer for up to 10-12 months. Cooked or pureed butternut squash typically lasts for 8-10 months. Always label your packages with the freezing date to keep track.
- Can I freeze whole butternut squash?
- While technically possible, it is not recommended. Freezing whole squash takes up a lot of freezer space, and once thawed, the texture will be very soft and watery, making it difficult to peel, deseed, and cut. It’s much more efficient and yields better results to prepare it (peel, deseed, cut, or cook) before freezing.
- How do I thaw frozen butternut squash?
- For raw frozen squash in soups or stews, you can often add it directly to the pot without thawing. For cooked or pureed squash, it’s best to thaw it in the refrigerator overnight. For quicker thawing, you can immerse sealed bags in cold water or use the defrost setting on your microwave.
- Can I roast frozen butternut squash?
- It depends on how it was frozen. If you froze it raw, roasting directly from frozen is not recommended as it will become soggy and steam rather than roast. If you cooked it (e.g., roasted it) before freezing, you can thaw and gently reheat or briefly roast it to warm through, but it won’t regain the original crispiness.
- What’s the best way to prevent freezer burn?
- The key to preventing freezer burn is to minimize air exposure. Use freezer-safe bags or containers and remove as much air as possible (a vacuum sealer is ideal). Ensure tight seals, and don’t overfill containers, leaving minimal headspace.
This article originally appeared on Food Drink Life.